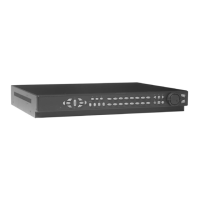
TruVision DVR 40 User Manual 55
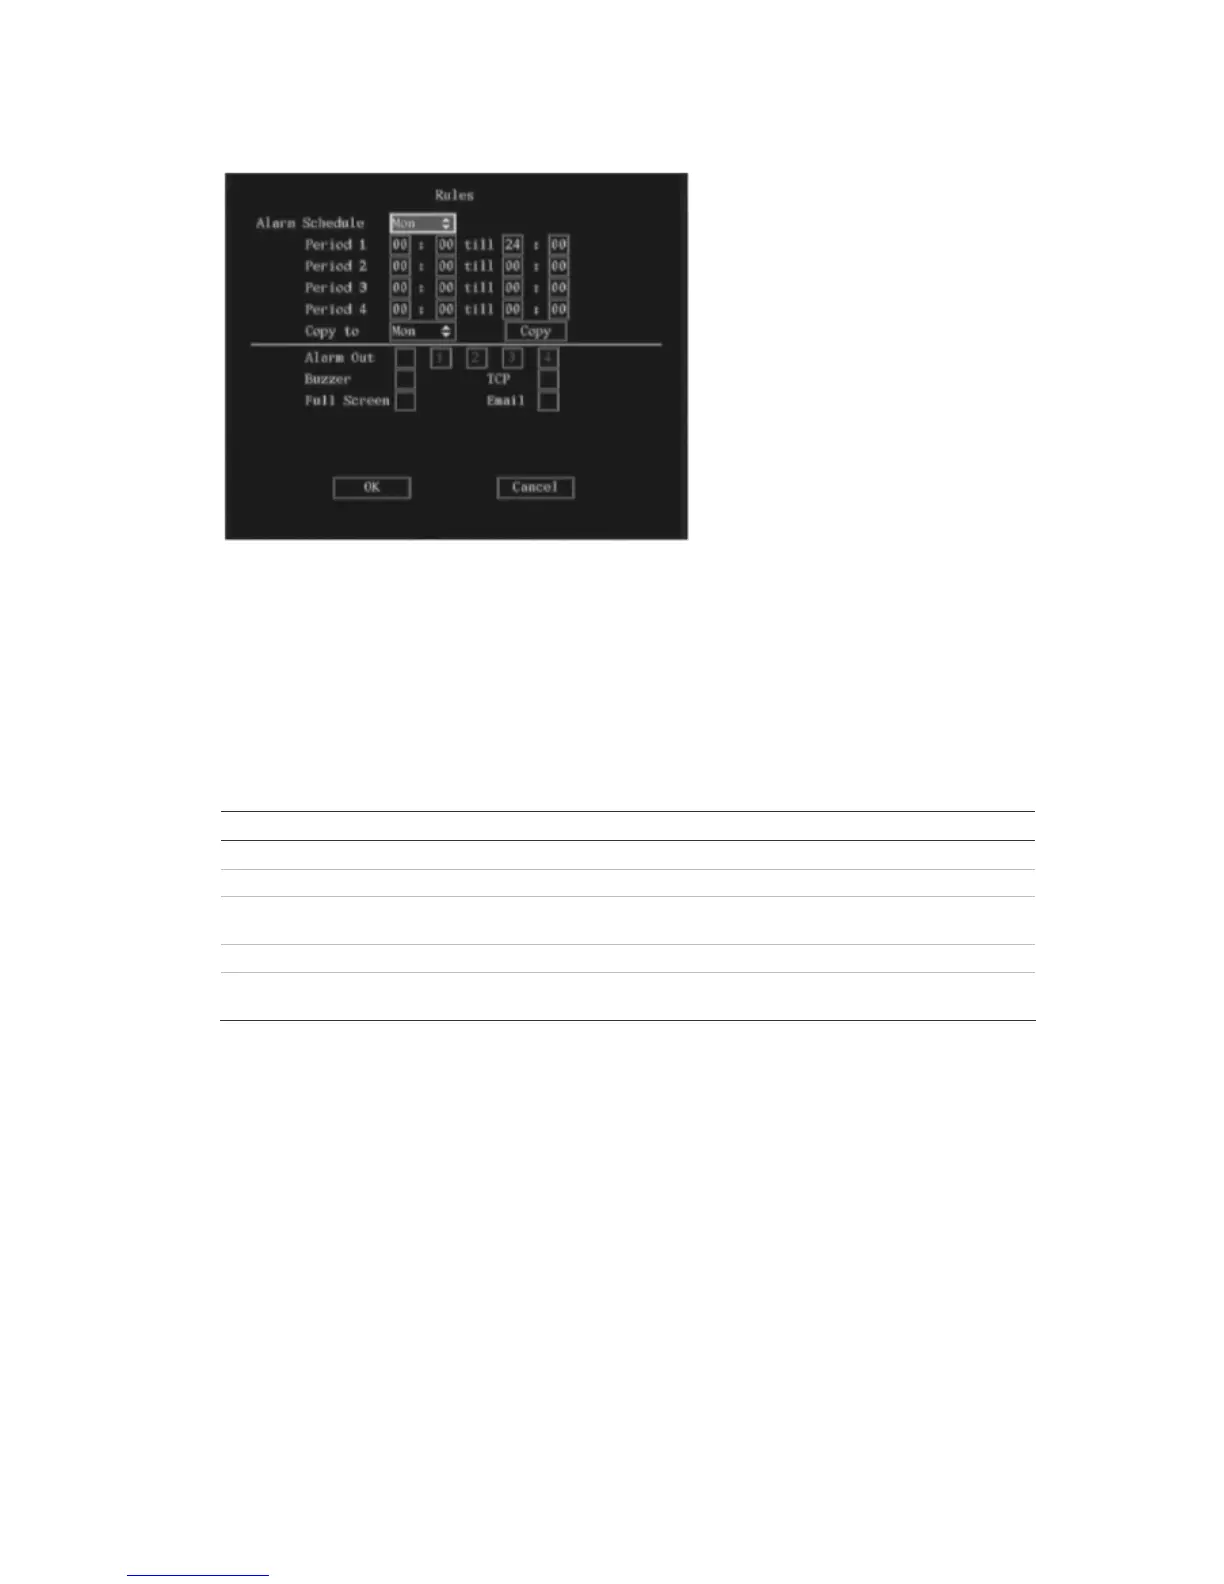
b. Go to the Alarm Schedule list box. Select the day of the week for which you want to set the
response time schedule.
c. Go to Period 1 and enter the time period for the response. You can set up to four time periods
for each day of the week. You must reboot the TVR 40 to make the time periods operational.
Note: The daily time periods cannot overlap.
d. Go to the notification options and press Enter, or left-click the mouse, to enable () or disable
how you want the TVR 40 to respond to a camera tamper alarm.
Notification option Description
Alarm Out Alarm Out is activated. Up to four alarm outputs can be enabled.
Buzzer An audible alarm sounds
TCP Alarm information is sent to the remote IP (see section Network on page 70 for
more information)
Full Screen The alarm channel will be displayed on screen
Email Alarm information is sent to an e-mail address (see section Network on page 68
for more information)
e. When you have finished modifying all the menu items required, select OK to confirm changes
and return to the Camera menu.
5. Repeat steps 2 to 4 for each camera and then return to the Camera menu.
6. When you have made all the changes required in the Camera menu, go to OK and press Enter or
left-click the mouse to save all changes and return to the main menu. Press the Menu button to
return to live mode.