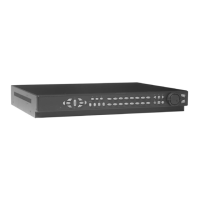
TruVision DVR 40 User Manual 59
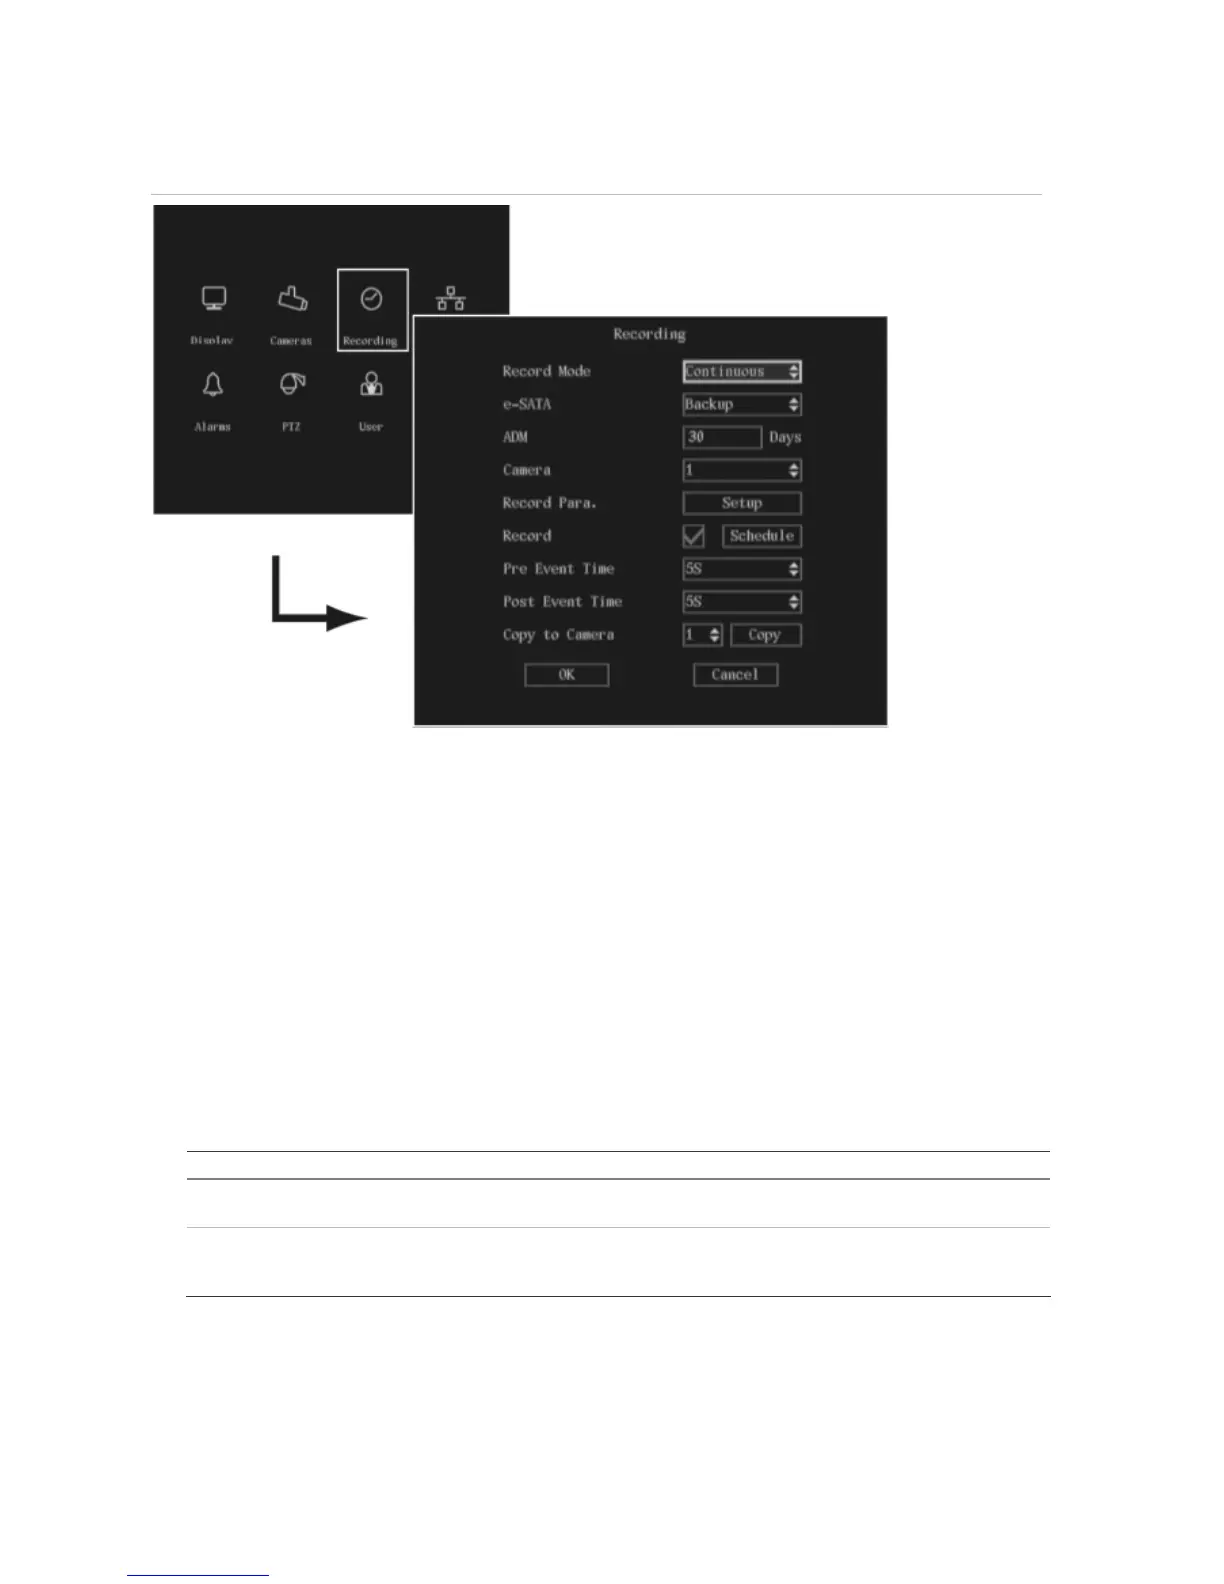
Figure 19: The Recording menu
The following procedure shows how to change the recording settings of a selected camera in the
Recording menu. They can be changed in any order.
In the main menu, go to the Recording icon and press Enter or left-click the mouse. The Recording
menu appears.
Responding to full HDD
You can select how the TVR 40 responds when the HDDs become full and there is no longer sufficient
space to save new data.
To setup how the TVR 40 will respond to full HDDs
1. In the Recording menu go to the Record Mode list box and select one of the two options:
Option Description
Continuous When all the HDDs in the TVR 40 are full, the TVR 40 will overwrite the earliest written recorded
files and continue recording.
No Overwrite When all the HDDs in the TVR 40 are full, the device will handle the event as a “Hard Disk Full”
condition and respond according to how this condition has been programmed under the
Notification menu. For more information, see page 66.
2. When you have made all the changes required in the Recording menu, go to OK and press Enter
or left-click the mouse to save all changes and return to the main menu. Press the Menu button to
return to live mode.