GE MEDICAL SYSTEMS
2127661
LOGIQ 400 SERVICE MANUAL
TM
8–34 OPTIONS
REV 5
8–3–9 Setting Parameters of UP–2950 Series Printers (Continued)
4. Press the MENU key. The COLOR SETUP top menu will be displayed on the LCD of the printer. Refer to
ILLUSTRATION 8–31
COLOR SETUP
/COL/l/p/i/o/
SETUP MENU OF PRINTER (a)
ILLUSTRATION 8–31
Note
There are five (5) setup categories in the preset menu, COLOR (c), LAYOUT (l), PRINTER (p), IN-
PUT (i), and OUTPUT (o). We can select the setup category on the Top menu of each category.
5. Press the RIGHT arrow key once to select the LAYOUT setup menu. Refer to ILLUSTRATION 8–32.
LAYOUT SETUP
/c/LAY/p/i/o/
SETUP MENU OF PRINTER (b)
ILLUSTRATION 8–32
6. Press the DOWN arrow key twice to display the “MULTI PIX” menu. Refer to ILLUSTRATION 8–33.
MULTI PIX :
–/––/–/4/––
SETUP MENU OF PRINTER (c)
ILLUSTRATION 8–33
7. Make sure that the “4” is selected for the MULTI. PIX (“–/––/–/4/––” is displayed on the LCD when the “4” is se-
lected). Refer to ILLUSTRATION 8–33.
Otherwise, select the “4” using the LEFT arrow or RIGHT arrow key.
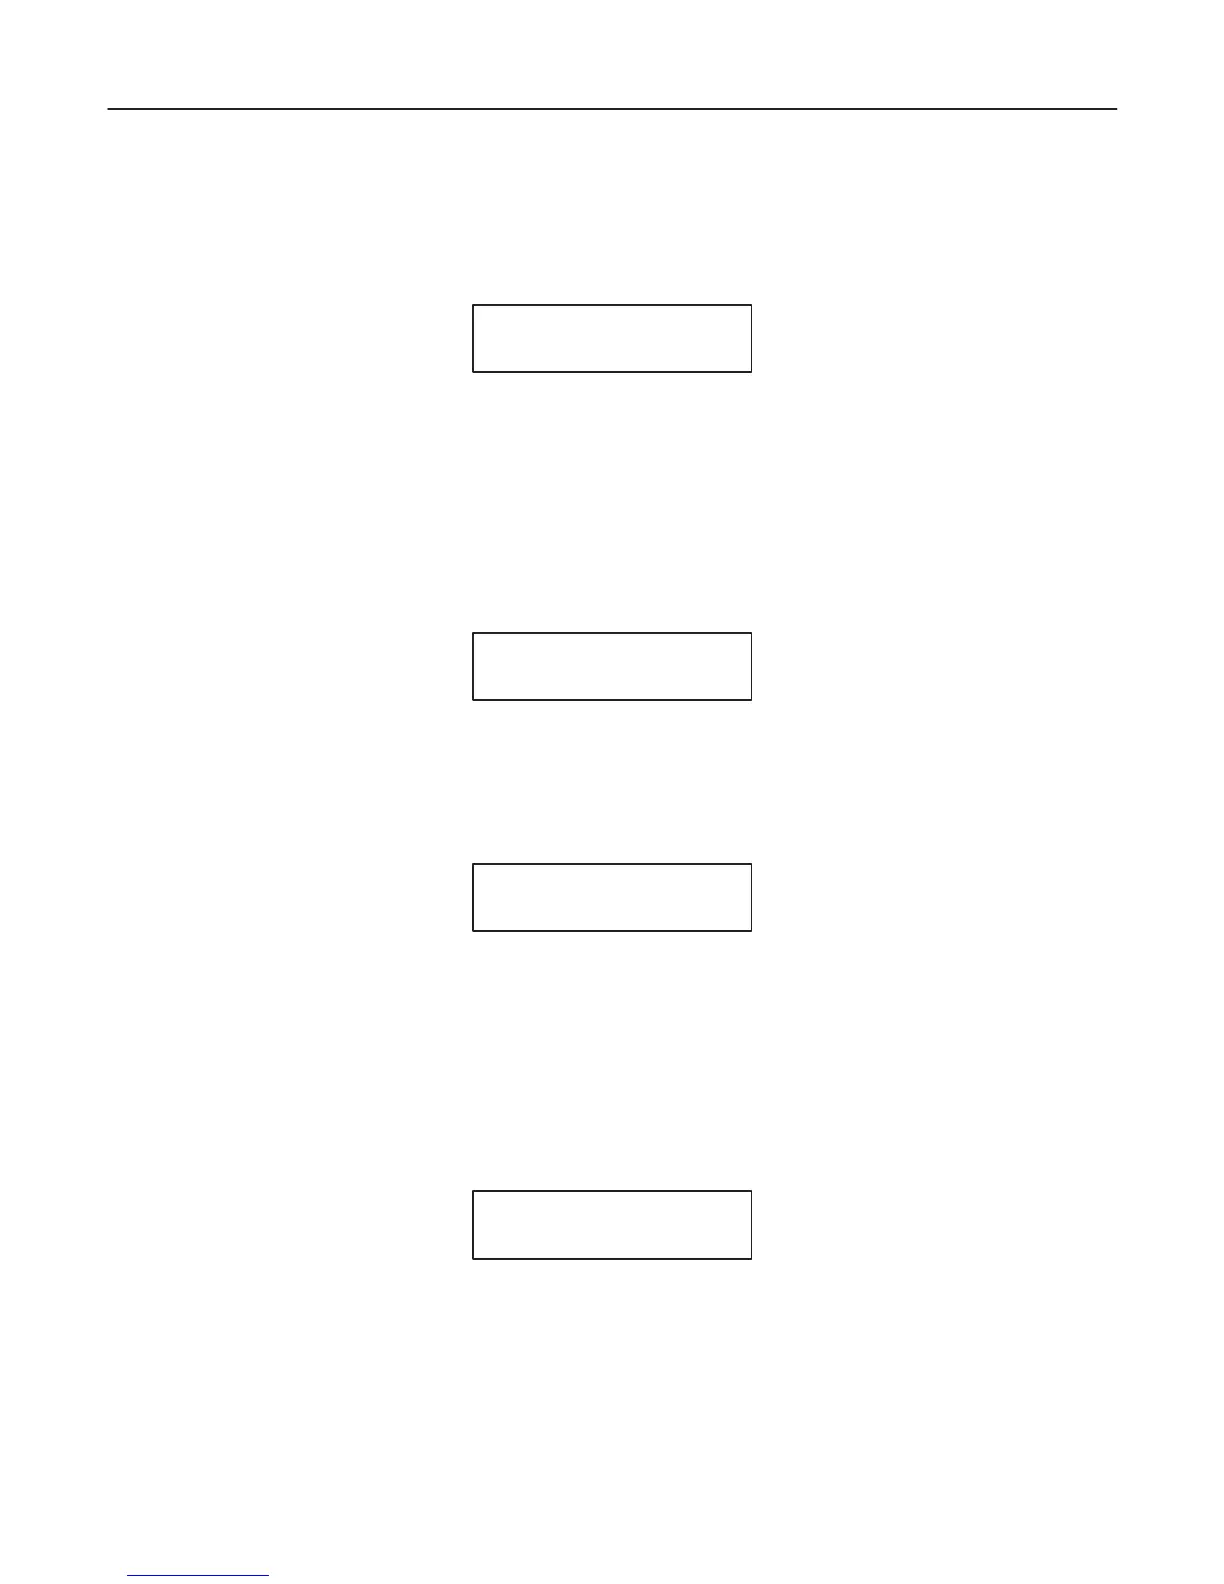
8. Press the DOWN arrow key once to display the “SEPARATE” menu. Refer to ILLUSTRATION 8–34.
SEPARATE :
OFF/on
SETUP MENU OF PRINTER (d)
ILLUSTRATION 8–34
9. Make sure that the SEPARATE is set to “OFF” (“OFF/on” is displayed on the LCD when the SEPARATE is set to
OFF). Refer to ILLUSTRATION 8–34.
Otherwise, set the SEPARATE to “OFF” using the LEFT arrow or RIGHT arrow key.

 Loading...


