GE MEDICAL SYSTEMS
2127661
LOGIQ 400 SERVICE MANUAL
TM
8–35 OPTIONS
REV 5
8–3–9 Setting Parameters of UP–2950 Series Printers (Continued)
10. Press the UP arrow key three times to display the “LAYOUT SETUP” Top menu again. Refer to
ILLUSTRATION 8–32.
11. Select the INPUT setup menu using the LEFT arrow or RIGHT arrow key (“/c/l/p/IN/o/” is displayed on the LCD
when the INPUT setup menu is selected).
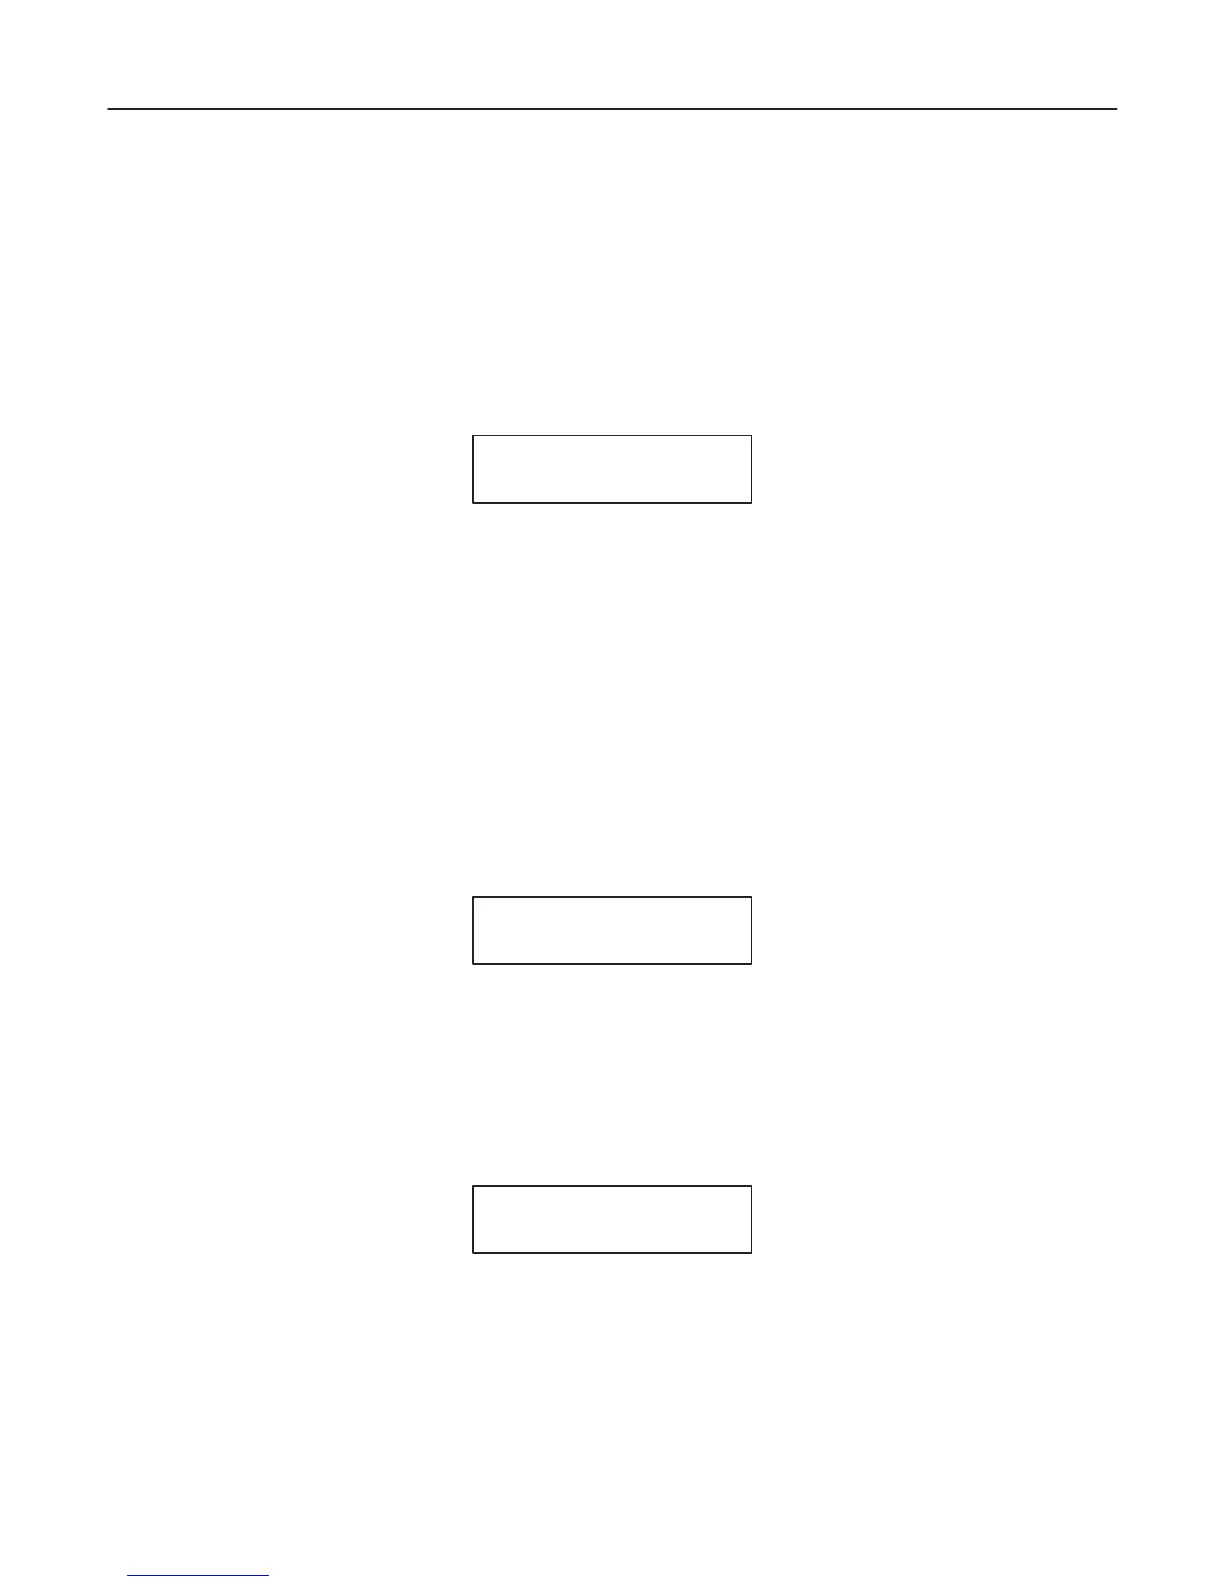
12. Press the DOWN arrow key once to display the “INPUT SEL” menu. Refer to ILLUSTRATION 8–35.
INPUT SEL :
v/sv/RGB
SETUP MENU OF PRINTER (e)
ILLUSTRATION 8–35
13. Make sure that the “RGB” is selected (“v/sv/RGB” is displayed on the LCD when the RGB is selected). Refer to
ILLUSTRATION 8–35.
Otherwise, select the “RGB” using the LEFT arrow or RIGHT arrow key.
14. Press the UP arrow key once to display the “INPUT SETUP” Top menu.
15. Select the PRINTER setup menu using the LEFT arrow or RIGHT arrow key (“/c/l/PRN/i/o/” is displayed on the
LCD when the PRINTER setup menu is selected).
16. Press the DOWN arrow key four times to display the “SYSTEM SETUP” menu. Refer to ILLUSTRATION 8–36.
SYSTEM SETUP :
PRESS[>]
SETUP MENU OF PRINTER (f)
ILLUSTRATION 8–36
17. Press the RIGHT arrow key to display the SYSTEM SETUP sub–menu.
18. Press the DOWN arrow key twice to display the “BAUDRATE” menu. Refer to ILLUSTRATION 8–37.
BAUDRATE :
12/24/48/9600
SETUP MENU OF PRINTER (g)
ILLUSTRATION 8–37
19. Make sure that the “9600” is selected for the BAUDRATE (“12/24/48/9600” is displayed on the LCD when the
9600bps is selected). Refer to ILLUSTRATION 8–37.
Otherwise, select the “9600” using the LEFT arrow or RIGHT arrow key.

 Loading...


