GE MEDICAL SYSTEMS
2127661
LOGIQ 400 SERVICE MANUAL
TM
8–64 OPTIONS
REV 5
8–5–8 Operational Check–out (Continued)
34. Press the
and keys of Sub Menu Select keys simultaneously to display the second menu. The ECG
second menu is displayed as shown in ILLUSTRATION 8–68.
35. Select the PCG Positn section using the or key of Sub Menu Select keys. The PCG Positn section is
displayed in reverse video.
36. Check that the position of the PCG waveform moves vertically by means of pressing the
or key of Sub
Menu Select keys.
37. Select the PCG Gain section using the or key of Sub Menu Select keys. The PCG Gain section is
displayed in reverse video.
38. Check that the size of the PCG waveform changes by means of pressing the
or key of Sub Menu Select
keys.
39. Press the
and keys of Sub Menu Select keys simultaneously to display the first menu. The ECG first
menu is displayed on the CRT monitor screen.
40. Select the PCG Wave section using the or key of Sub Menu Select keys.
41. Press key to exit the PCG mode. The PCG waveform will disappear.
42. Connect the function generator with the AUX connector on the ECG panel assy.
Note
Use a adapter plug to connect the function generator as necessary.
43. Input the 2Vp-p, 1Hz signal into the system using the function generator.
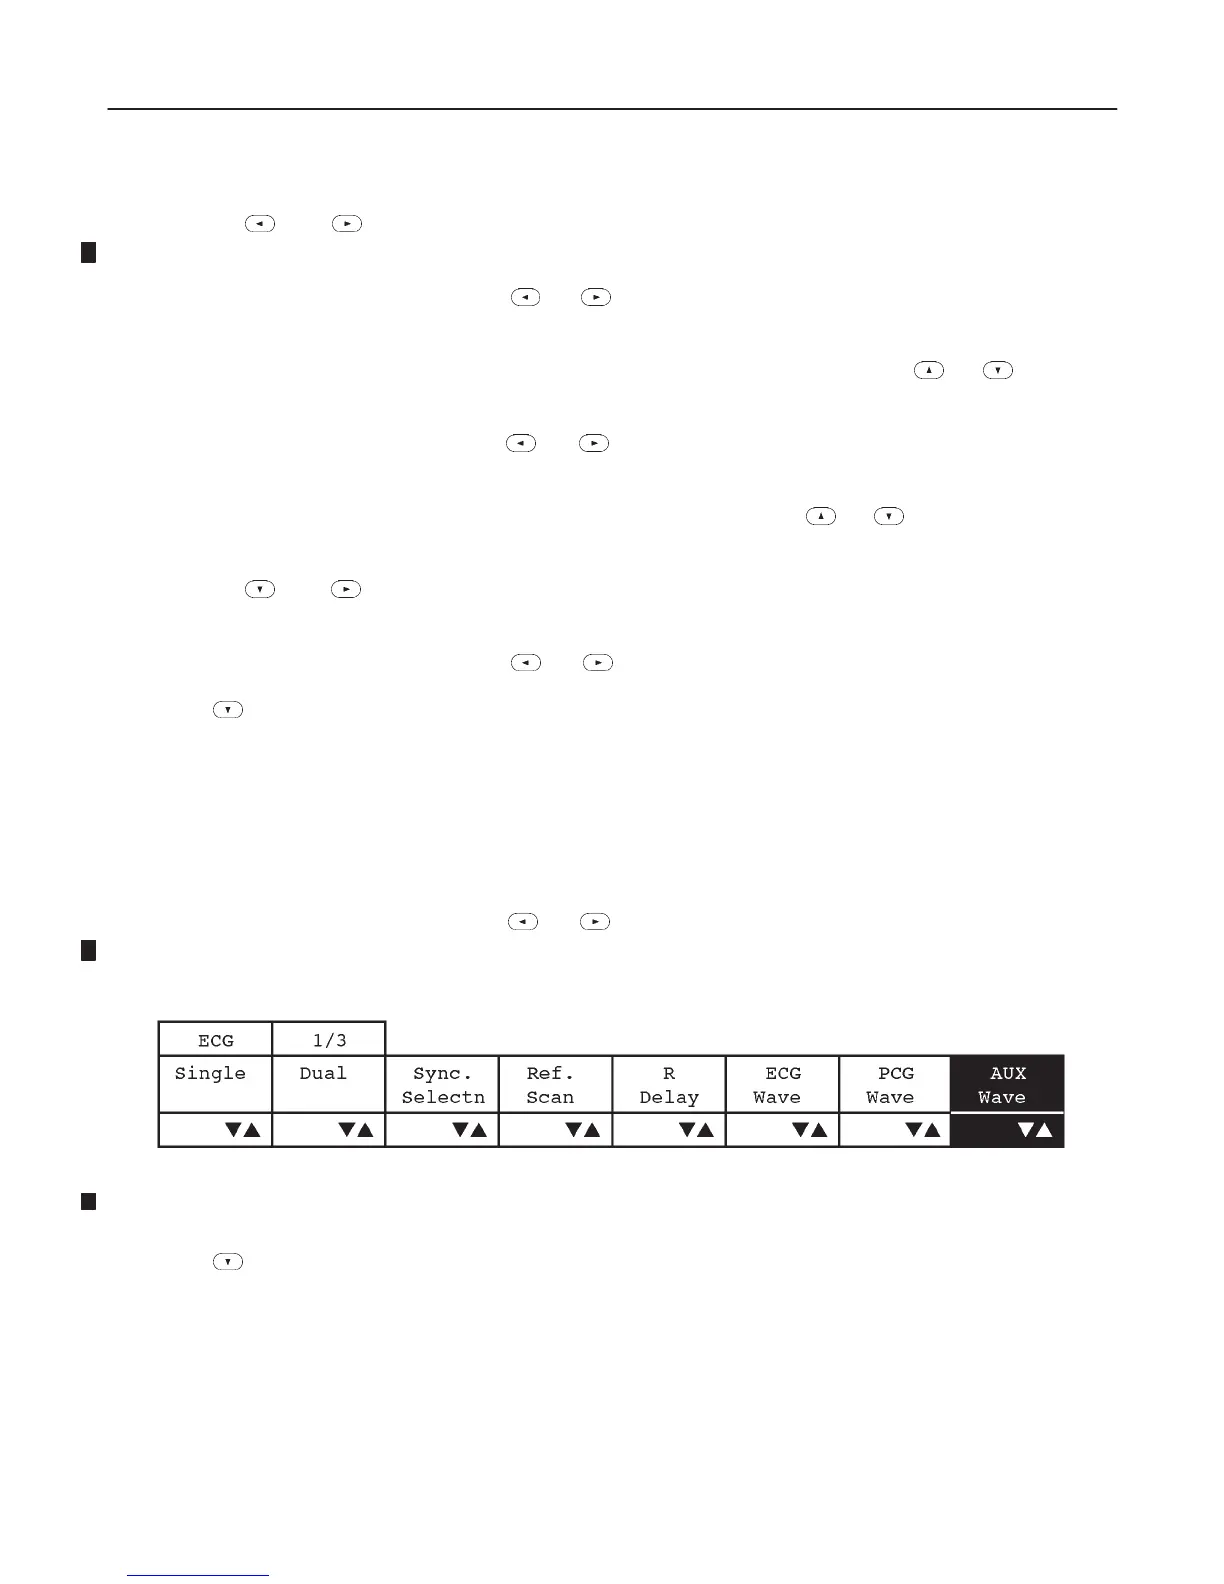
44. Select the AUX Wave section using the or key of Sub Menu Select keys. The AUX Wave section is
displayed in reverse video as shown in ILLUSTRATION 8–74.
ECG MENU (f)
ILLUSTRATION 8–74
45. Press key to select the AUX Wave.

 Loading...