DIRECTION 5750007-1EN, REV. 1 LOGIQ E10 BASIC SERVICE MANUAL
Chapter 3 LOGIQ E10 Setup 3 - 25
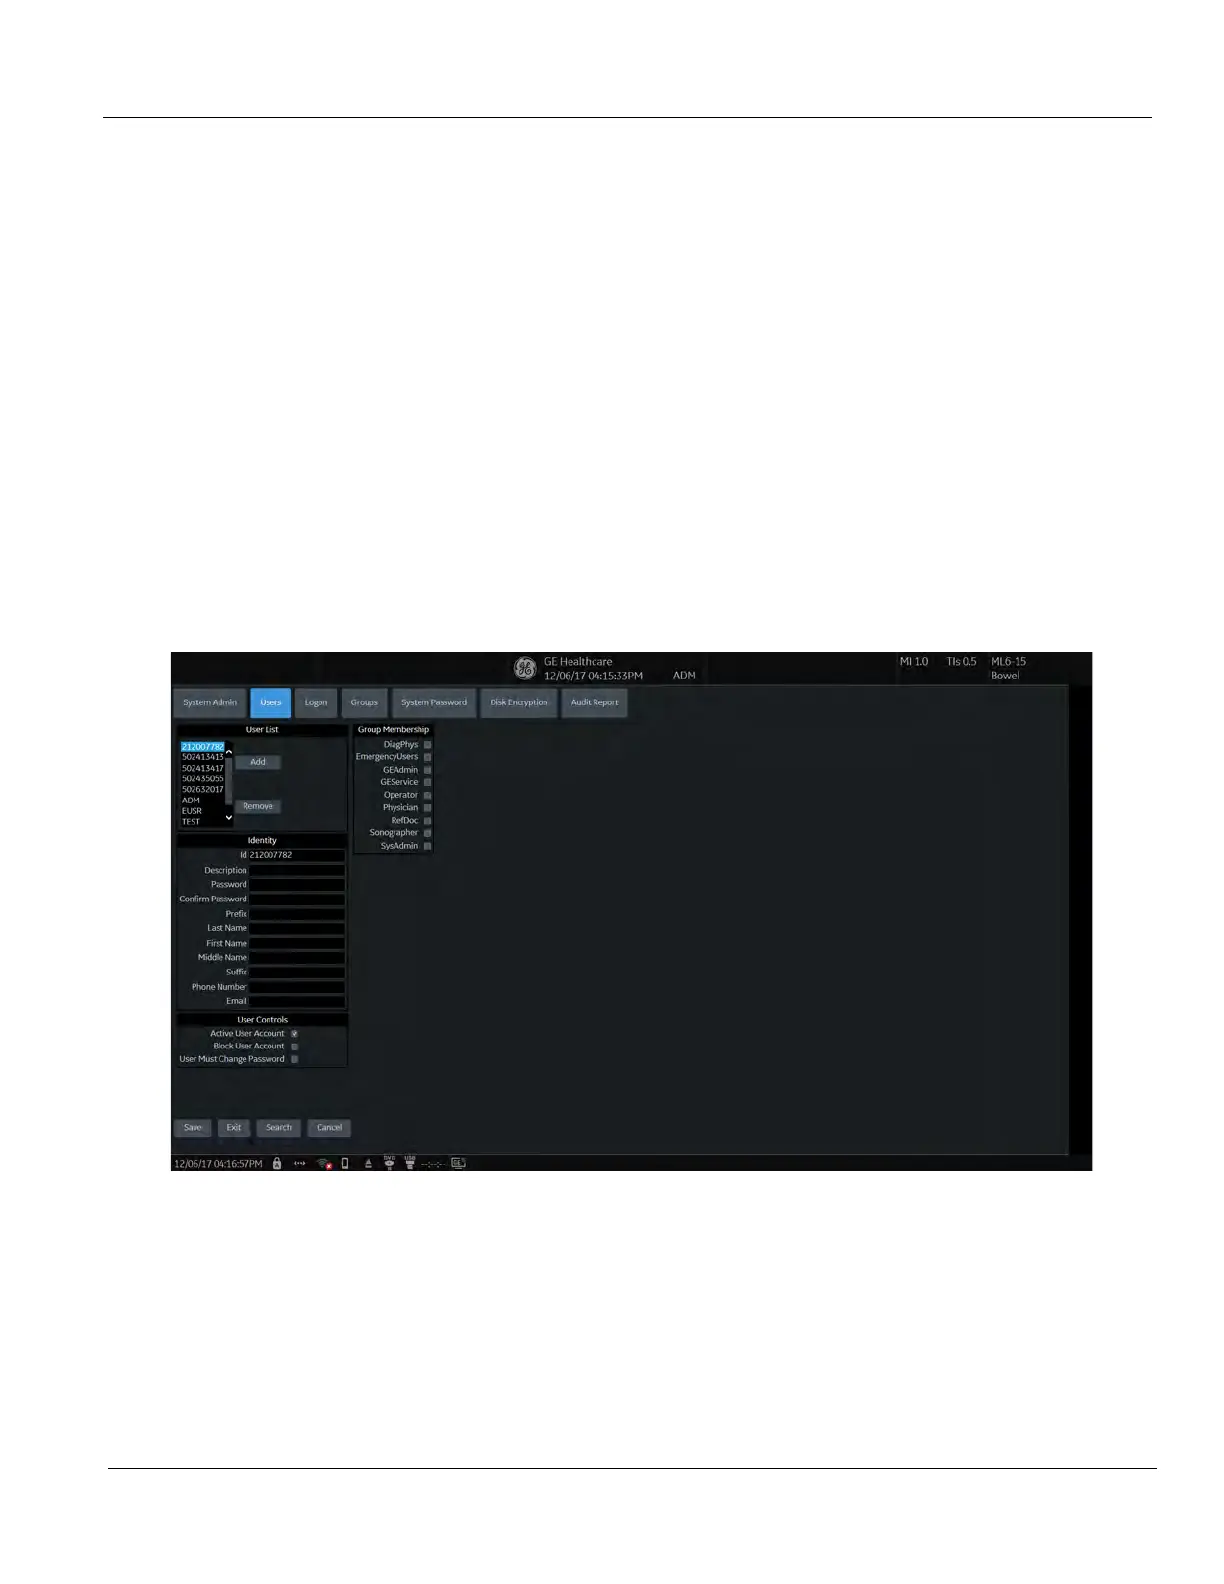
To add users:
1.) Navigate to Utility > Admin > Users.
2.) Select Add and enter the user details.
NOTE: You will need to edit the ID field from NewUser default. Do not push “Add” again until adding
another user.
DO NOT include the following characters in a user ID: slash (/), dash (-), asterisk (*), question mark (?),
an underscore (_), ampersand (&), or blank spaces. Also, DO NOT set up Users with the same
initials/signifier.
3.) Enter password using the defined policies.
4.) If needed, select User Must Change Password. The user will be prompted to change the
password on the next logon.
5.) Under Group Membership, select the groups for the new user.
NOTE: The user password is system specific. If the user needs to access multiple systems the
password will need to be entered manually on each system.
The system administrator can specify whether the users account is Active, Blocked or requires a
password change.
The system administrator may also remove a user. Highlight the user Id in the list, select Remove to
mark the user as inactive and then select Remove again to remove user from the list.
Figure 3-11 Users