DIRECTION 5750007-1EN, REV. 1 LOGIQ E10 BASIC SERVICE MANUAL
8 - 286 Section 8-11 - Front End Acquisition / Card Cage parts replacement
8-11-10 WLAN replacement
NOTE: The WLAN Card replacement Kit includes all the hardware for the WLAN, replace all the
hardware when the WLAN Card is replaced.
Table 8-311 Manpower / Time and Tools
Manpower /
Time
Tools / PPE
One person /
30 minutes
Refer to: 8-2-5 "Tools needed for servicing the LOGIQ E10" on page 8-6 /
8-2-6 "PPE Required During Service" on page 8-6.
A magnifying glass to connect the WLAN antenna cables to the WLAN Card will be
very useful for this procedure.
Table 8-312 WLAN replacement
Steps Corresponding Graphic
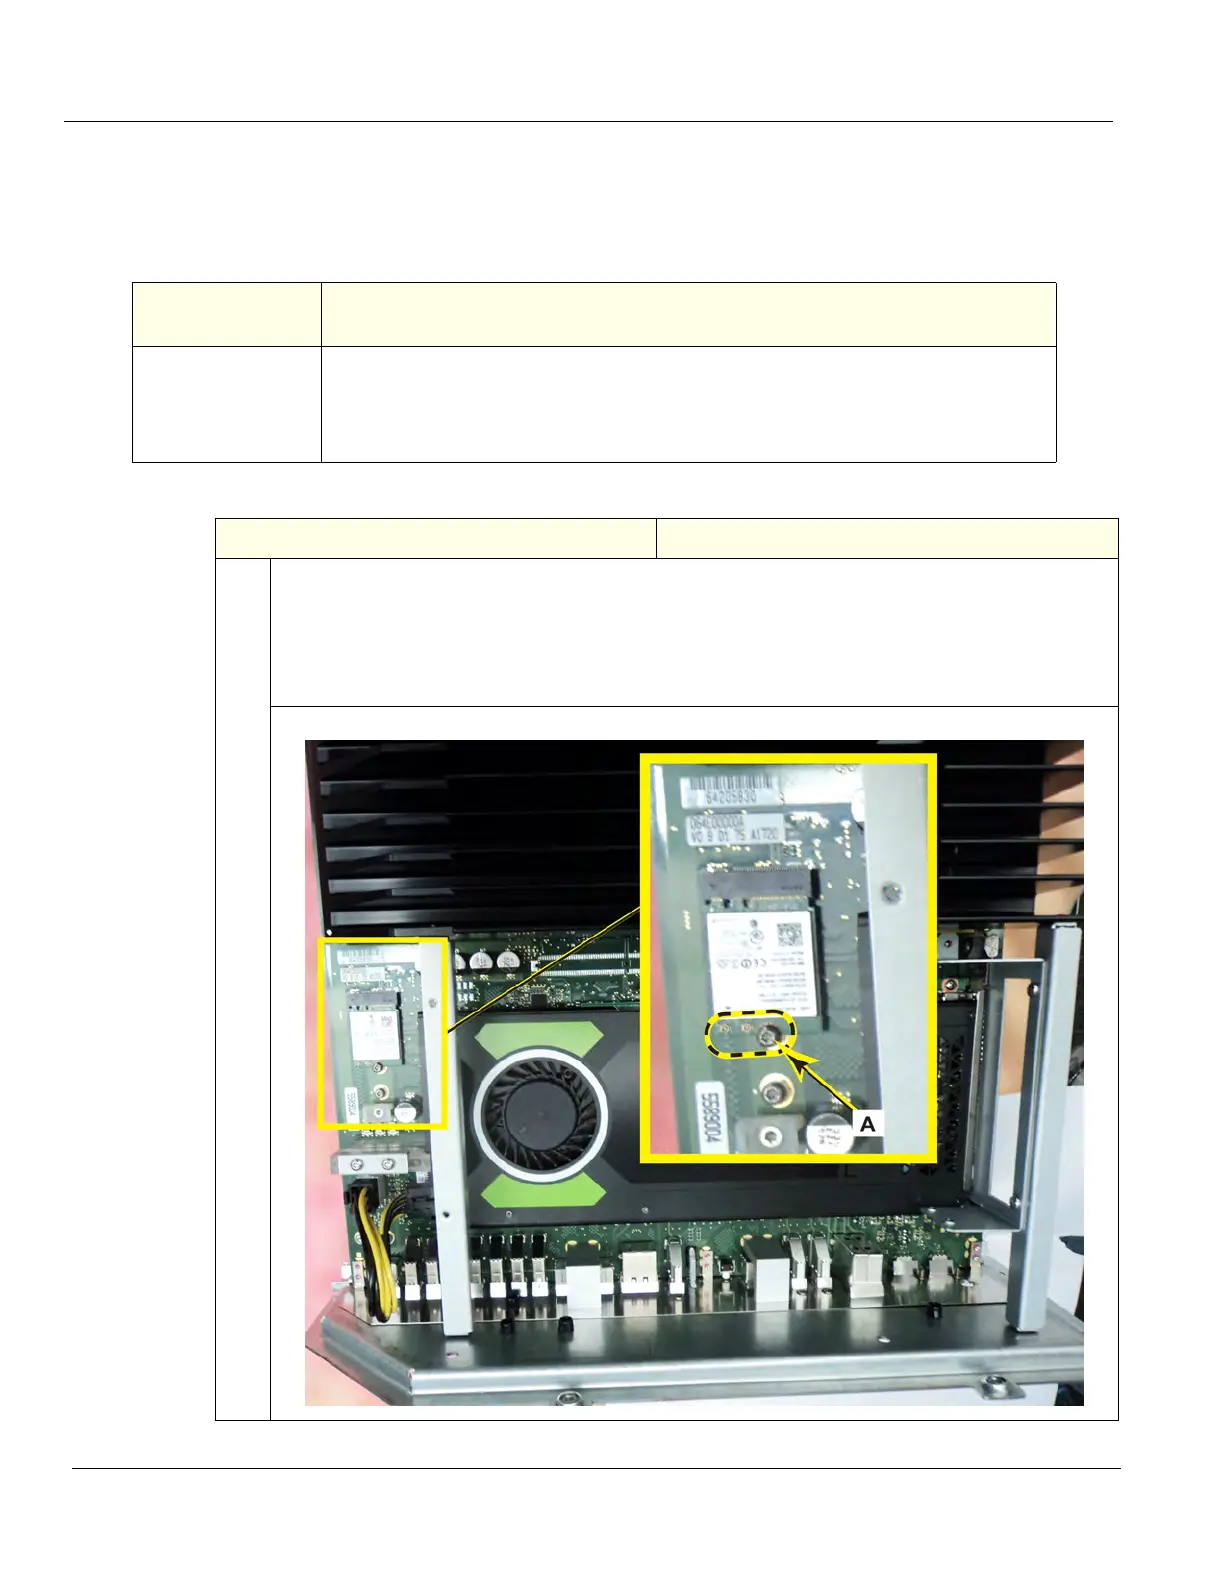
1.
The WLAN Card is connected and mounted to the ECB.
Remove the antennas.
Place the ECB on a safe, level ESD surface when servicing the WLAN, with the I/O face, facing
down. DO NOT lay the ECB with the GPU facing up, components can be broken.
The antenna cable connections are circled and the WLAN Card mounting screw (A).