DIRECTION 5750007-1EN, REV. 1 LOGIQ E10 BASIC SERVICE MANUAL
8 - 58 Section 8-6 - Replacing Covers and Bumpers
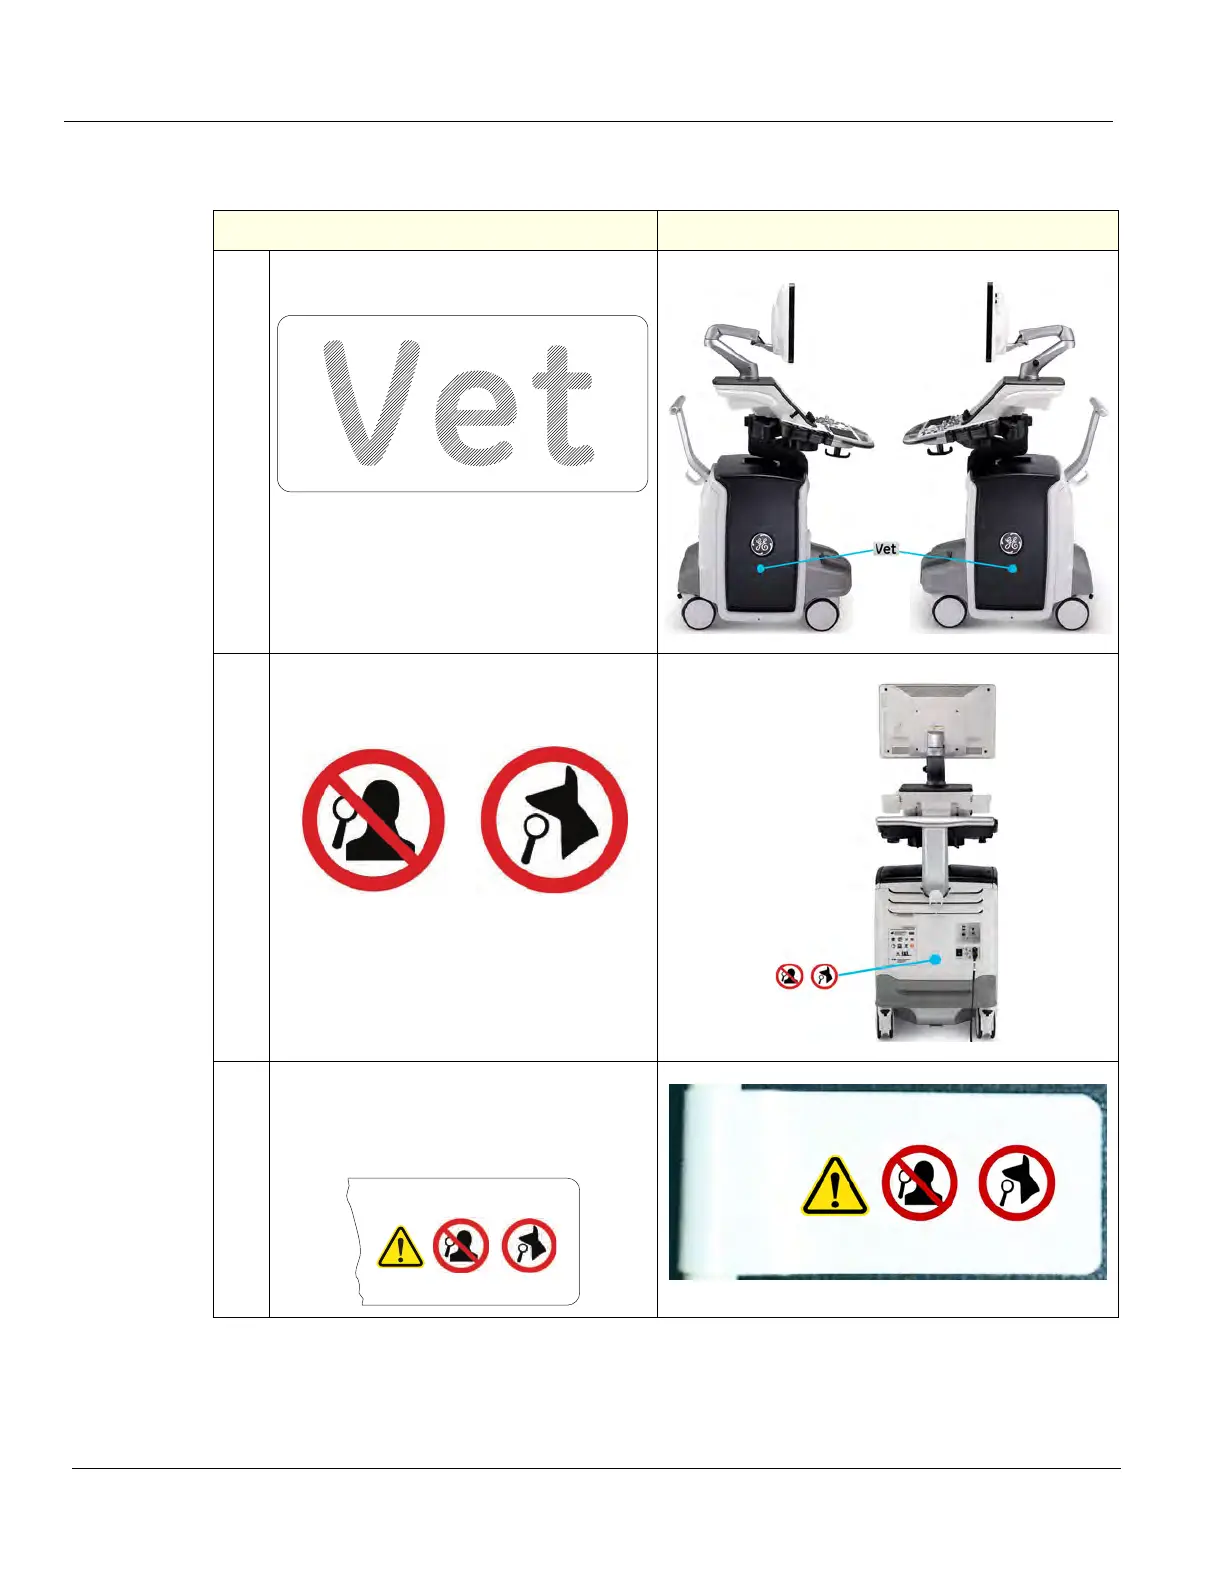
Label Placement for the LOGIQ E10 used in a Veterinary Environment
Table 8-60 LOGIQ E10 used in a Veterinary Environment Label Placement
Steps
Corresponding Graphic
1. If the Side Cover Assemblies are replaced,
re-install the “VET“ Label as shown.
2.
If the Rear Cover Assembly is replaced,
re-install the “For Veterinary use only“ Label
for the Rear Cover Assembly as shown.
NOTE: The Back Cover Label with ETL
Label is not a Spare Part.external
3.
If a Probe is replaced, re-install ALL the
“For Veterinary use only“ Label(s) for
Probes as shown. This label is shown on
the Probe Cable, near the connector.