DIRECTION 5750007-1EN, REV. 1 LOGIQ E10 BASIC SERVICE MANUAL
8 - 74 Section 8-6 - Replacing Covers and Bumpers
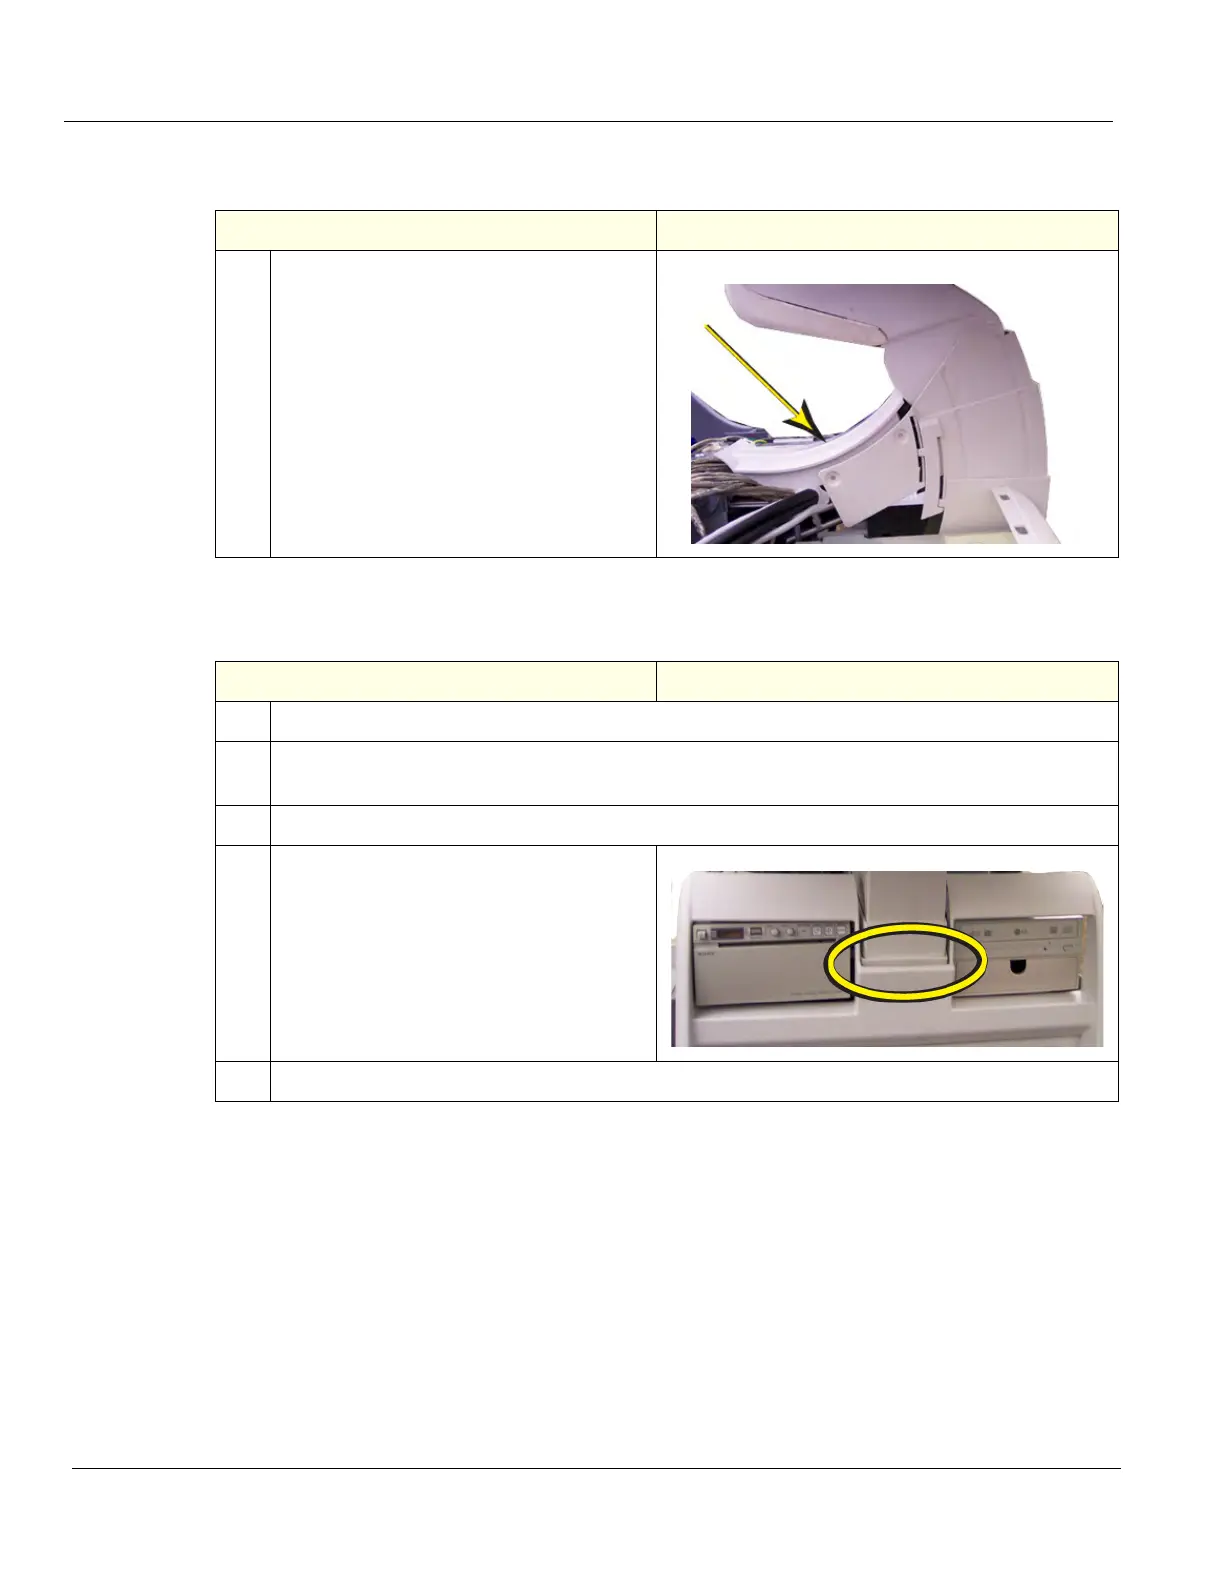
Main Cable Cover removal
Main Cable Cover installation
Table 8-86 Main Cable Cover removal
Steps Corresponding Graphic
1.
Remove the Main Cable Cover (Column
Cover overlaps Main Cable Cover).
Table 8-87 Main Cable Cover installation
Steps Corresponding Graphic
1.
Install the Main Cable Cover so the Column Cover Assembly overlaps Main Cable Cover edges.
2.
With the console raised to its full height, install the 3 screws to secure the Main Cable Cover and
Column Cover Assembly.
3.
Lower the console and install the lower right side screw.
4.
Position the lower Column Cover tab inside
the Front Cover.
5.
Re-install all Covers removed.