DIRECTION 5750007-1EN, REV. 1 LOGIQ E10 BASIC SERVICE MANUAL
Chapter 8 Replacement Procedures 8 - 237
Caster Hubcap replacement
Table 8-260 Caster Hubcap replacement
Steps Corresponding Graphic
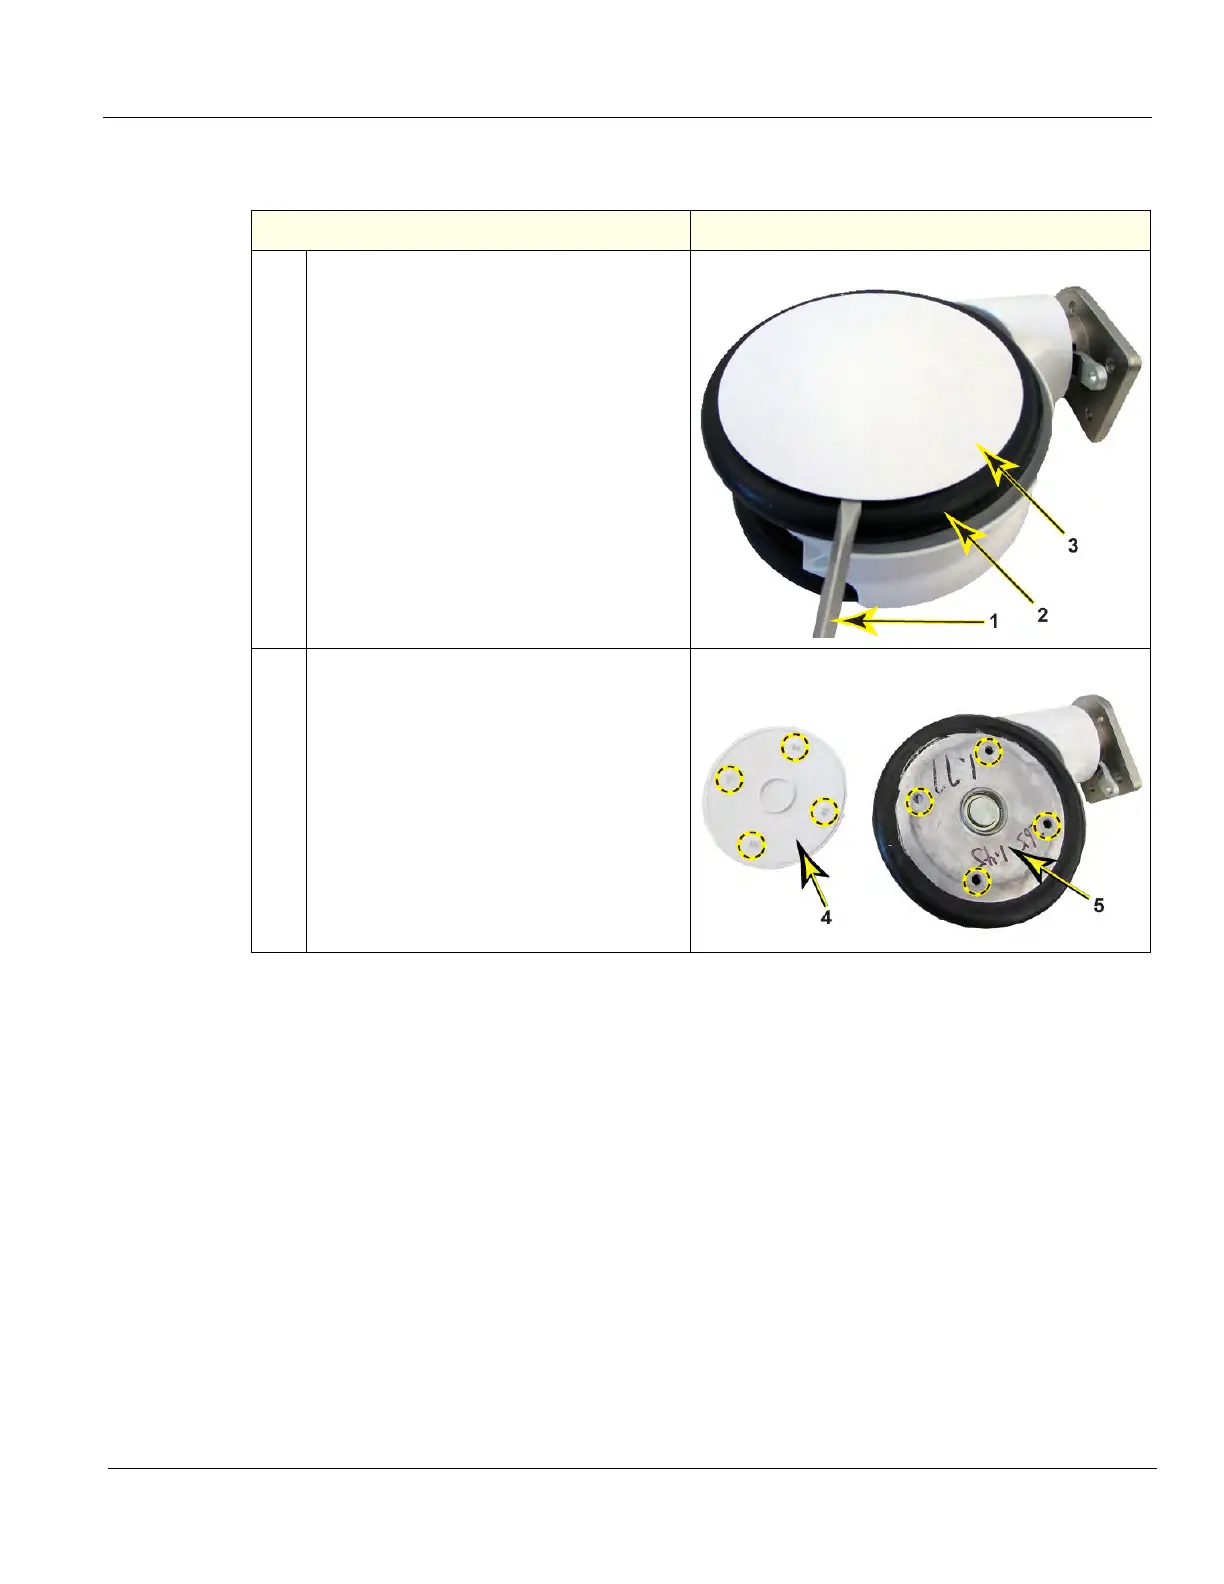
1.
With a flat-head screwdriver (1), insert the
blade between the rubber part (2) of the
Caster and the edge of the Hubcap (3).
Pry off the at several locations around the
Hubcap.
2.
Lift the Hubcap (4) off of the Caster (5).
Place a new Hubcap onto the Caster, by
aligning the four notches on the underside
of the Hubcap (circled) with the four holes
on the Caster (circled).
With the notches and holes aligned, push
on the top of the Hubcap to seat it onto the
Caster.
An audible snap sound will confirm that the
Hubcap is properly attached.