DIRECTION 5750007-1EN, REV. 1 LOGIQ E10 BASIC SERVICE MANUAL
8 - 340 Section 8-11 - Front End Acquisition / Card Cage parts replacement
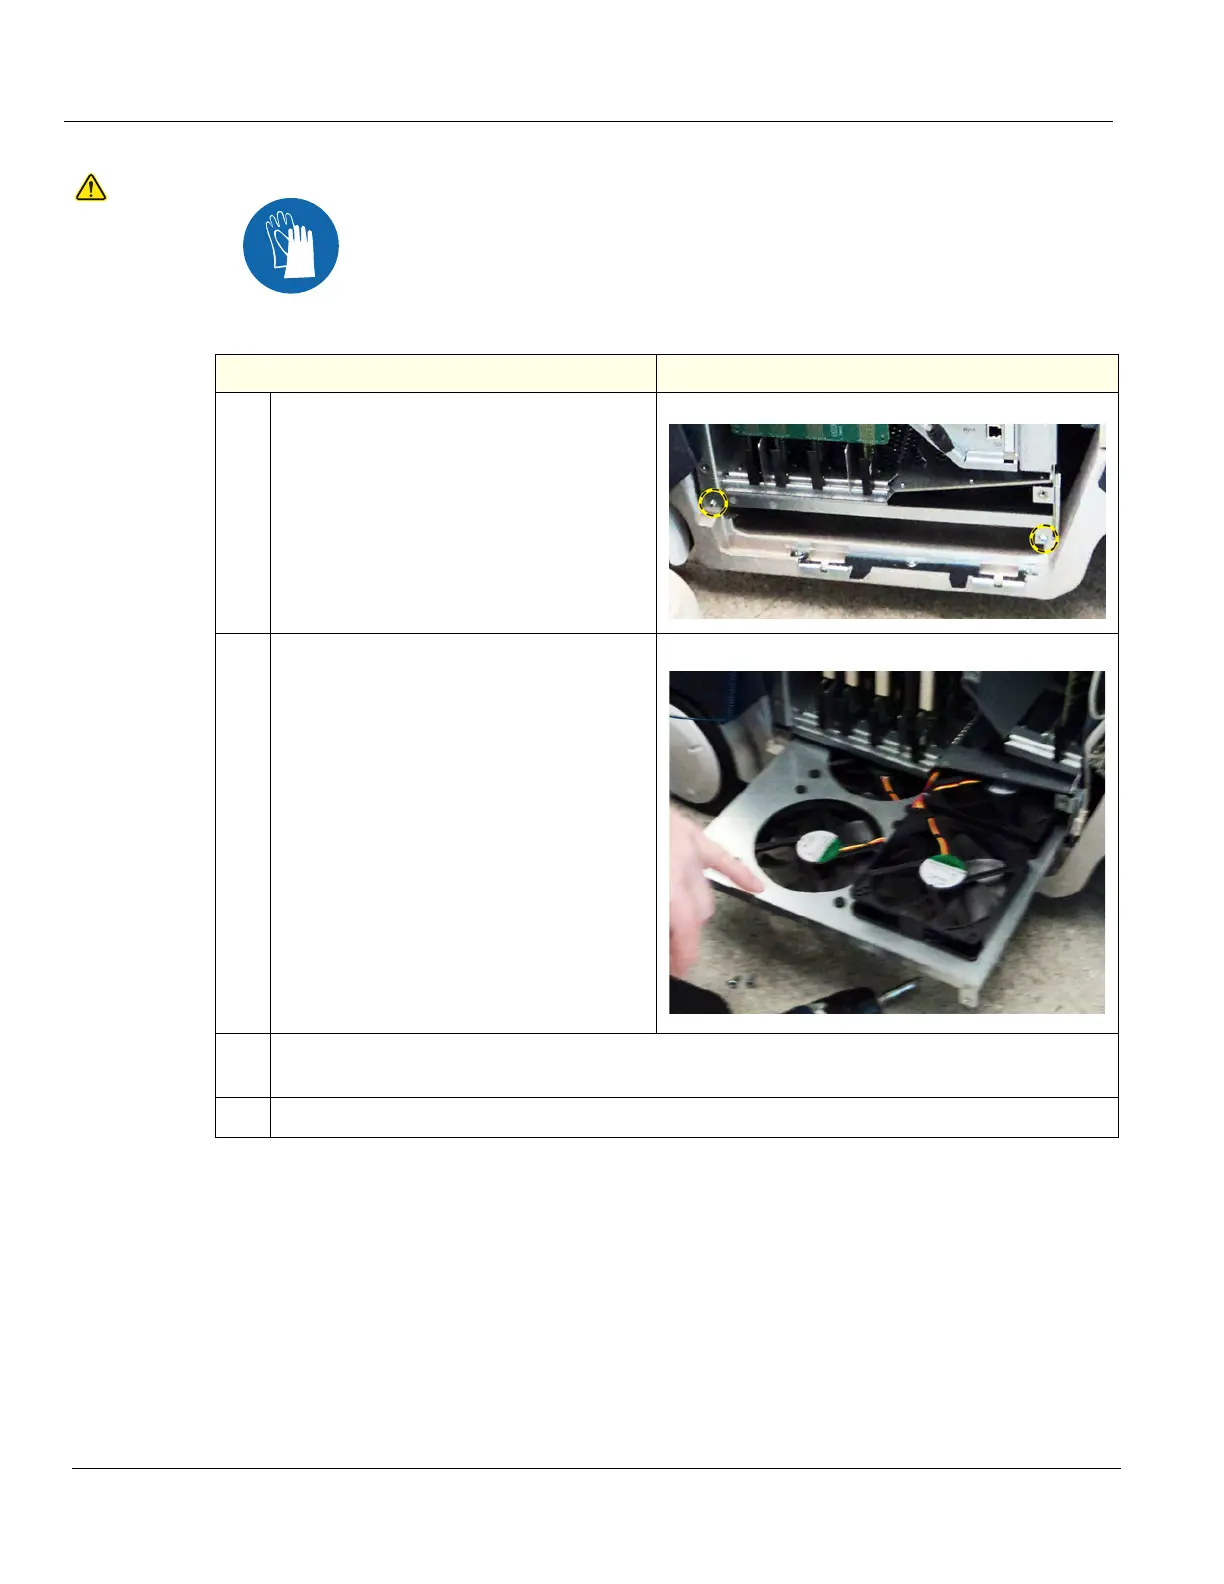
Fan Tray removal / installation
CAUTION
During this procedure, wear cut resistant gloves to avoid scraping your hands when
reaching into the Main Console or blind spaces.
Table 8-351 Fan Tray removal / installation
Steps Corresponding Graphic
1.
Remove the two screws that secure the
Fan Tray Assembly to the Card Cage.
2.
Slide the Fan Tray out of the Card Cage.
3. Re-install the replacement Fan Tray. Make sure the Fan Tray seats completely into the Card
Cage. Re-install the two screws.
4. Re-install all Covers removed.