DIRECTION 5750007-1EN, REV. 1 LOGIQ E10 BASIC SERVICE MANUAL
8 - 346 Section 8-11 - Front End Acquisition / Card Cage parts replacement
Printer Tray removal
Printer Tray installation
Table 8-359 Printer Tray removal
Steps Corresponding Graphic
1.
Raise the Upper OP to the highest position.
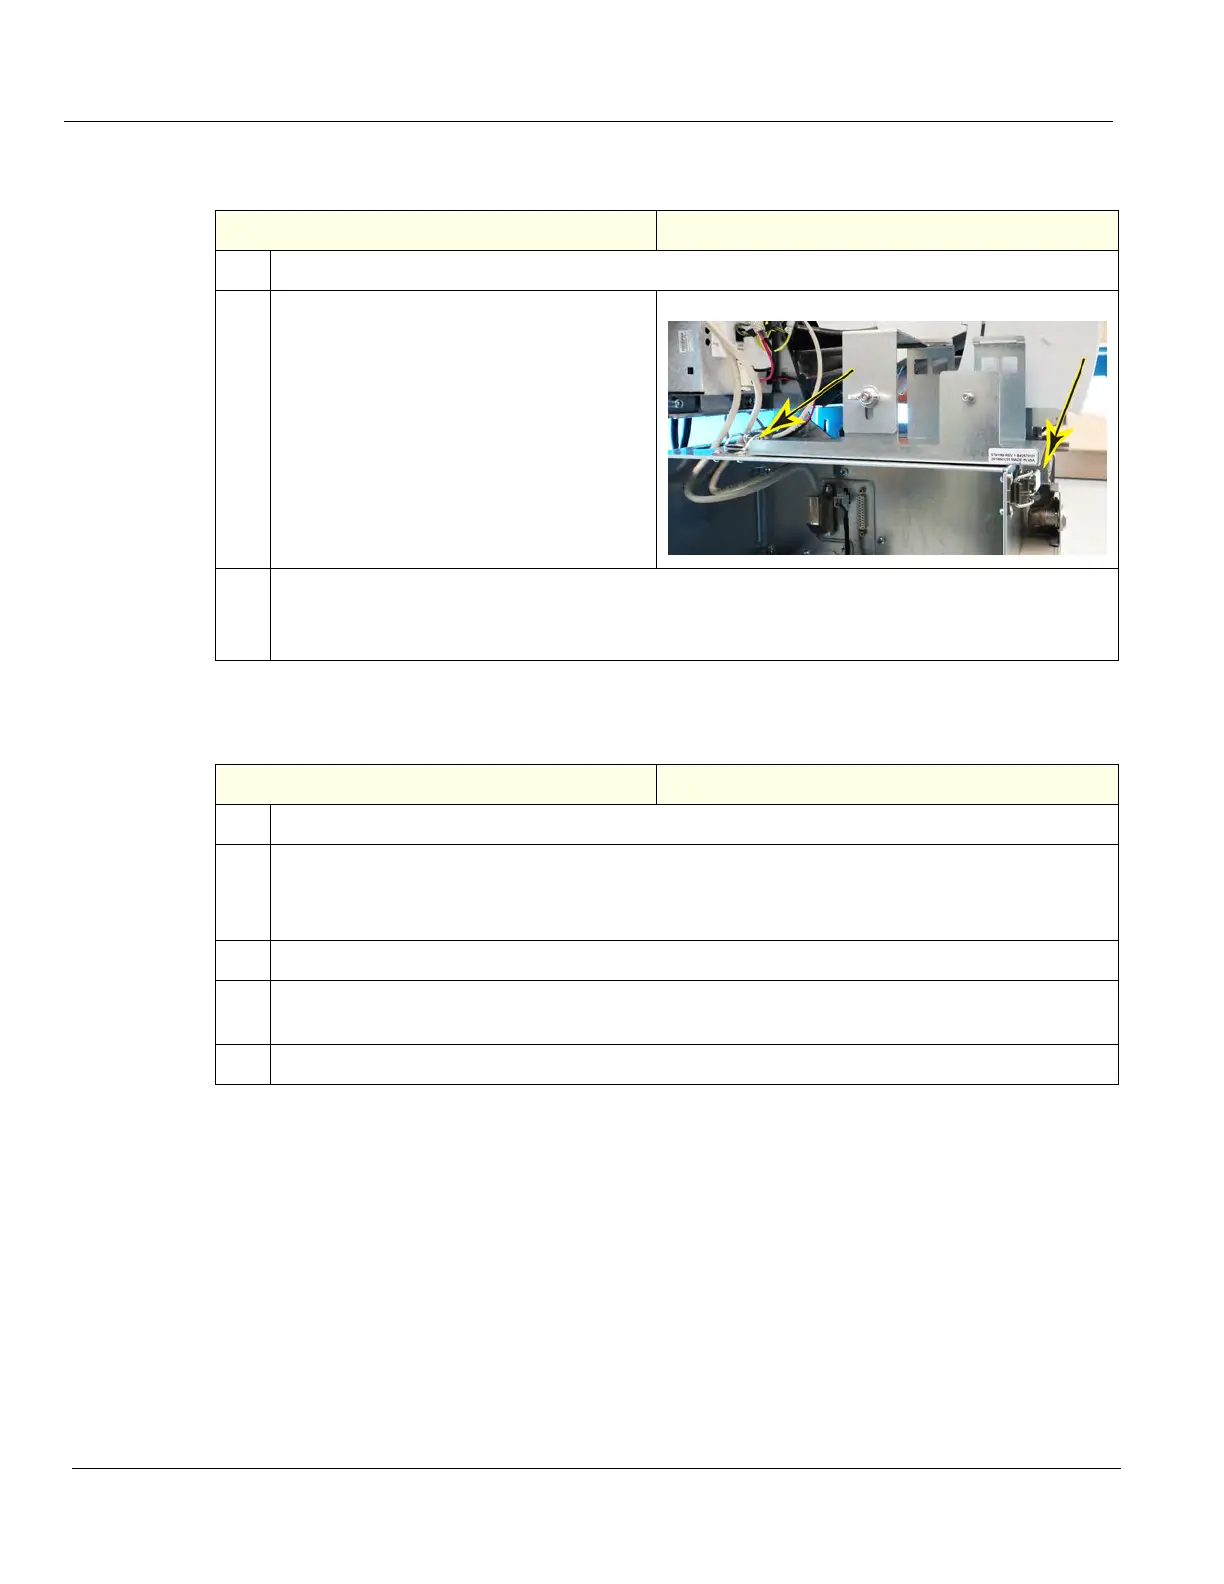
2.
Unlatch the two latches that clamp the
Printer Tray to the Option Box.
3.
Push the Printer Tray in, approximately 1/2 inch to free the three tabs retaining the Tray to the
Option Box.
Remove the Tray.
Table 8-360 Printer Tray installation
Steps Corresponding Graphic
1.
Lower the lower Column Cover.
2.
Position the Printer Tray on top of the Option Box.
The three tabs insert into the slots on the top of the Option Box.
Slide the Tray into the slots until it stops.
3.
Latch the latches that clamp the Printer Tray to the Option Box.
4.
Re-install Printer and connect the cables to the back of the Printer or Printer Filler Storage into
the Printer Tray.
5. Re-install all Covers removed.