GSI Audera Pro User Manual
D-0129360 Rev A Page 141 of 231
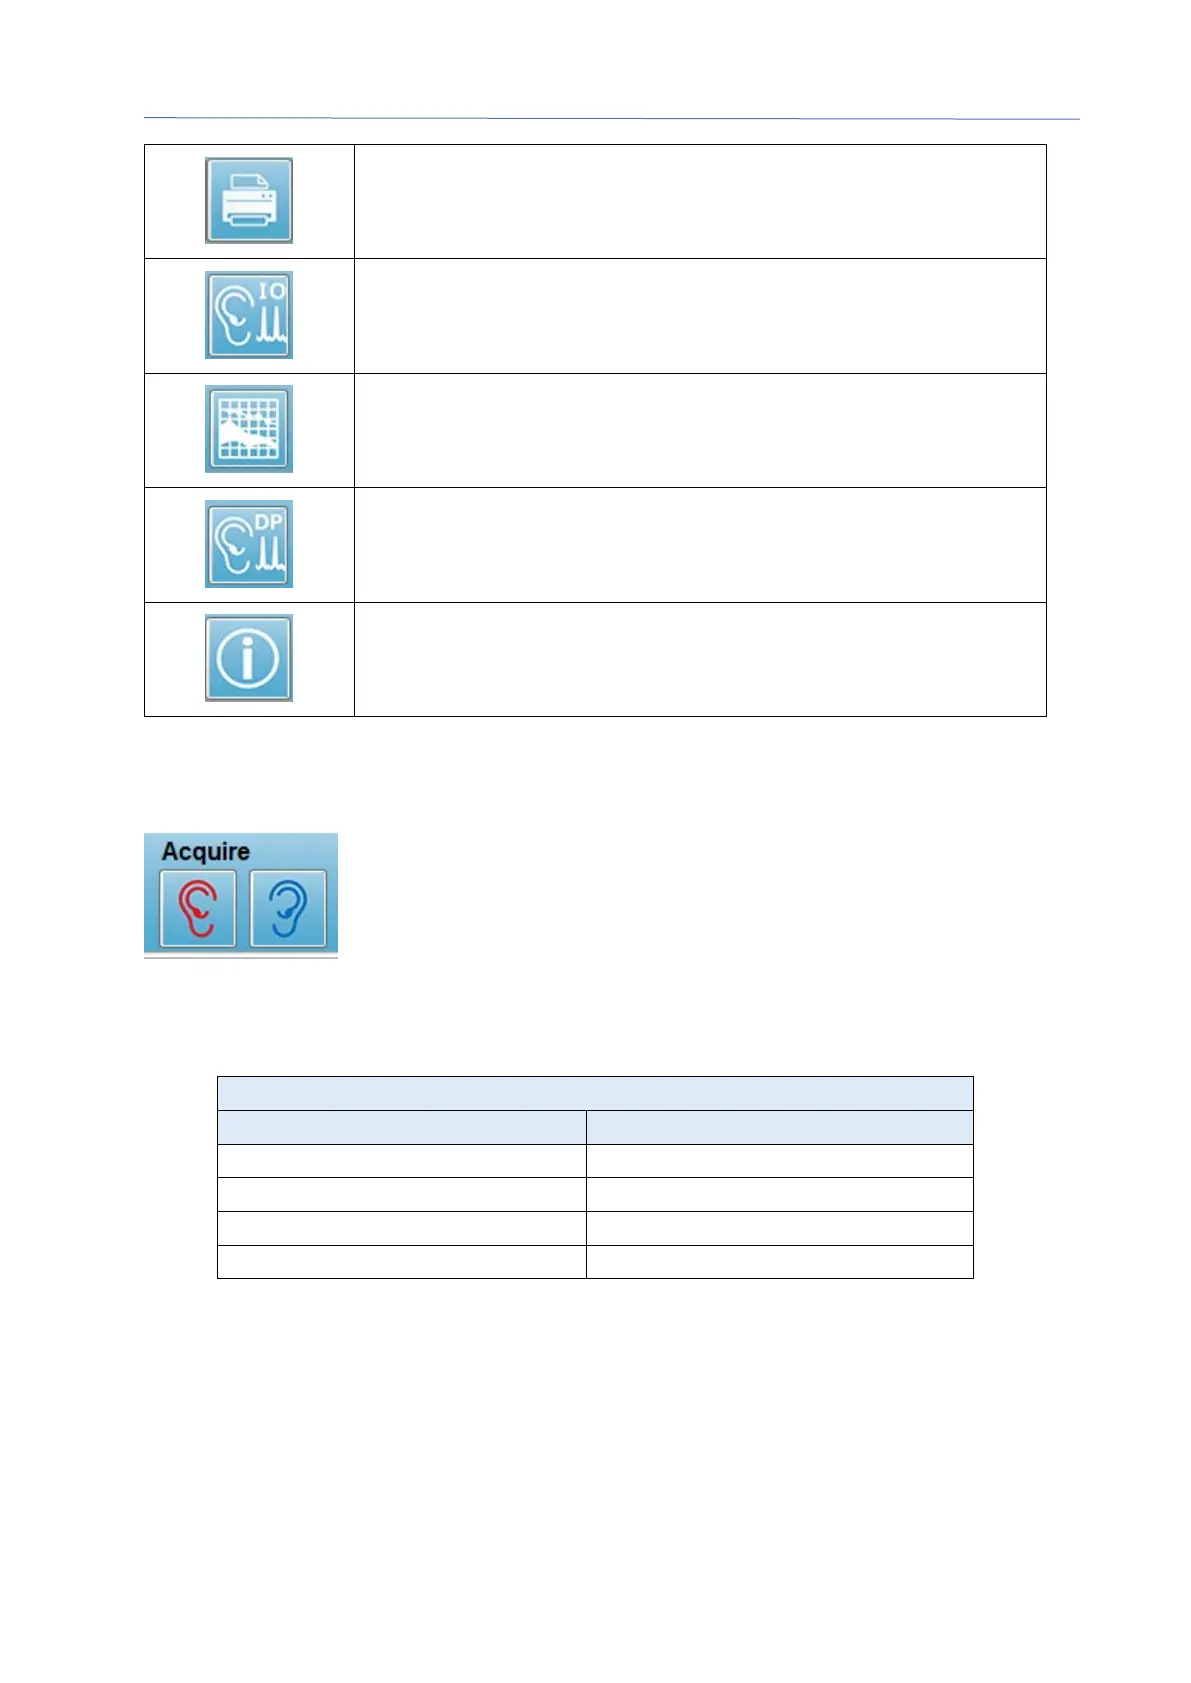
Print DP Gram – displays a pop-up dialog with where the user
may select the print options and setup the printer
DP I/O – DP Input/Output data collection and analysis. The
program collects responses to a single frequency pair at different
stimulus levels.
Data Analysis Screen – displays the DP data analysis screen.
DP Collection – displays the DP collection screen
Open Manual – opens a new window with the program manual
(this document) displayed
D
ATA COLLECTION
Data collection is initiated with the selection of the Right or Left ear
icon from the toolbar. The program has default settings included
with the system. To verify the settings or to change settings prior
to collection select the Parameters icon. Prior to collecting data, a
probe check is preformed if the System, Check Probe Fit item is selected. If the probe
fit is selected, the criteria for passing the probe fit is based on the average noise floor in
a frequency range.
If the probe check fails, a warning message is displayed, and collection does not begin.
After the probe fit (if selected), the program measures the background noise followed
by an in-ear level correction. During the in-ear correction the program cycles through
each frequency pair presenting the stimuli and recording the level to adjust the levels as
needed. Vertical line pairs are shown on the screen while the in-ear correction is being
performed and removed once data acquisition begins. An error message may be
presented if the correction values are too large and recommend checking the probe fit.