GSI Audera Pro User Manual
D-0129360 Rev A Page 164 of 231
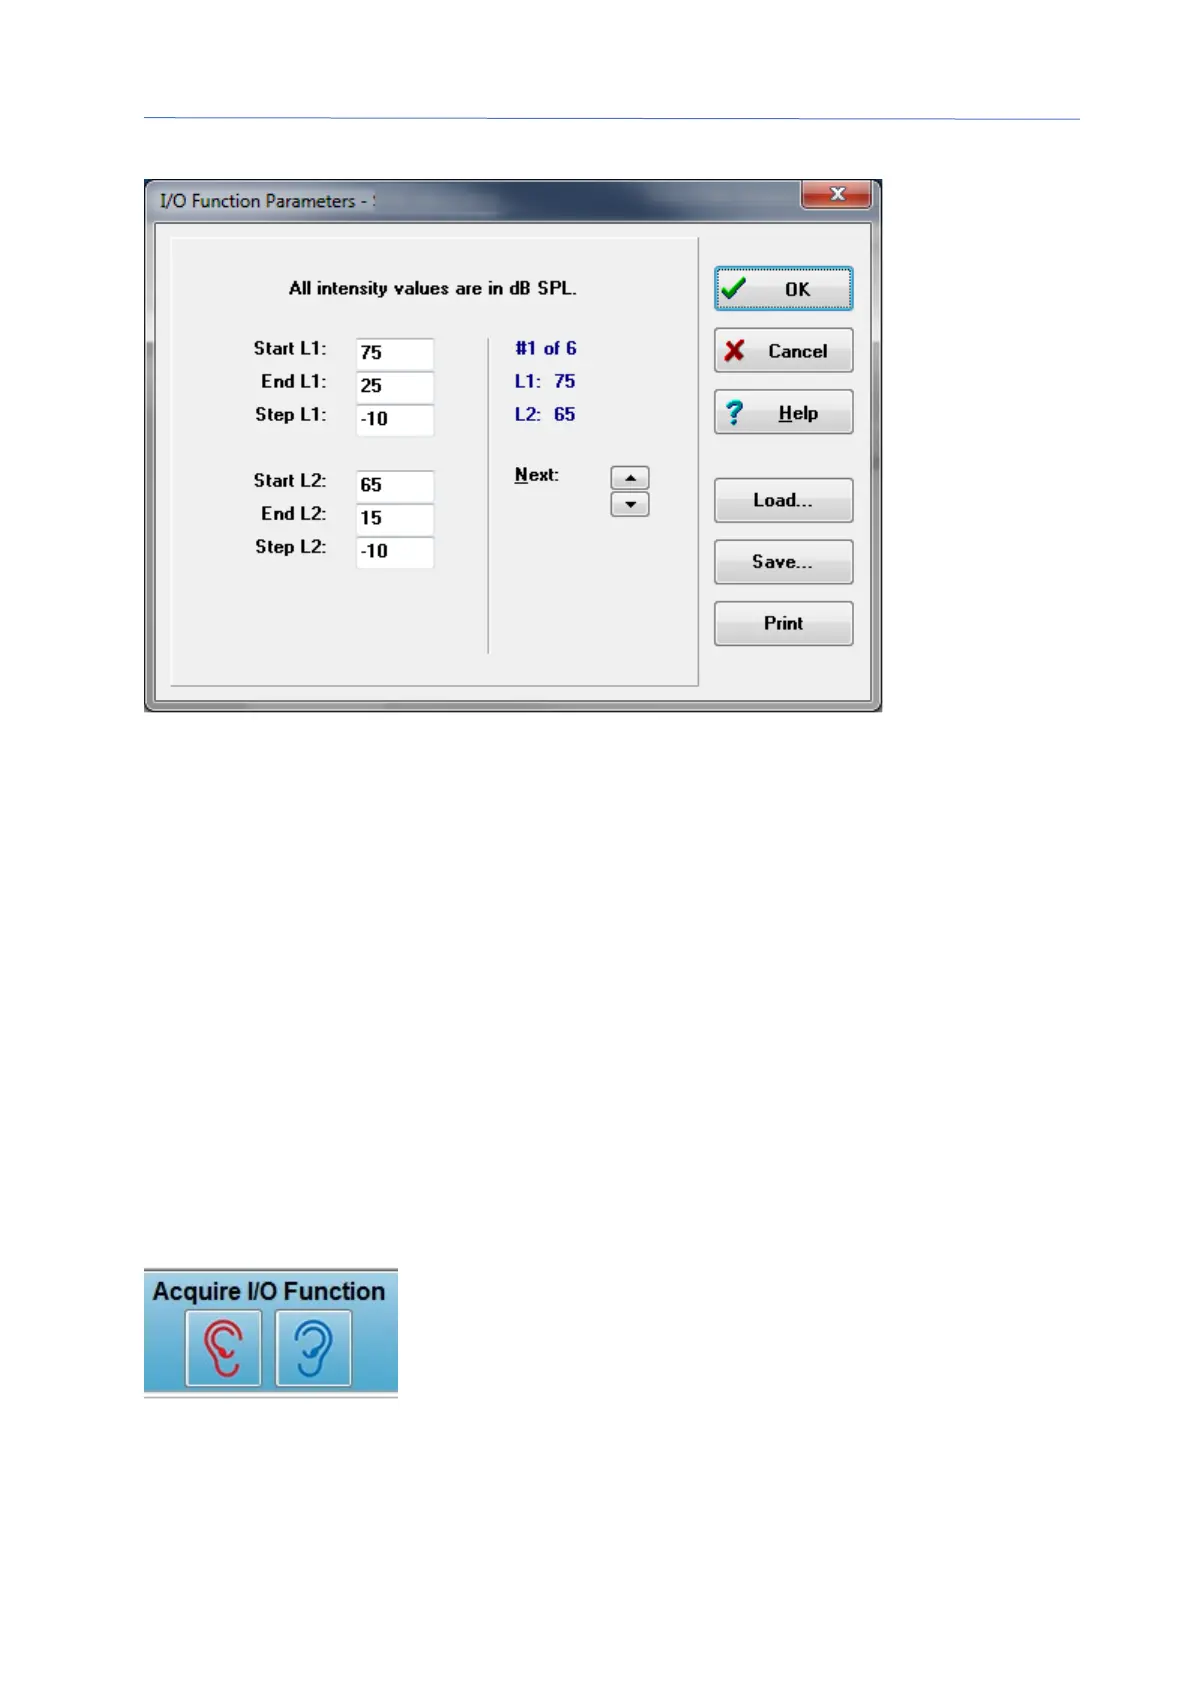
DP I/O Levels Dialog
Setting the Step size to a negative value presents the stimulus levels from high to low.
Setting the Step size to a positive value starts at the low level (End) and increases the
levels to the Start value. The end level should match the step size and number of steps
desired. The number of steps and the levels for each step is indicated on the panel to
the right of the entered values. You can see each step using the Up and Down arrow
buttons.
Option buttons
The OK button closes the window and using the settings for the data collection. The
Cancel button closes the window, disregarding any modifications to the data. The Help
button displays the program manual in a new window. The Load button presents a
dialog where you may select a previously saved I/O parameter data file. The Save
button presents a dialog where you may name and save the I/O parameter data as a
file. The Print button sends the current I/O parameter data to the printer.
Data Collection
Data collection is initiated with the selection of the Right or
Left ear icon from the toolbar. The data collection process
and screen are like that previous described for the DPOAE.
The only difference is that the DPGram has a different X axis
showing the level of the stimulus pair instead of the
frequency of the stimulus pair.
 Loading...