Preventive Maintenance and Installation 95
Haemonetics
®
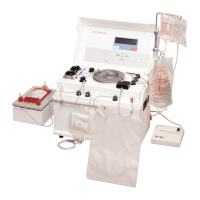
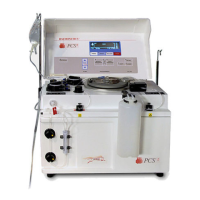
ACP-215
®
Service Manual P/N: SM-ACP215-01-EN(AB)
6. Pressurize the sphygmomanometer or digital pressure meter to
200 mmHg and verify that there is not a leak as evidenced by a decrease
in pressure. Press PUMP DOWN ARROW and remove the tubing.
7. Press PUMP DOWN ARROW and the valve closes.
Test valve 4 (orange)
1. Press HIDDEN KEY #2 and valve 4 (orange) opens. See Figure 29 on
page 94 for the locations of hidden keys
2. Install a length 0.170” tubing through the open pinch valve 4 (orange)
and attach one end to a sphygmomanometer or digital pressure meter.
3. Verify that valve 4 opens and the LED is lit.
4. Press HIDDEN KEY #2 and the valve closes.
5. Verify that valve 4 closes and its LED is not lit.
6. Pressurize the sphygmomanometer or digital pressure meter to
200 mmHg and verify that there is not a leak as evidenced by a decrease
in pressure. Press HIDDEN KEY #2 and remove the tubing.
7. Press HIDDEN KEY #2 and the valve closes.
Test valve 5 (yellow)
1. Press SHAKER and valve 5 (yellow) opens.
2. Install a length 0.170” tubing through the open pinch valve 5 (yellow) and
attach one end to a sphygmomanometer or digital pressure meter.
3. Verify that valve 5 opens and its LED is lit.
4. Press SHAKER and the valve closes.
5. Verify that valve 5 closes and its LED is not lit.
6. Pressurize the sphygmomanometer or digital pressure meter to
200 mmHg and verify that there is not a leak as evidenced by a decrease
in pressure. Press SHAKER and remove the tubing.
7. Press SHAKER and valve 5 closes.
Test valve 6 (blue)
1. Press HIDDEN KEY #3 and valve 6 (blue) opens. See Figure 29 on
page 94 for the locations of hidden keys.
2. Install a length 0.170” tubing through the open pinch valve 6 (blue) and
attach one end to a sphygmomanometer or digital pressure meter.
3. Verify that valve 6 opens and its LED is lit.
4. Press HIDDEN KEY #3 and the valve closes.
5. Verify that valve 6 closes and that the LED is not lit.
6. Pressurize the sphygmomanometer or digital pressure meter to
200 mmHg and verify that there is not a leak as evidenced by a decrease
in pressure. Press HIDDEN KEY #3 and remove the tubing.
7. Press HIDDEN KEY #3 and the valve closes.