Iss. a – Translation of the original version
Doc. Ref. : SOUND2.940.001
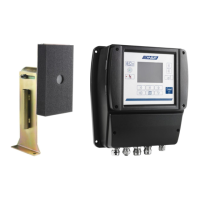
5.3.2.3. Connecting the microphone cable on the PCB end
A shielded cable must be used. This cable passes through the cable gland (diameter 9.5 mm).
The shield wire must be clamped on the cable gland in order for it to be earthed.
Figure 21: Connection on the PCB end (two wires with shielding) - Wiring diagram
HASLER Group recommends using cable (Hasler part number 0631.0007) with the following input
characteristics:
− Input level: 0... 700 mV, with a resistive impedance of 35 KΩ on J1
− EMI Immunity: 2 KV
− Phoenix SPT2.5/2-V-5.0 terminal block (cable cross-section between 0.14 and 2.5 mm²)
1. Unscrew the 2 screws that hold the bottom cover in place.
2. Remove the 2 screws and the bottom cover.
3. Unscrew the cable gland.
4. Pass the cable through the lower part of the cable gland
5. Pass the 2 wires through the cable gland.
The shield wire must not be passed through the upper part of the cable gland.
6. Connect the data bus 1 wire to the PIN 2 connector, using a small flat-head screwdriver to lift the retaining
tab.
7. Connect the data bus 2 wire to the PIN1 connector, using a small flat-head screwdriver to lift the retaining
tab.
There is no difference between the two data buses.
 Loading...