58
2. Mount the cover plate on the control cabinet.
✓ The control cabinet wiring is completed.
ATTACHING THE CLADDING FOR THE TECHNICAL COMPONENTS
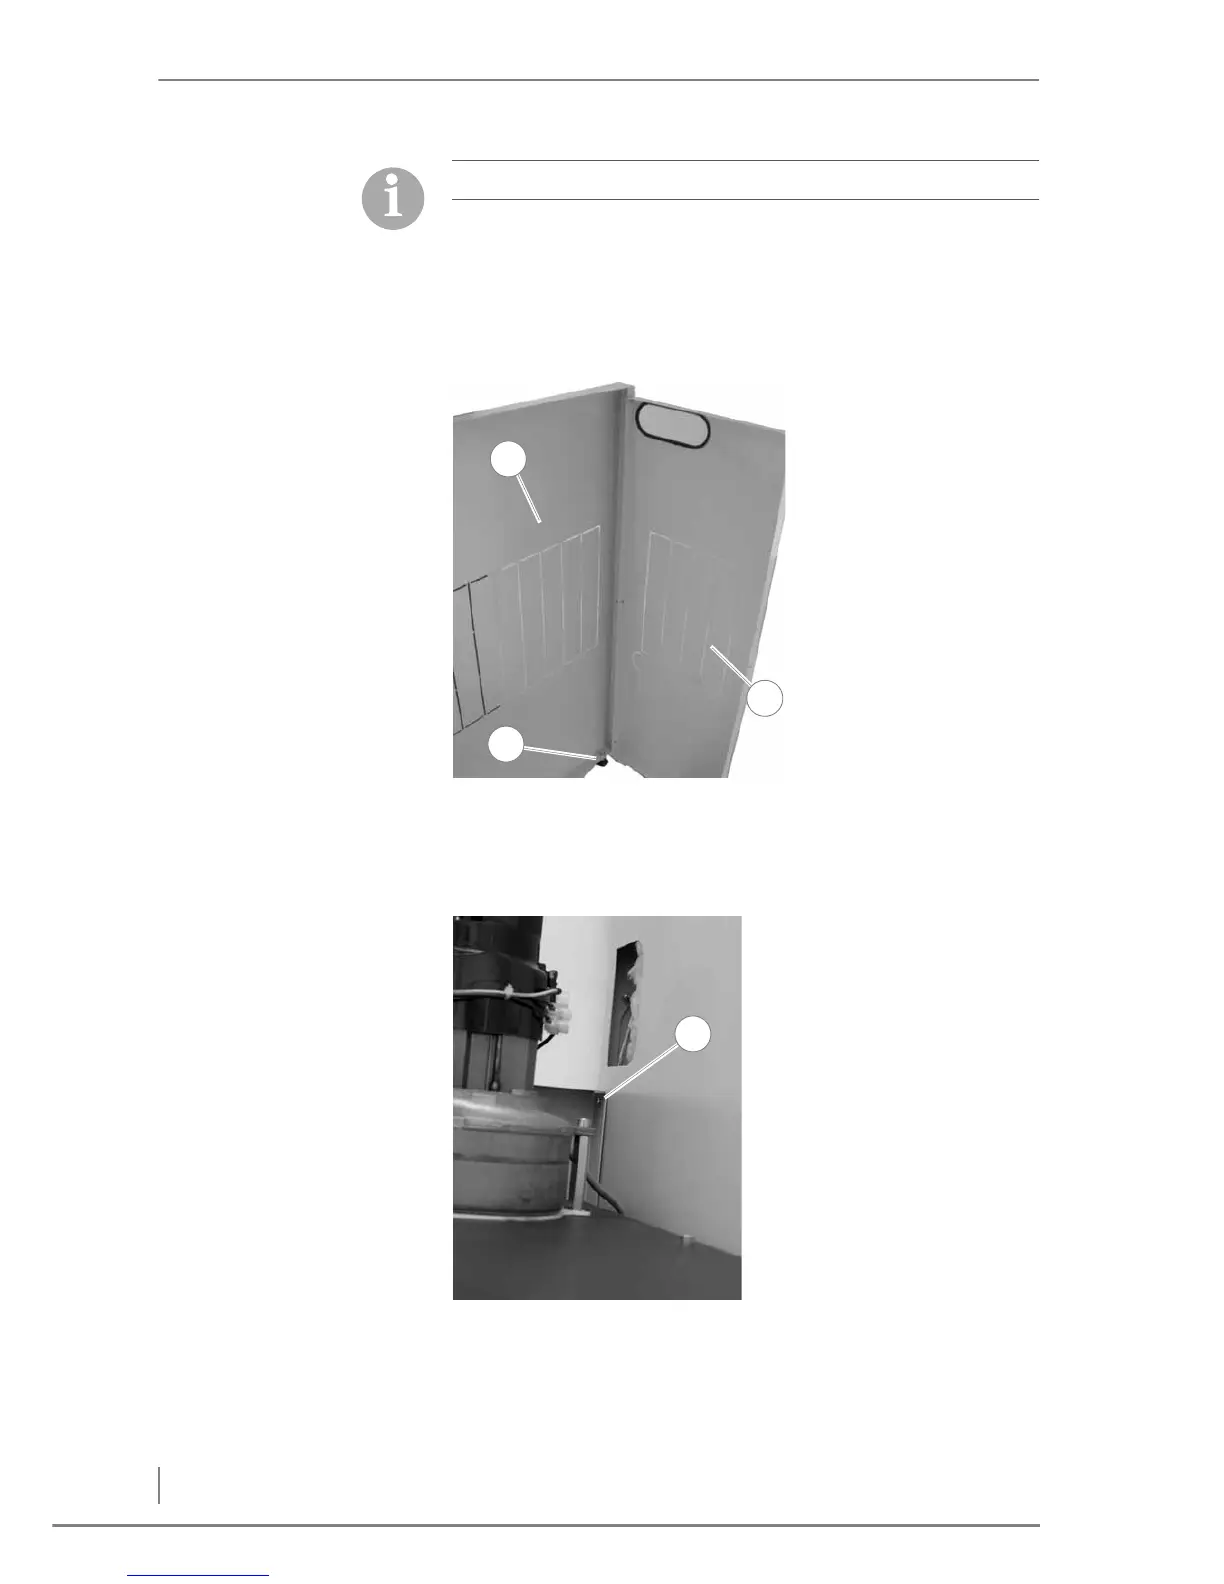
1. Screw the left hand cladding (1) and the rear cladding (2) together
using the M5 screws and wing nuts.
2. Insert the rear plastic foot (3).
3. Hook the rear cladding onto both shaped studs on the left hand
cladding and fix in place with the M5 screw (1).
✓ The cladding for the technical components has been attached.
Note the connection of the RC element!
Figure 4/37 - Attaching the cladding for the technical components