65
4.5 HDG Hydronic
INSTALLING THE CONTROL UNIT
INSTALLING THE CONTROLLER
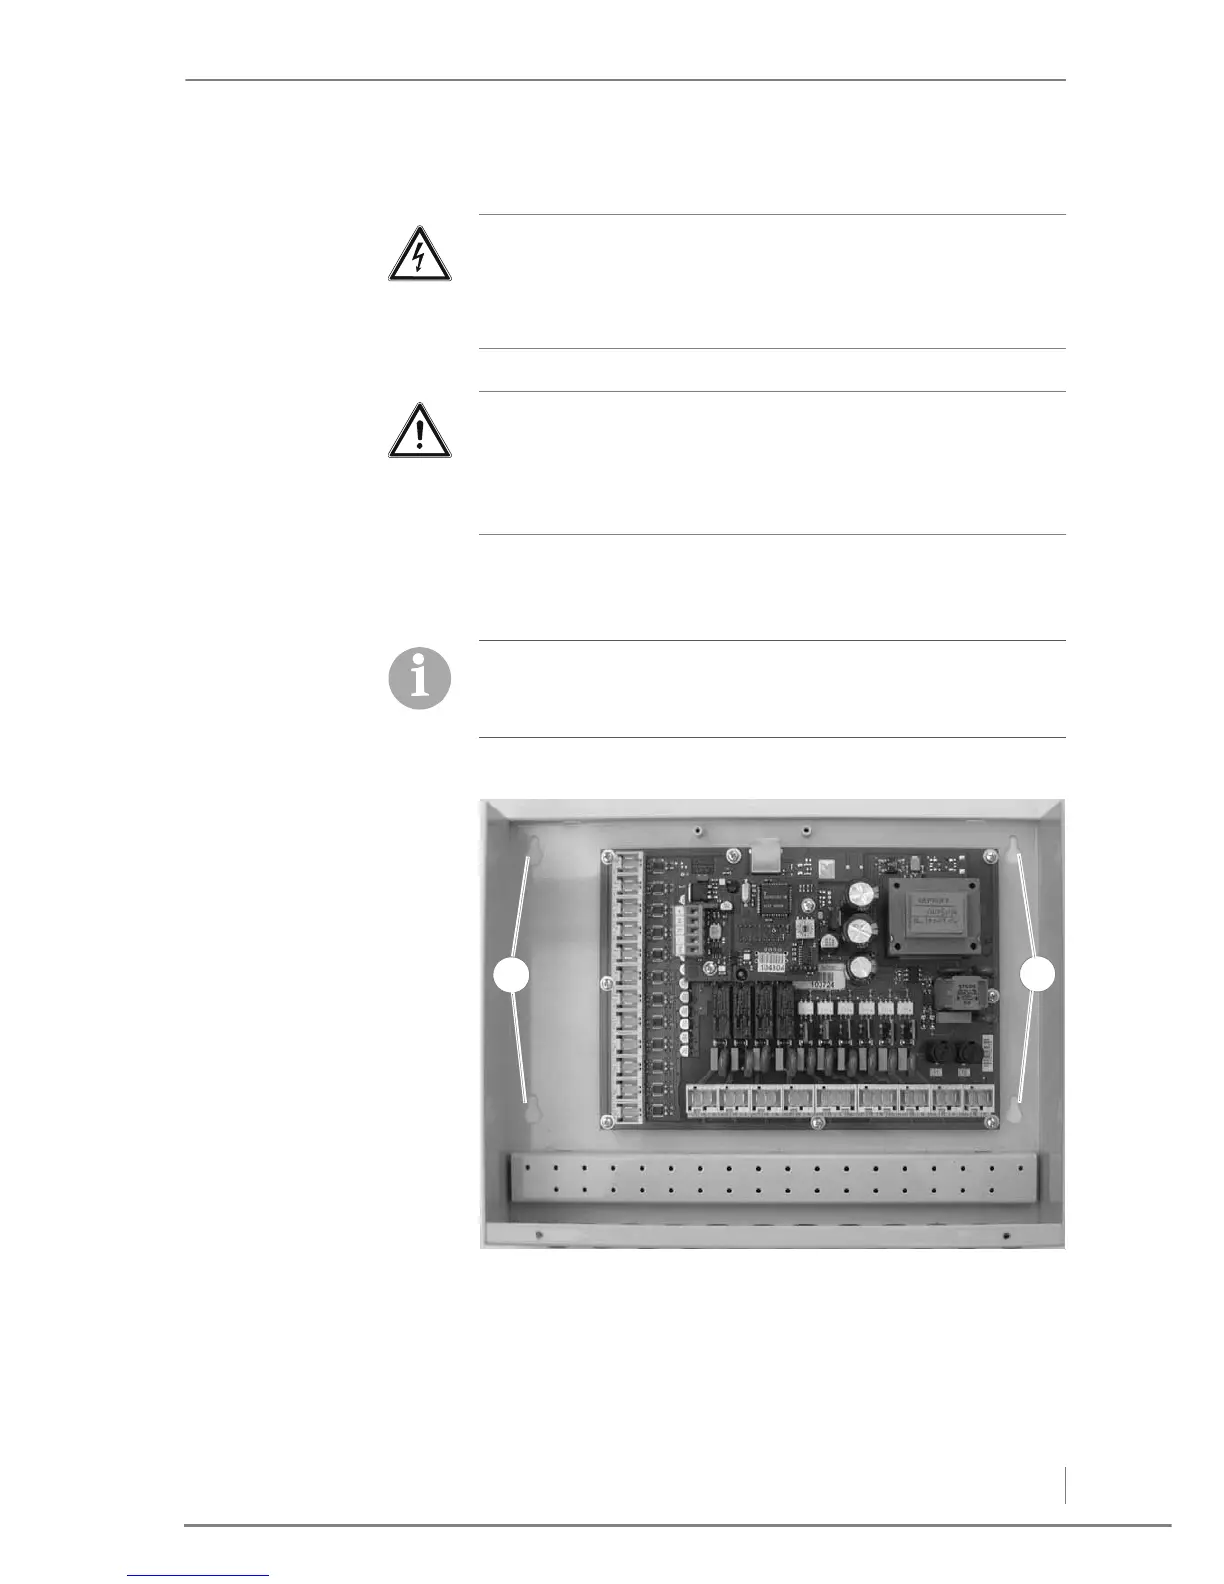
HOUSING
1. Fasten the controller housing at its intended position on the wall.
For the holes to be drilled, see (1).
Danger!
Danger from electrical current or voltage!
Switch off the power supply and isolate the mains cable to the
heating system during the installation.
Caution!
Material damage due to static discharge!
Electronic components can be damaged by static discharge.
Do not touch any electronic components during the installation.
The bus cable between the HDG Pelletronic and HDG Hydronic
must be protected from inductive coupling from 230 V wires!
Only use screened cables for sensor extensions.
Figure 4/51 - Controller housing