1. Select the screen No..
2. Enable the screen display by clicking the checkbox.
3. Select the screen mode, e.g., 2 x 2.
4. Set the main screen No. which refers to the output for image processing.
5. Configure the sub-window settings.
(1) Select the sub-screen type to Standard, High Definition or Enhanced High Definition.
(2) Select the window, which refers to the sub-window No. of the screen. E.g., if the screen mode is
selected to 2 x 2, then the sub-windows can be numbered as 1, 2, 3 and 4.
(3) Select the sub-screen No., which refers to the output connected to the selected sub-window in Step
5 (1).
The Main Screen No. and the Sub-screen No. cannot be the same with each other.
(4) Repeat the Step 5 (1) ~ (2) to set other sub-windows and their related sub-screen No.
(5) Click Save to save the sub-window settings.
6. Click Apply to finish the screen settings.
Configuring Video Output to Screen
You can follow the steps below to view the video from a camera on the selected screen.
Steps:
1. Press the Num + AUX1 keys to select the screen.
2. Press the Num + CAM keys to select the input camera. The number of camera can be viewed from the Camera
List.
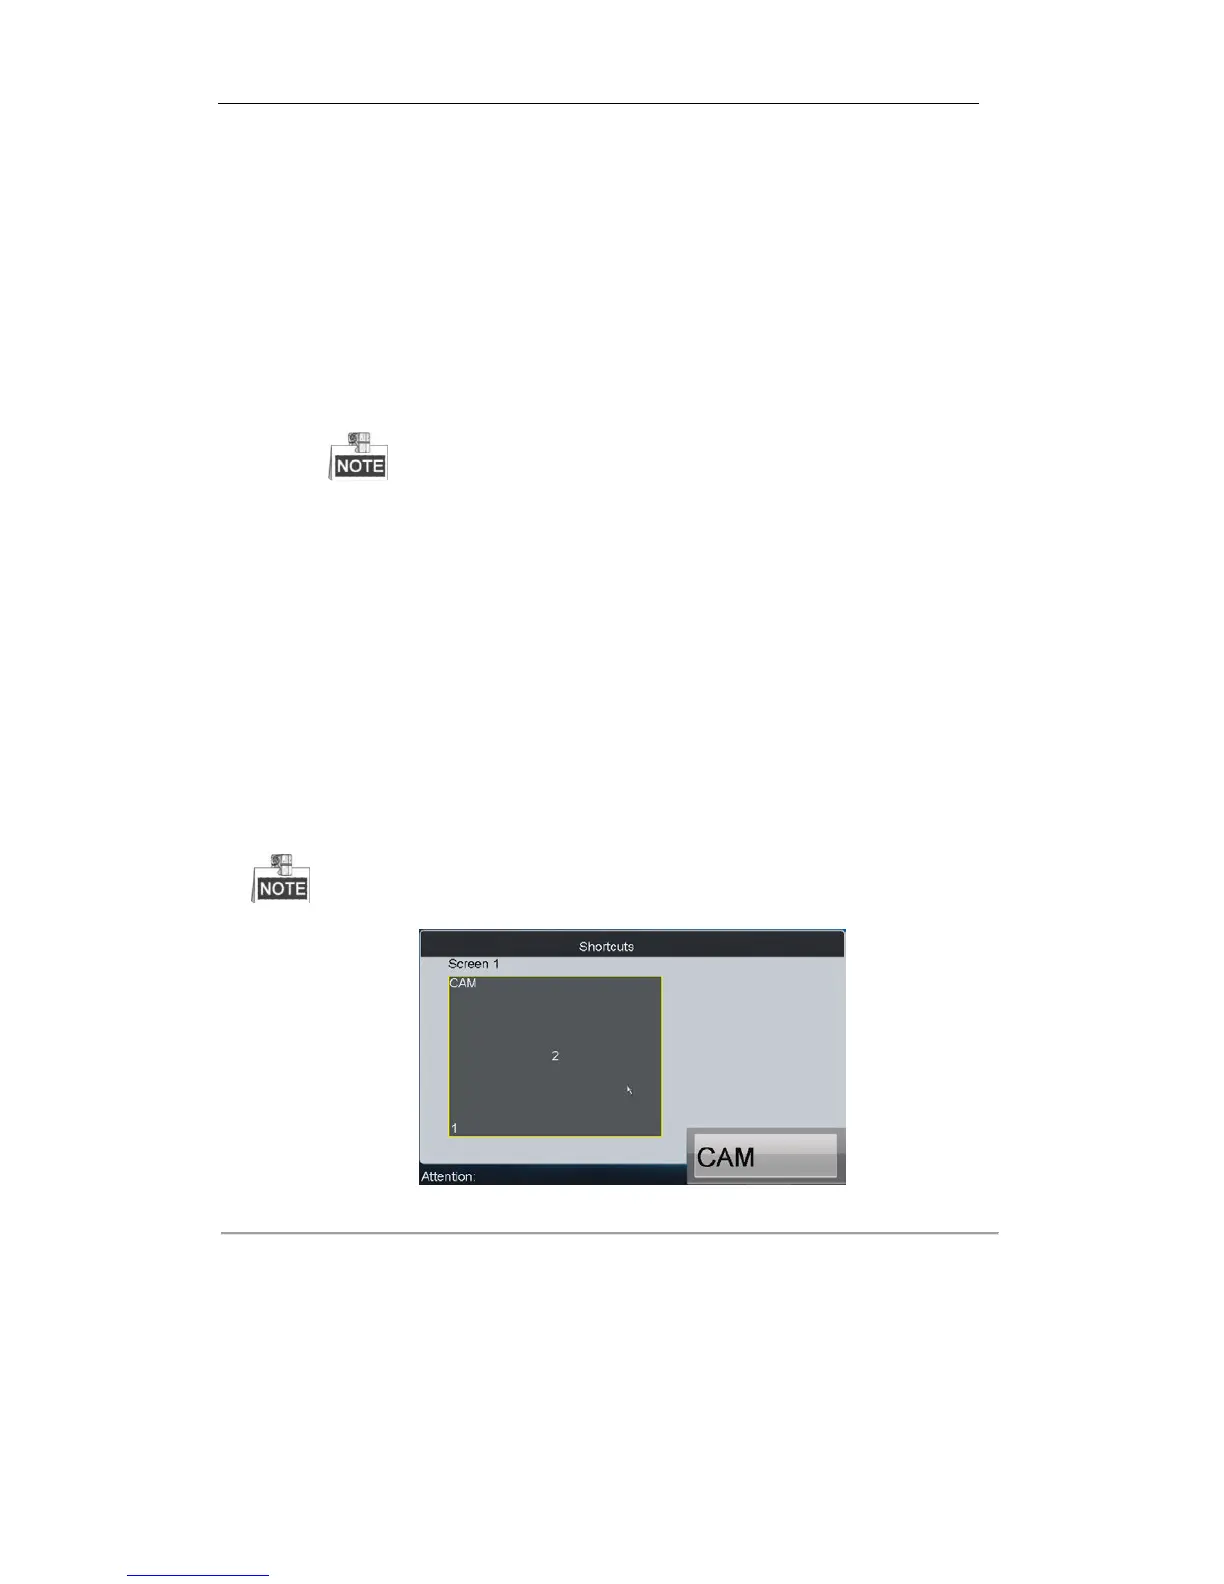
Example: You can press the “1+AUX1, 3+CAM” keys to view the video signal from camera 3 on screen 1.
The multi- division display mode is not supported by screen.
Figure 6. 22 Shortcuts Operation Interface
Roaming Window Switch
Steps:
1. Configure the Roaming settings in the iVMS-4100 client software.
2. Press the Num + AUX1 keys to select the screen.
 Loading...