253
RHUE-(3~6)A(V)HN
SMGB0066 rev.0 - 12/2009
Servicing
Service Manual
9
Remove the service cover according to the section 1.
“Removing service cover” in this chapter.
Open the P-mounting plate by rotating 90 degrees to 2.
the left according to the section “Opening electrical box
(P-Mounting Plate)” in this chapter.
danger
Electrical hazard. Risk of death. -
Check that the LED201 (red) located on the inverter -
module is OFF when opening the P-mounting plate.
Do not touch the electrical components when LED201 -
(Red) located on the inverter module is ON in order to
avoid an electrical shock.
Check to ensure that the LED201 (Red) of the PCB is
OFF.
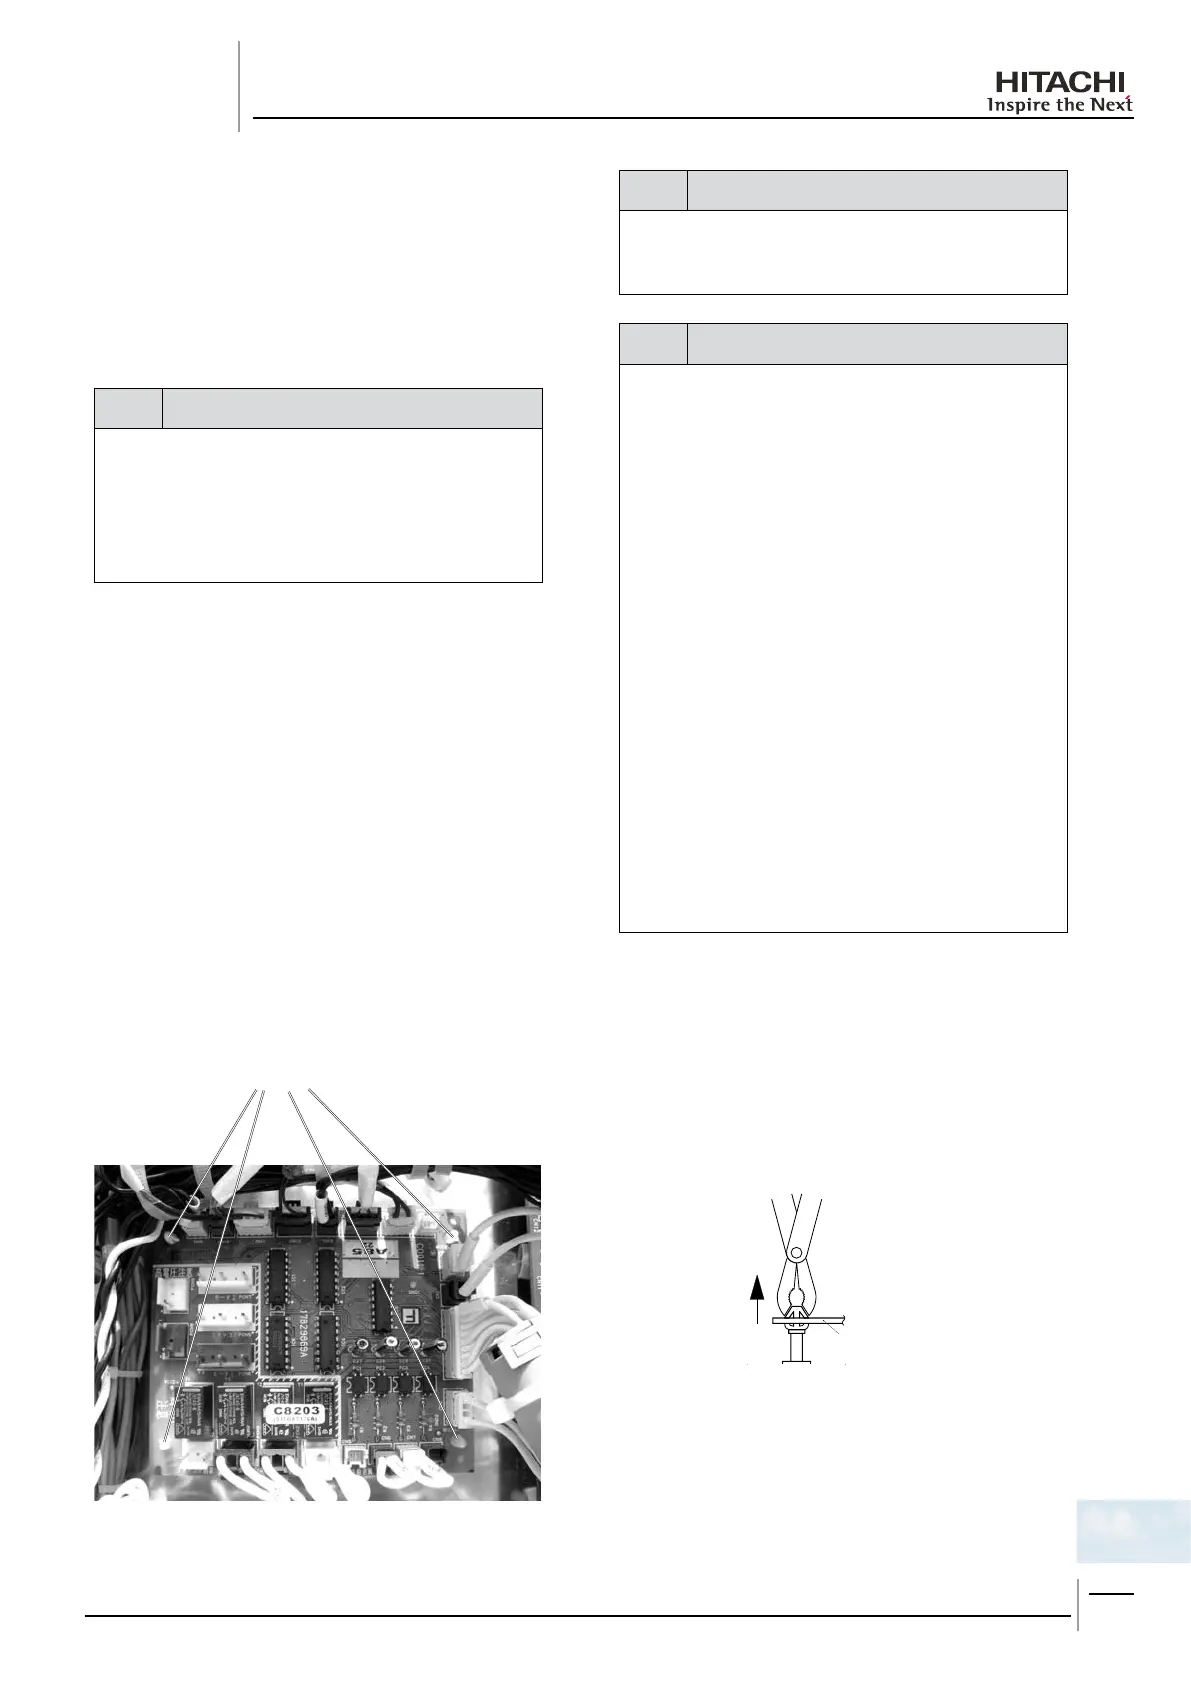
Remove holders from the PCB. When reassembling
thecomponents,passthoseholdersagainthroughthe
holes of the PCB.
warning
Electrical hazard. Risk of electrical shock.Do not touch the -
electrical parts when LED201 (Red) located on the inverter
module is ON to prevent from an electrical shock.
caution
Several hazards. Risk of malfunction. -
Identify the terminal numbers with mark band. When -
reassembling, the terminals have to be connected to the
correct numbers . If incorrectly connected, malfunctions
or damages will occur.
For safety reason, remove the connectors on the control -
PCB of the electrical box.
Correctly insert two wires of U and V phases for the -
power cable of inverter compressor into the current
sensor, CTU and CTV on PCB2. Connect Phase U
power cable with the current sensor Phase U (CTU)
and Phase V power line with current sensor Phase V
(CTV). If connected incorrectly, malfunction or electrical
component damage will occur.
When mounting PCB and the sheet metal part for PCB, -
pay attention not to clamp the electrical wiring together.
In case of replacing control PCB, set all the dip switches -
as the same position before replacing. If not, malfunction
may occur.
Do not apply strong force to the electric components and -
PCBs to avoid damage.
When replacing the transistor module (IPM) and diode -
module (DM) on heat radiation n, slightly apply the
heat conducting silicon grease (Manufacture: Shin-Etsu
Chemical Co., Ltd, Product No.: G-746) over the n
contact surface.
Extraction of the PCB from the holders
Holders

 Loading...


