EOS
|
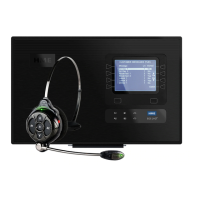
HD OPERATION
22
1. To choose the schedule for the selected message,
press the Schedule button on the EDIT CUSTOMER
GREETER display.
2. On the SCHEDULE CUSTOMER GREETER display,
press the button for the day you want the selected
message to be played.
3. On the SELECT SCHEDULE TIMES display, select the
time period when you want the selected message to
play by pressing the ▲(up) and ▼(down) buttons to
scroll through the 12 available time periods.
When the desired time period is highlighted, press the
Edit button.
4. On the EDIT display, press the Scheduled button to
turn the message ✔ (on) or − (off) for the selected time
period.
If you want the message to be on or off during this
time period every day, press the Apply to all days?
button to select Yes or No. If No is chosen, only the
selected day will be affected by this change.
Press the Back button to save this setting.
Message Schedule
1 2 3 4 5 6 7 8 9
Introduction
EOS|HD
Equipment
EOS|HD
Operation
Audio Processing
Functions
Equipment Care
and Cleaning
Troubleshooting
Equipment
Specications
EOS|HD Message
Center Guide
Important
Notices
 Loading...