Honeywell® FS24XPlus™ | User Manual
18
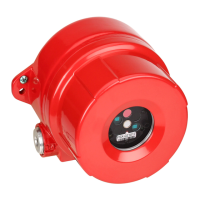
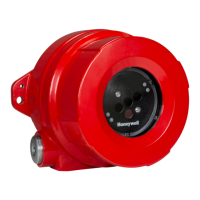
4. Slide the detector module electronic device out of the enclosure base (see Figure below):
Installation Summary
1. Loosen, but do not remove the set screw on the cover assembly as shown in Figure 1 in
Opening the Detector section.
2. Unscrew the lid as shown in Figure 2 in Opening the Detector section.
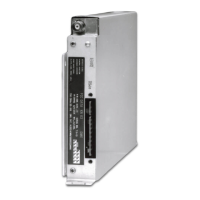
3. Loosen the 3 Philips screws and remove the electro-optical Detector Module and place face
up in a safe location as shown in Figures 3 and 4 in Opening the Detector section.
Note: Do not drop the Detector Module and do not touch the sensor array.
4. Connect the armoured cable gland/conduit to the detector enclosure via the M25 or ¾ ’’ NPT
openings as per national electrical codes for the install location. Connect the appropriate
wires to the pluggable terminal block provided as per the wiring diagram on the cover of the
electro-optical Detector Module and this manual.
Note: Add thread sealant to conduit and cable entries such as Loctite® 565 or equivalent to ensure that no water or dust
ingress is possible.
5. Configuration is done by USB or RS-485 with the PC application available from
www.sps.honeywell.com. See Appendix 3: Honeywell® FlameManager section of this manual.
This is easiest done prior to installation.
Note: Refer to the fuel/sensitivity settings table to determine the correct configuration.
6. Connect the pluggable terminal block back into the electro-optical Detector Module and
secure the captive screws.
WARNING: Do not touch the sensor array as finger oils interfere with infrared signal
transmission.
7. Install the cover and ensure the O-ring is secure. Tighten the set screw on the cover assembly.
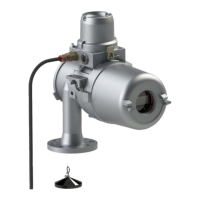
Loosen the bolts on the mounting bracket and make a rough FoV adjustment by aiming the
detector at the area you want to cover.
Note: The SM4/SM4-M mounts have 10° incremental graduations on the horizontal and vertical axes.
8. Tighten bolts on mounting bracket mount when FoV adjustments are complete.
Note: The ring terminal is tin plated. If the detector is installed in harsh corrosive environments, the ring terminal should be
protected with a conductive grease.
Note: Detector functionality and communication to safety system should be tested to confirm correct FoV and
configuration.
Note: The FS24XPlus™ runs an initial start-up procedure and is not able to detect flame for the first two minutes after
power is applied.
 Loading...