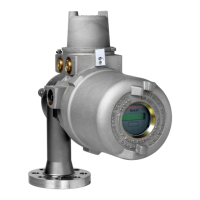
Detector Module Replacement
Note: Check the O-ring is in place on the enclosure base before replacing the detector module.
Note: Take proper precautions to prevent damage from electro-static discharge.
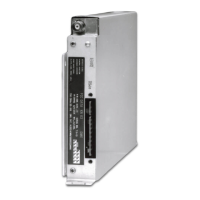
Note: In the event of a fault, the Detector Module can be replaced to enable rapid maintenance.
Note: Use a strap wrench at low temperature if the enclosure binds.
1. Loosen, but do not remove the set screw on the cover assembly. (See Figure 1 in Opening the
Detector section)
2. Turn counterclockwise (CCW) to unscrew the enclosure lid (See Figure 2 in Opening the
Detector section)
3. Loosen the 3 captive screws (See Figure 3 in Opening the Detector section) and remove the
electro-optical Detector Module.
4. Slide the new replacement detector module onto the standoffs in the base enclosure. (See
Figure 4 in Opening the Detector section)
WARNING: Do not touch the sensor array as finger oils interfere with infrared signal
transmission.
5. Tighten the 3 captive screws.
6. Screw the cover onto the base enclosure.
7. Tighten the set screw.
Honeywell®FS24XPlus™ | User Manual
24
 Loading...
