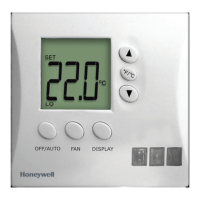
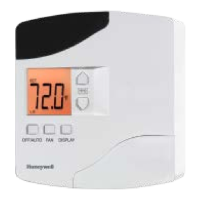
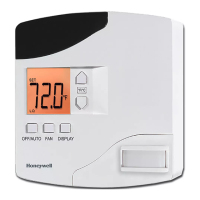
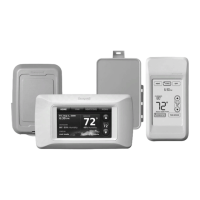
Procedure to setup e7w
To mount e7w, follow the steps below:
1. Take the Smart Mounting Plate and orient it with the raised arrow embossed on mounting
plate pointing UP.
2. Attach the plate to the junction box using the supplied screws as shown in Figure 5.
3. Insert the 4 AA alkaline batteries in e7w.
4. After inserting AA batteries, all segments and characters of the LCD are illuminated for cou-
ple of seconds. Confirm all segments and characters on the e7w LCD are displayed cor-
rectly. Refer Display Functions section for more details.
5. If the LCD remains blank, run the following checks:
a) Verify that the batteries are installed in correct terminal.
b) Check the battery voltage.
6. Hook the tabs at the top rear of the e7w housing into the matching depressions at the top of
the Smart Mounting Plate and rotate the bottom of the housing toward the wall until it
snaps into place.
7. After startup, the e7w will cycle through RF Channels 26, 25, 24… all the way to 11 and send
a 0x00061 Battery Powered thermostat exchange message on each RF Channel looking for
a reply from an HVAC thermostat partner with the same Room ID currently stored in the e7w.
Allow this process to continue until completion. Later the user needs to configure the actual
Room ID and other required parameters into the e7w.
8. After user configured Room ID and other required parameters, restart the device, and wait
for 5 seconds. LCD will display all configured values and various mods.
Note: To restart the e7w device, press the power button on the e7w display twice .
9. Secure the housing to the Smart Mounting Plate with the two small captive screws at the
bottom of the housing.
 Loading...

