Salto RF Locks
1. Verify the Inncom Room Gateway / Timelox Proxy device is configured to support Salto. Either
verify the software created for the Inncom Proxy has default support to be the Salto RF Lock
Proxy or activate the applicable I/O Map in the device to configure it to be the Salto RF Lock
proxy.
If using a generic “Shelf” software in the Salto Proxy, I/O Map 69 configures it to support
Salto.
It is assumed that a PC502.4G is being used as the Salto RF Lock proxy device for this proce-
dure.
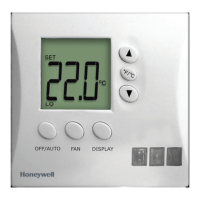
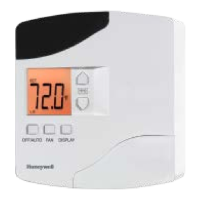
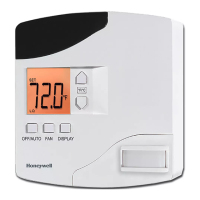
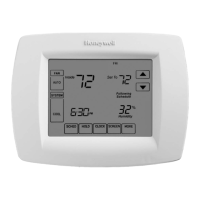
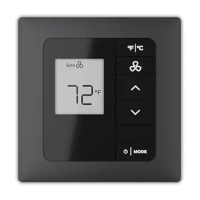
2. Enter service parameter mode on the e7w
3. Set the desired Room ID, RF Channel, and PAN ID into the e7w that the particular Inncom
Proxy /Room Gateway (typically a PC502.4G) and lock should be using for the particular
room.
4. On the e7w, go to the Adr (Address Teach) parameter and press Mode to view the value.
Change the displayed value to 69, then press the F/C button to return back to Adr on the dis-
play.
5. Go to the e7w bnd menu option and press the Mode button.
6. Use the Up/Down arrow buttons to set the value to the address of the device being used as
the Salto RF Lock Proxy. This will typically be a PC502, Address 227, if using an e7w. However,
consult applicable documentation.
7. Press the Fan button on the e7w to make it send a 0x00113 Open Bind Window command to
the address defined in step 6. The PC502 will open a 2 minute bind window, waiting to see a
bind request from the lock.
8. On the Salto handheld PPD Tool, select “Update Locks” from the PPD menu and insert the 3
pin cable (with the arrow pointing up) into the 3 pin socket on the lock.
9. A Green light will appear on the lock face. Remove the 3 pin PPD cable from the lock.
• The lock will beep and send a bind request message that contains the network MAC
address of the lock
• The lock should rapidly flash the Green LED 2 times.
• If the PC502 saw the Bind request from the lock, it will respond to the lock with a Bind
Offer telling the lock the RF parameters to adopt. It will also send a Sound Buzzer
message making the e7w beep 3 times and create Registry 193:8:1 to store the lock’s
MAC address and finally RESET. This indicates Binding is complete.
10. Perform a Door Test from the e7w (dor test as covered earlier in this document). Open and
close the Door and verify the Lock is reporting door open / close.
You may need to wait 2-3 minutes to allow the PC502/Inncom proxy device to fully startup
following the reset before performing the door test.
 Loading...

