MAN0878-09-EN_XLE_XLT_UserManual
A u g u s t 2 3 , 2 0 1 8 P a g e 157 | 158
INDEX OF FIGURES AND TABLES
Figure 02.1 - Visual Overview of XLE/XLT, 11
Figure 02.2 –Overview of Types of Devices that can be connected to XLE/XLT, 13
Figure 03.1 – Panel Mounting of the XLE/XLT and Close-up View of Back, 16
Figure 03.2 – DIN Rail Mounting of the XLE/XLT, 17
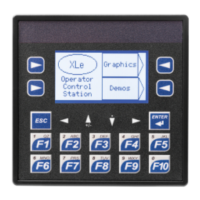
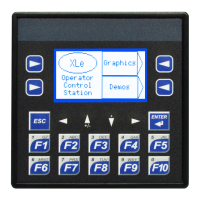
Figure 03.3 – Orientation of XLE/XLT OCS, 18
Figure 03.4 – XLE/XLT Panel Cut-out, 18
Figure 03.5 – XLE/XLT Dimensions, 19
Figure 04.1 – Two-Point Ground Connection Test, 23
Figure 04.2 – Power Connector (Primary Power Port, 24
Figure 04.3 – As Viewed Looking at the XLE/XLT, 24
Figure 06.1 – CAN 1 Port Connector, 30
Figure 07.1 – Protocol Config Dialog, 34
Figure 08.1 – Hardware Configuration Dialog, 42
Figure 08.2 – Hardware Configuration Dialog, 43
Figure 08.3 – Ethernet Module Configuration, 44
Figure 09.1 - XLE System Menu, 49
Figure 09.2 - XLT System Menu, 50
Figure 10.1 – Installing Removable Memory Card, 64
Figure 11.1 – Removing the Back Cover, 71
Figure 11.2 – Example Jumper Diagram, 72
Figure 11.3 - Typical Output Wiring, 73
Figure 11.4 - Relay Fusing, 74
Figure 11.5 – Positive and Negative Inputs, 75
Figure 11.6 – Analog Input Tranzorb - Troubleshooting, 76
Figure 11.7 – Analog Input Configuration (Model 6), 77
Figure 11.8 – Universal Analog In Configuration Screen, 78
Figure 12.1 – Sync pulse mode illustration, 90
Figure 12.2 – PWM Output Waveform, 95
Figure 13.1 – Typical Screen Jump Object, 100
Figure 13.2 – Typical Screen Jump Object (XLT), 100
Figure 13.3 – Force and Switch Coils in Ladder Programming, 102
Figure 13.4—Alarm Configuration in Cscape, 104
Figure 13.5 – Alarm Object, 104
Figure 15.01 – Cscape Connection Wizard Screenshots, 116
Figure 15.02 – Cscape Connection Wizard Screenshots, 117
Figure 15.03 – Cscape
Alternative Connection Method Screenshot, 118
Figure 15.04 – Add Target Screenshot in Cscape, 118
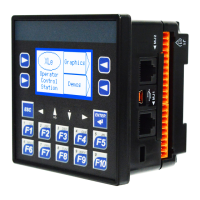
Figure 15.06 – LAN1 Configuration Screen, 121
Figure 15.07 – Module Configuration, 122
Figure 15.08 – Digital / HSC Input Configuration Dialog, 123
Figure 15.09 – Digital / PWM Output Configuration Dialog, 124
Figure 15.10 – Analog Input Configuration Dialog, 125
Figure 15.11 – Analog Output Configuration Dialog, 126
Figure 15.12 – Scaling Analog Input, 127
Figure 16.1– Fail Safe System Menu, 129
Figure 16.2 – Backup / Restore Data, 130
Figure 16.3 – Backup Registers, 131
Figure 16.4 – Restore OCS Data, 132
Figure 16.5 – Clear Backup Data, 133
 Loading...