122
Configuring extended direct portal authentication
Network requirements
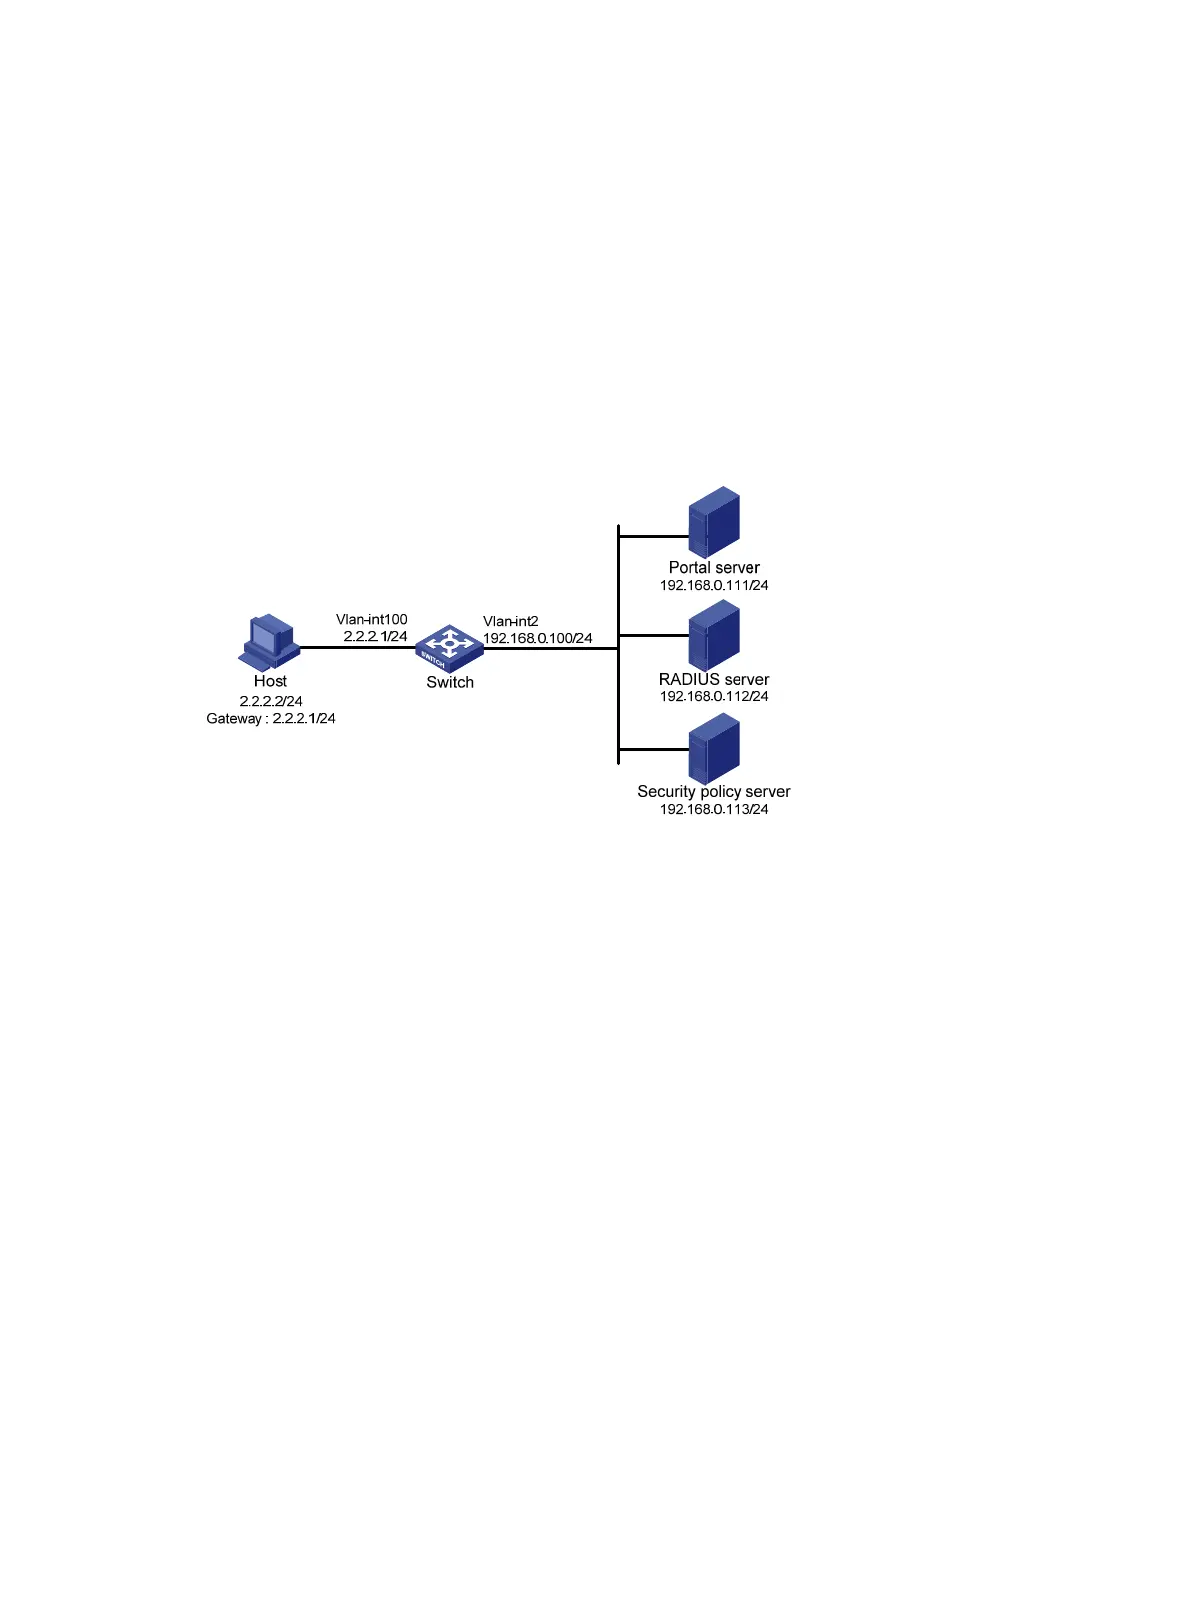
As shown in Figure 50, the host is directly connected to the switch (the access device). The host is
assigned with a public IP address either manually or through DHCP. A portal server serves as both a
portal authentication server and a portal Web server. A RADIUS server serves as the
authentication/accounting server.
Configure extended direct portal authentication. If the host fails security check after passing identity
authentication, it can access only subnet 192.168.0.0/24. After passing security check, the host can
access Internet resources.
Figure 50 Network diagram
Configuration prerequisites
• Configure IP addresses for the host, switch, and servers as shown in Figure 50 and make sure they
can reach each other.
• Configure the RADIUS server properly to provide authentication and accounting functions.
Configuration procedure
Perform the following tasks on the switch.
1. Configure a RADIUS scheme:
# Create a RADIUS scheme named rs1 and enter its view.
<Switch> system-view
[Switch] radius scheme rs1
# Specify the primary authentication server and primary accounting server, and configure the keys
for communication with the servers.
[Switch-radius-rs1] primary authentication 192.168.0.112
[Switch-radius-rs1] primary accounting 192.168.0.112
[Switch-radius-rs1] key accounting simple radius
[Switch-radius-rs1] key authentication simple radius
[Switch-radius-rs1] user-name-format without-domain
# Specify the security policy server.
[Switch-radius-rs1] security-policy-server 192.168.0.113
[Switch-radius-rs1] quit
 Loading...