DRAFT - HP Confidential - DRAFT
Removal and replacement procedures 109
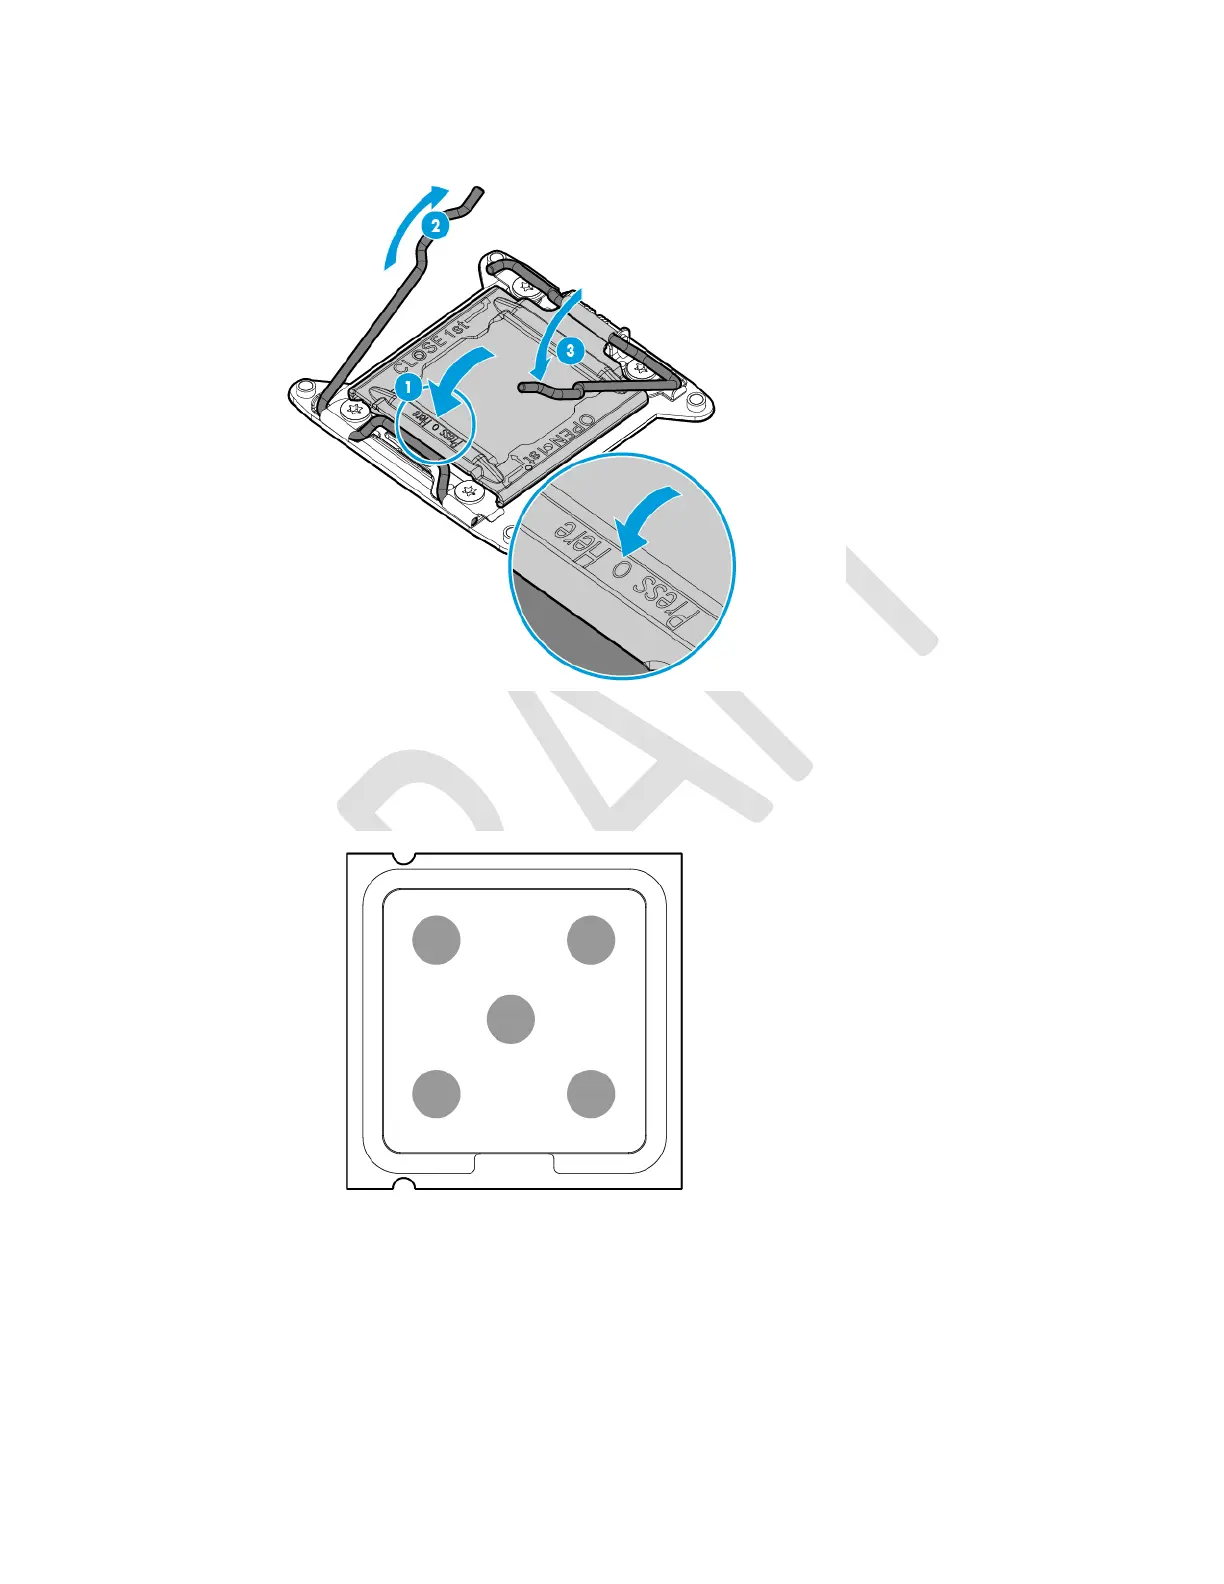
6. Press and hold the processor retaining bracket in place, and then close each processor locking lever.
Press only in the area indicated on the processor retaining bracket.
7. Install the processor socket cover on the failed system board.
8. Clean the old thermal grease from the heatsink and the top of the processor with the alcohol swab.
Allow the alcohol to evaporate before continuing.
9. Apply all the grease to the top of the processor in the following pattern to ensure even distribution.
10. Install the heatsink:
a. Position the heatsink on the processor backplate.
b. Tighten one pair of diagonally opposite screws halfway, and then tighten the other pair of screws.

 Loading...


