DRAFT - HP Confidential - DRAFT
Removal and replacement procedures 111
Warning: The Product ID should ONLY be modified by qualified service
personnel. This value should always match the Product ID located on the
chassis.
7. Enter the product ID and press the Enter key.
8. Press the F10 key to confirm exiting System Utilities. The server automatically reboots.
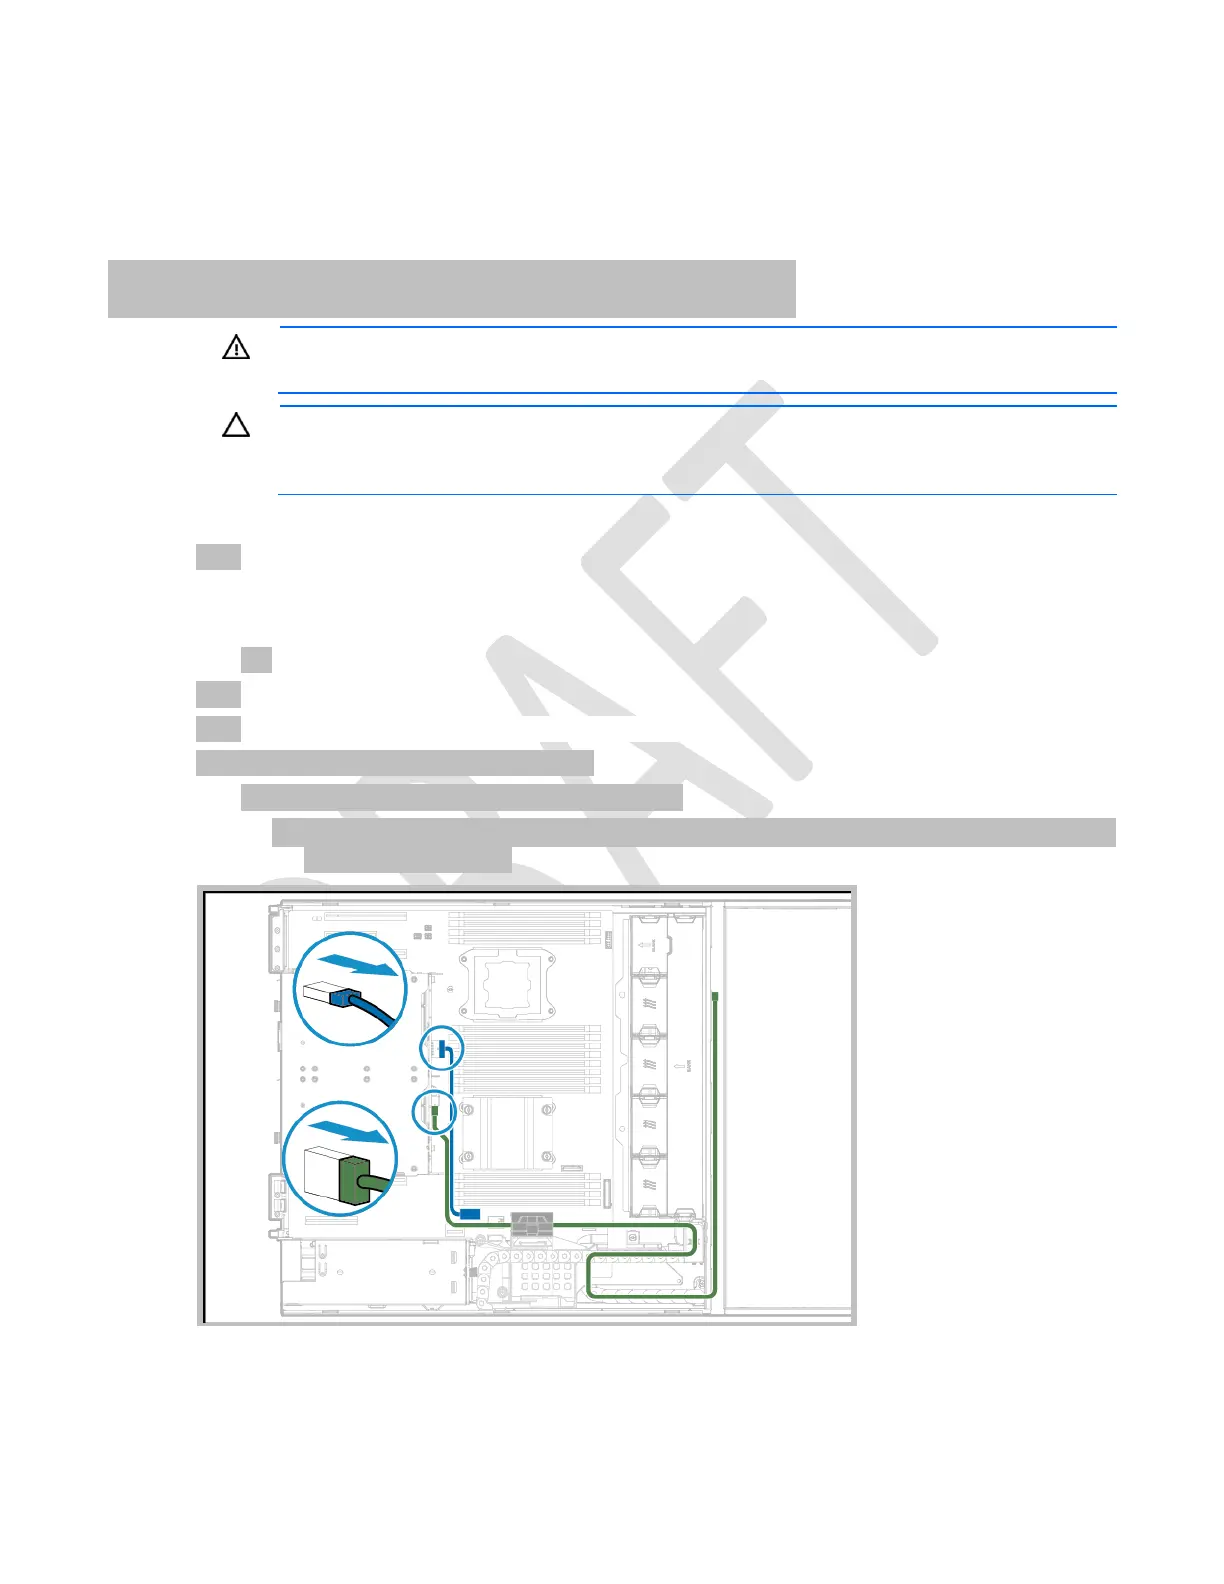
Dedicated iLO management module
WARNING: To reduce the risk of personal injury from hot surfaces, allow the drives and the
internal system components to cool before touching them.
CAUTION: To prevent damage to electrical components, take the appropriate anti-static
precautions before beginning any installation, removal, or replacement procedure. Improper
grounding can cause electrostatic discharge.
To remove the component:
1. Power down the server (on page 17).
2. Remove all power:
a. Disconnect each power cord from the power source.
b. Disconnect each power cord from the server.
3. Remove the server from the rack (on page 27).
4. Remove the access panel ("Access panel" on page 36).
5. If installed, removed the rear drive cage:
a. Disconnect all cables from the drive backplane:
— Disconnecting the cables from the four-bay LFF hot-plug rear drive cage connected to the front
drive cage 2 backplane

 Loading...


