DRAFT - HP Confidential - DRAFT
Removal and replacement procedures 71
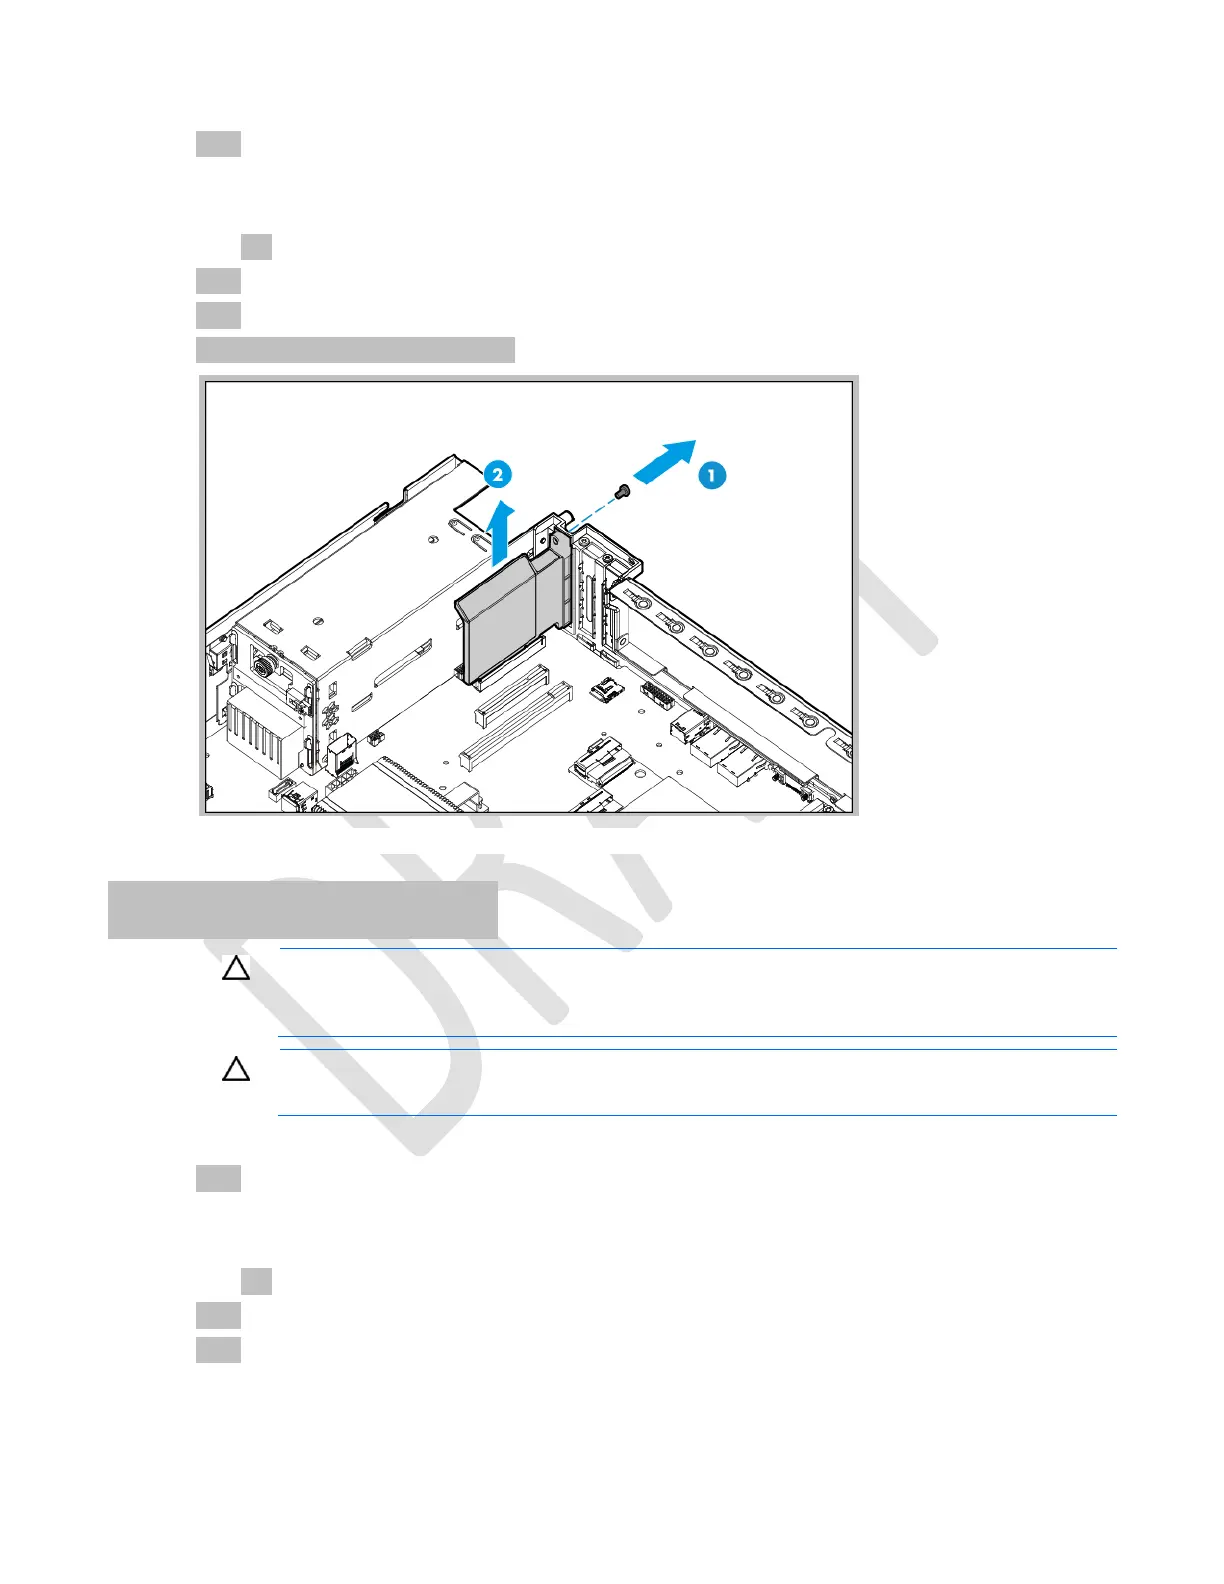
To remove the component:
1. Power down the server (on page 17).
2. Remove all power:
a. Disconnect each power cord from the power source.
b. Disconnect each power cord from the server.
3. Remove the server from the rack (on page 27).
4. Remove the access panel ("Access panel" on page 36).
5. Remove the FlexibleLOM blank.
To replace the component, reverse the removal procedure.
Chassis rear bracket
CAUTION: To prevent damage to electrical components, take the appropriate anti-static
precautions before beginning any installation, removal, or replacement procedure. Improper
grounding can cause electrostatic discharge.
CAUTION: To prevent improper cooling and thermal damage, do not operate the server unless
all bays are populated with either a component or a blank.
To remove the component:
1. Power down the server (on page 17).
2. Remove all power:
a. Disconnect each power cord from the power source.
b. Disconnect each power cord from the server.
3. Remove the server from the rack (on page 27).
4. Remove the access panel ("Access panel" on page 36).

 Loading...


