DRAFT - HP Confidential - DRAFT
Removal and replacement procedures 93
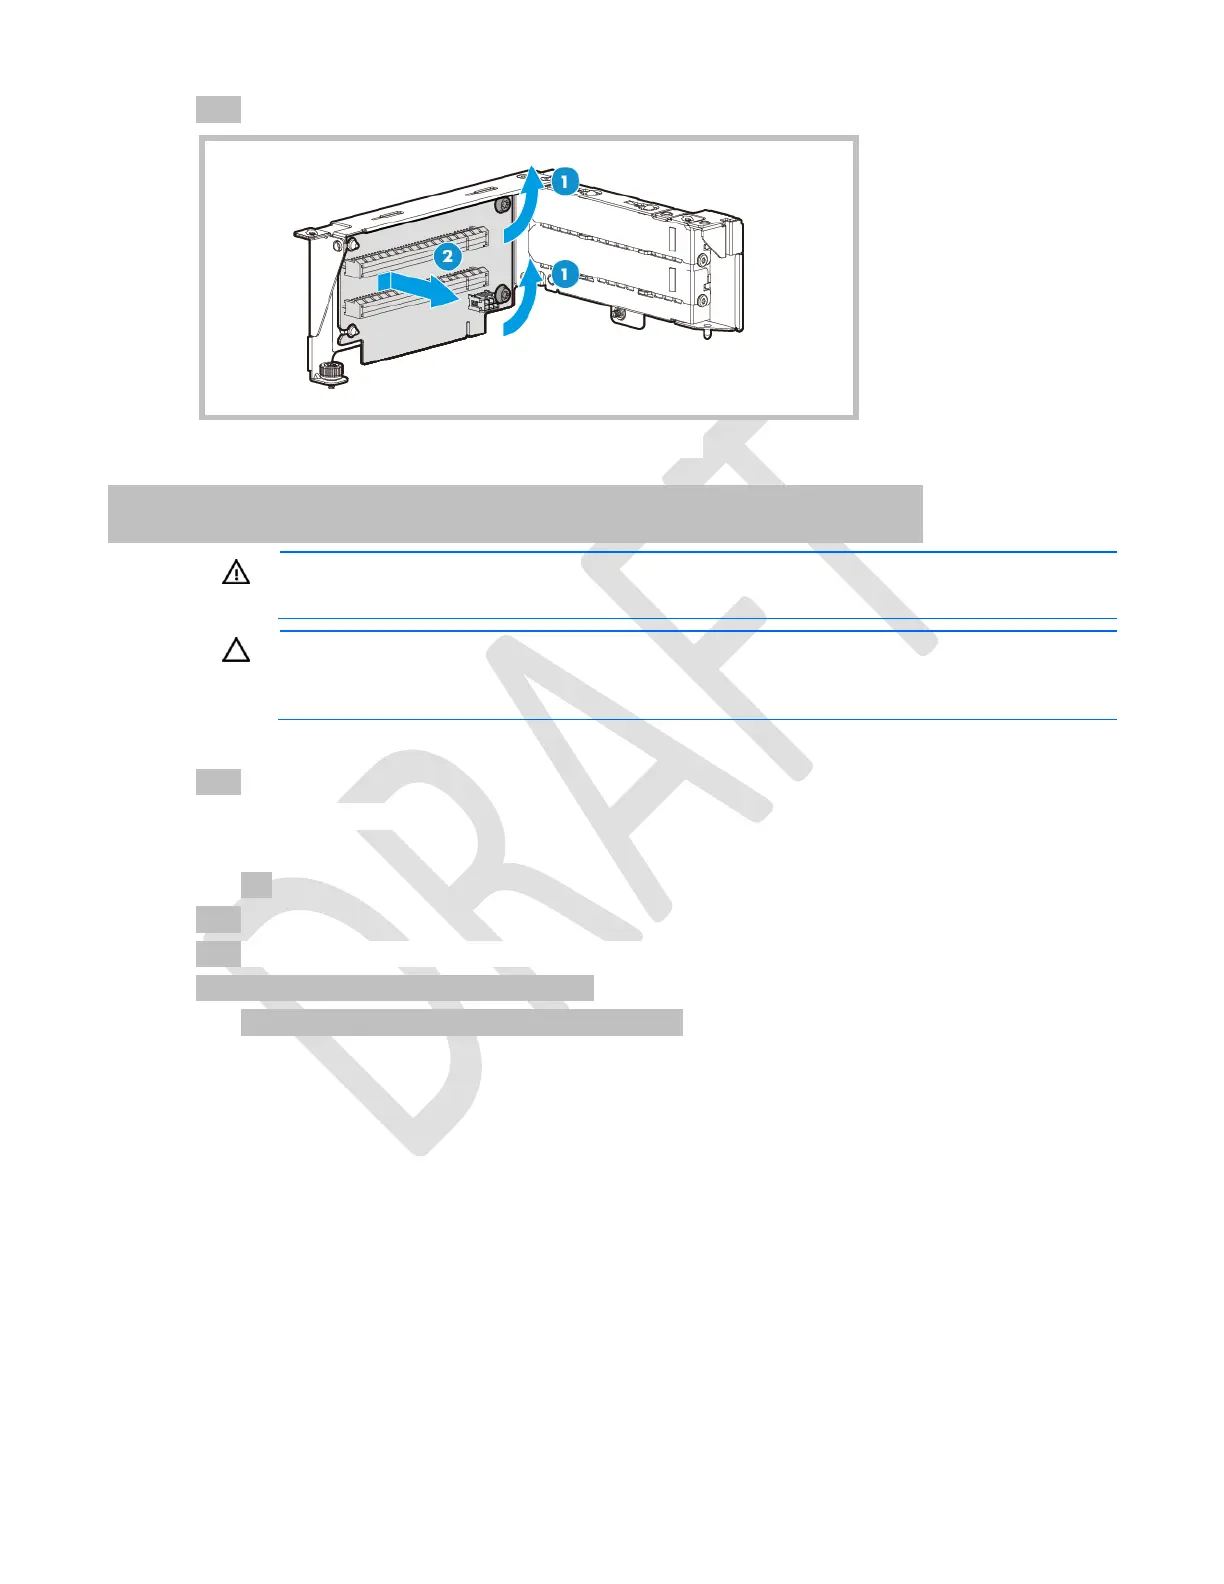
7. Remove the PCIe riser board.
To replace the component, reverse the removal procedure.
HP Flexible Smart Array P840ar Controller
WARNING: To reduce the risk of personal injury from hot surfaces, allow the drives and the
internal system components to cool before touching them.
CAUTION: To prevent damage to electrical components, take the appropriate anti-static
precautions before beginning any installation, removal, or replacement procedure. Improper
grounding can cause electrostatic discharge.
To remove the component:
1. Power down the server (on page 17).
2. Remove all power:
a. Disconnect each power cord from the power source.
b. Disconnect each power cord from the server.
3. Remove the server from the rack (on page 27).
4. Remove the access panel ("Access panel" on page 36).
5. If installed, removed the rear drive cage:
a. Disconnect all cables from the drive backplane:

 Loading...


