DRAFT - HP Confidential - DRAFT
Removal and replacement procedures 24
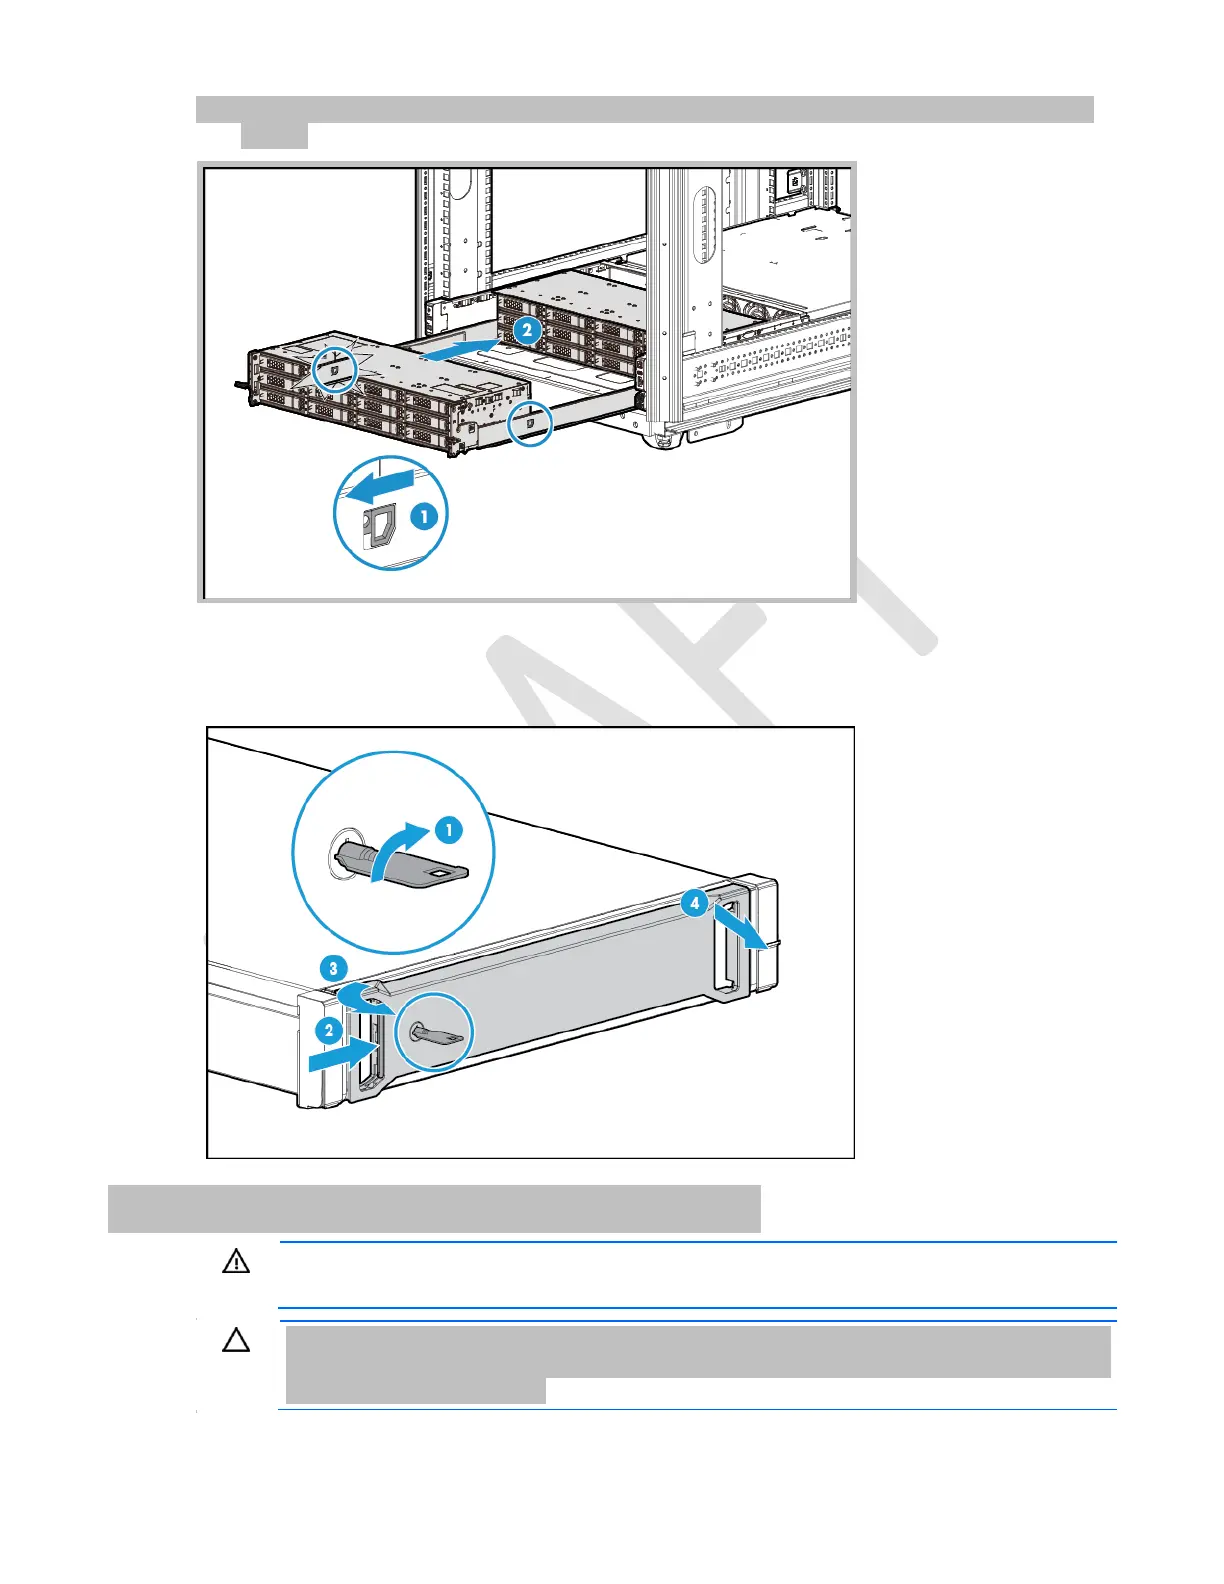
6. Pull and hold the drive cage rail release latches, and then slide the front drive cages back into the
chassis.
Remove the security bezel
To access the front panel components, unlock and then remove the security bezel.
Remove a drive from the front drive cages
WARNING: To reduce the risk of personal injury or equipment damage, be sure that the rack is
adequately stabilized before extending a component from the rack.
CAUTION: Do not operate the server with any of the front drive cage 1 bays empty. To maintain
proper airflow and sufficient cooling in the front drive cage 1, all drive bays in this cage should
have a drive or a drive blank.

 Loading...


