DRAFT - HP Confidential - DRAFT
Removal and replacement procedures 54
CAUTION: To prevent damage to electrical components, take the appropriate anti-static
precautions before beginning any installation, removal, or replacement procedure. Improper
grounding can cause electrostatic discharge.
To remove the component:
1. Power down the server (on page 17).
2. Remove all power:
a. Disconnect each power cord from the power source.
b. Disconnect each power cord from the server.
3. Remove the server from the rack (on page 27).
4. Remove the access panel ("Access panel" on page 36).
5. If the cache module is installed on a storage controller board that is installed in a PCI riser cage, remove
the riser cage ("Remove the PCI riser cage" on page 30).
6. If necessary for easier access to the cache module connector and/or removal of an air scoop, remove
the storage controller from the PCI riser cage or from the system board.
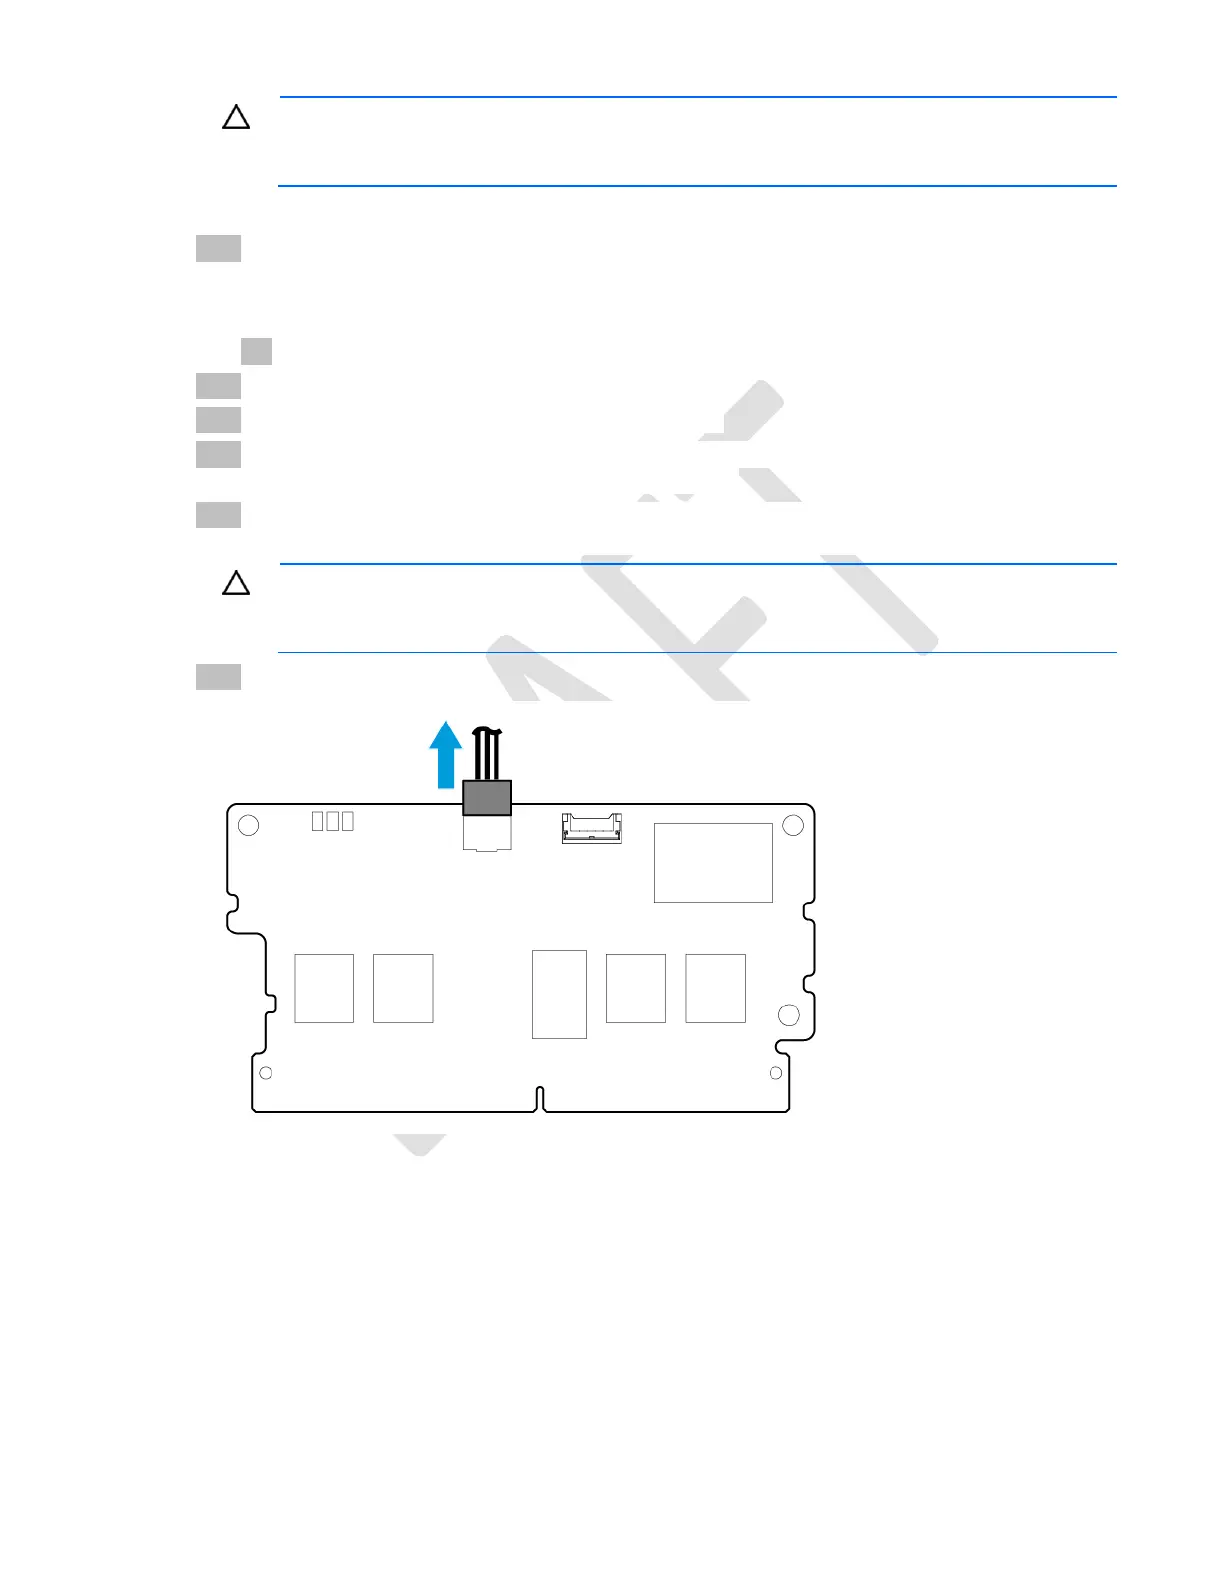
CAUTION: When connecting or disconnecting the cache module cable, the connectors on the
cache module and cable are susceptible to damage. Avoid excessive force and use caution to
avoid damage to these connectors.
7. Disconnect the cache module backup power cable from the cache module.

 Loading...


