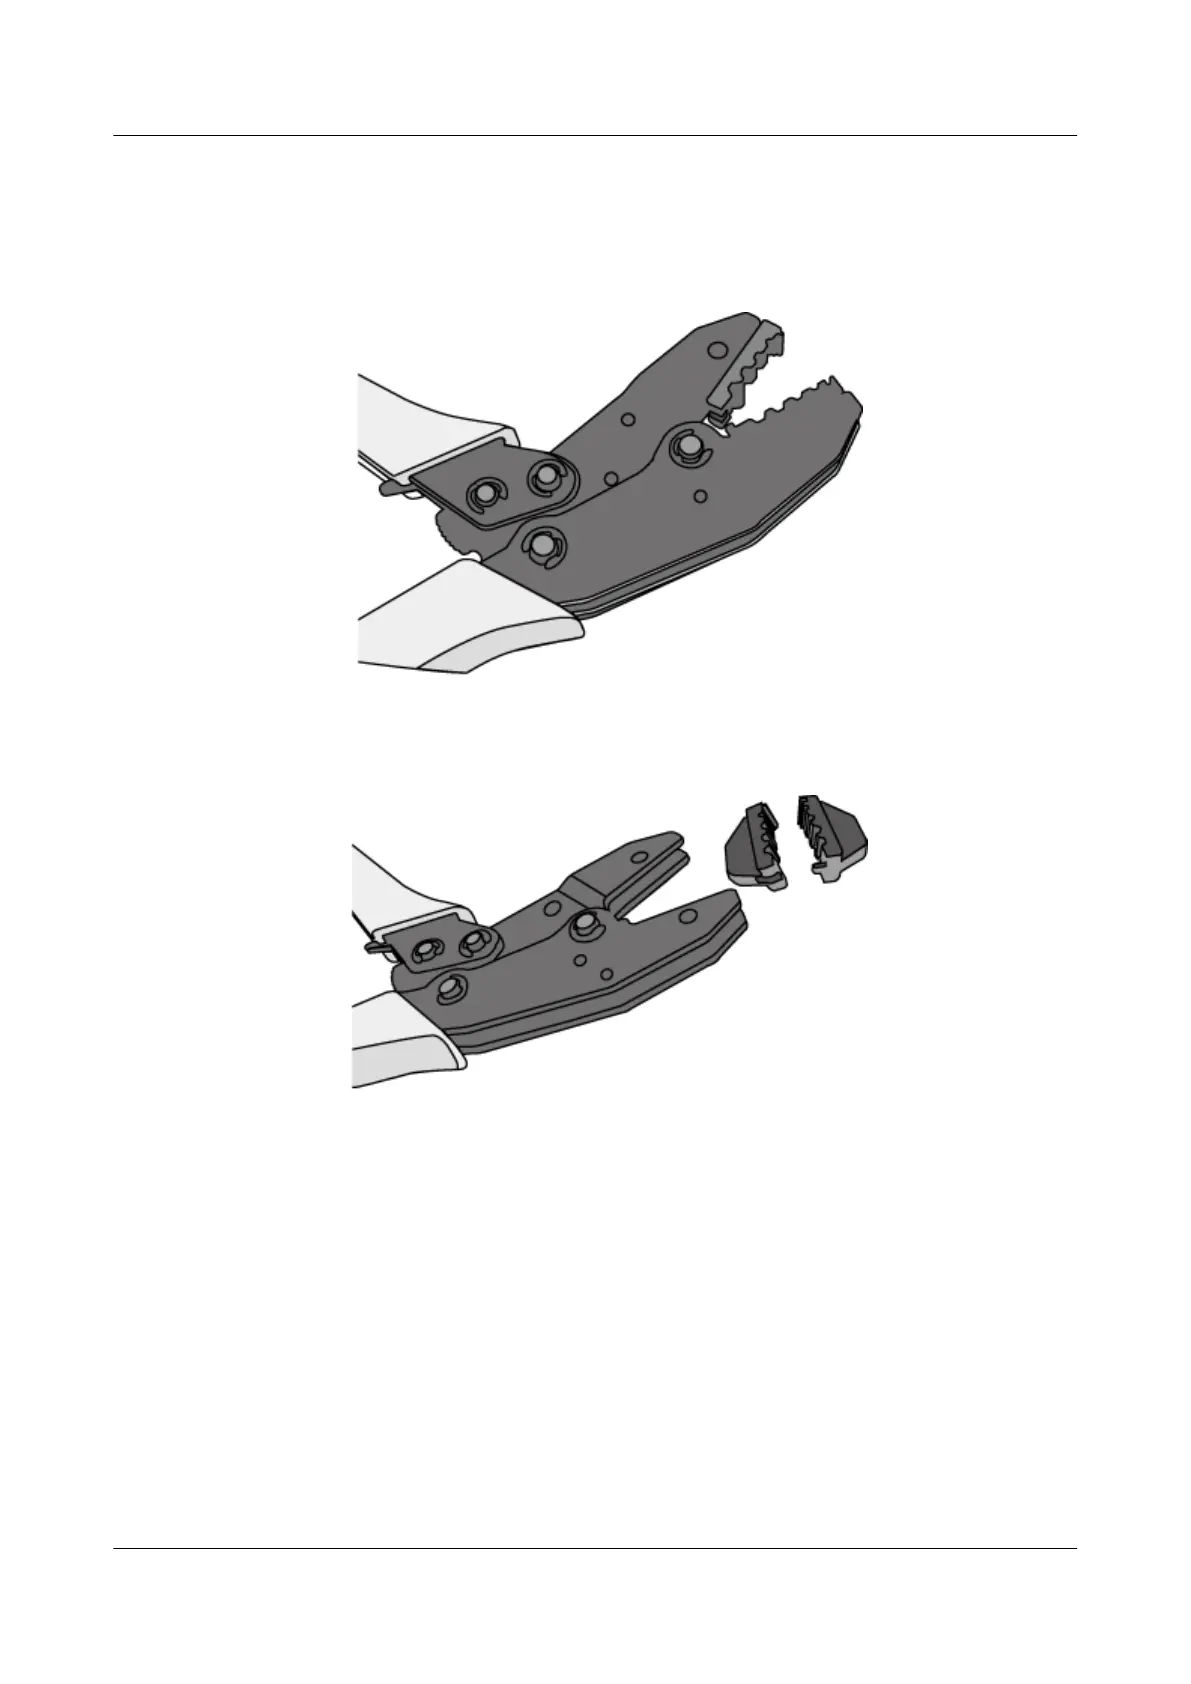
2. Hold the handles of the COAX crimping tools to open the self-locking
mechanism. The jaw of the COAX crimping tools opens automatically, as
shown in Figure 4-370.
Figure 4-370 Pliers jaw opening automatically
3. Remove the mold from the COAX crimping tools, as shown in Figure 4-371.
Figure 4-371 Removing the mold from the COAX crimping tools
4. Place the mold to be installed into the jaw of the COAX crimping tools and
align the screw holes, as shown in Figure 4-372.
HUAWEI NetEngine 8000 F
Hardware Guide 4 Hardware Installation and Parts Replacement
Issue 05 (2023-03-31) Copyright © Huawei Technologies Co., Ltd. 697
 Loading...