Configure a Mold Picture View 151
User Guide v 1.0 — February 2020 Mold Picture View
11.3 Configure a Mold Picture View
Configure a Mold Picture View to add zone information panels and leader lines to the loaded
mold picture view graphic.
11.3.1 Edit Mode
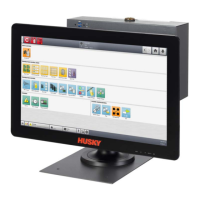
To configure the Mold Picture View, touch the Edit button (refer to Figure 11-3) to enter Edit
mode. Figure 11-4 shows the Edit screen and identifies the items used to configure the mold
picture view.
NOTE: To hide or show the Edit toolbar, touch the screen.
11.3.2 Zone Information Panels
You can make zone information panels to identify different parts of the mold graphic. These
panels can be put in different positions on the graphic and leader lines from the panels can
point to areas of the graphic. The zone information panels always contain a zone number.
You can select two other items of information that you want to see in the panel. These are
listed in Section 11.3.2.3.
After you configure the zone information panels, other users can see the panels when they
select the Mold Picture View from the Home screen. When users touch a zone information
panel on the screen, it changes to the Quick Set screen with that zone selected (highlighted).
Figure 11-4 Mold Picture View Screen in Edit Mode
1. Change View Settings Button 2. Choose Heat Zone Button 3. Leader Line Color Button
4. Zone Information Panel 5. Leader Line 6. Mold Picture View Graphic 7. Delete Button
8. Accept Button