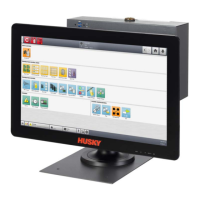
Temperature Setpoints 69
User Guide v 1.0 — February 2020 Making Adjustments
To give numbers and names to two or more zones, do the steps that follow:
1. Select the zones to be renamed.
2. Touch the Zone Edit drop-down tab.
3. Touch the Zone Name field and type a new zone name for all the selected zones.
You can also select frequently used zone names with the use of the keys that follow:
• Zone
• Probe
• Tip
• Nozzle
• Sprue
• Manifold
• Bridge
• Valve Gate
• Not Used
4. Touch the Auto+ button.
7.6.3 Temperature Setpoints
The Temperatures Setpoints for each of the heaters in the mold must be specified. The
default setting is 177 °C (350 °F).
To change a setpoint of a zone, do the steps that follow:
1. Touch the zone to be changed.
2. Touch the Frequently Used drop-down tab.
3. Touch the Temperature Setpoint field and type a new setpoint value.
4. Touch the Accept button.
7.6.4 Alarm Window
The Alarm Window lets you specify a range of how many degrees great than or less than the
Temperature Setpoint will cause an alarm. The default Alarm Window setpoint is 6 °C (10 °F).
Alarm Example: Temperature Setpoint = 300 °F, Alarm Window = 10 °F
Temperatures greater than 310 °F or less than 290 °F will cause an alarm. If the Temperature
Setpoint is changed to 350 °F, then temperatures greater than 360 °F or less than 340 °F will
cause an alarm. The Alarm Window setpoint is the same number of degrees greater than and
less than the Temperature Setpoint.
To change the Alarm Window for a zone, do the steps that follow:
1. Touch the zone to be changed.
2. Touch the Frequently Used drop-down tab.
3. Touch the Alarm Window field and enter a new value.
4. Touch the Accept button.