EasyManuals Logo

Hypertherm HyPerformance Plasma HPR400 User Manual

Hypertherm HyPerformance Plasma HPR400
355 pages
To Next Page IconTo Next Page
To Previous Page IconTo Previous Page
Page #86 background imageLoading...
Page #86 background image
InstallatIon
3-48 HPR400XD Auto Gas 806160
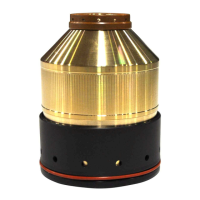
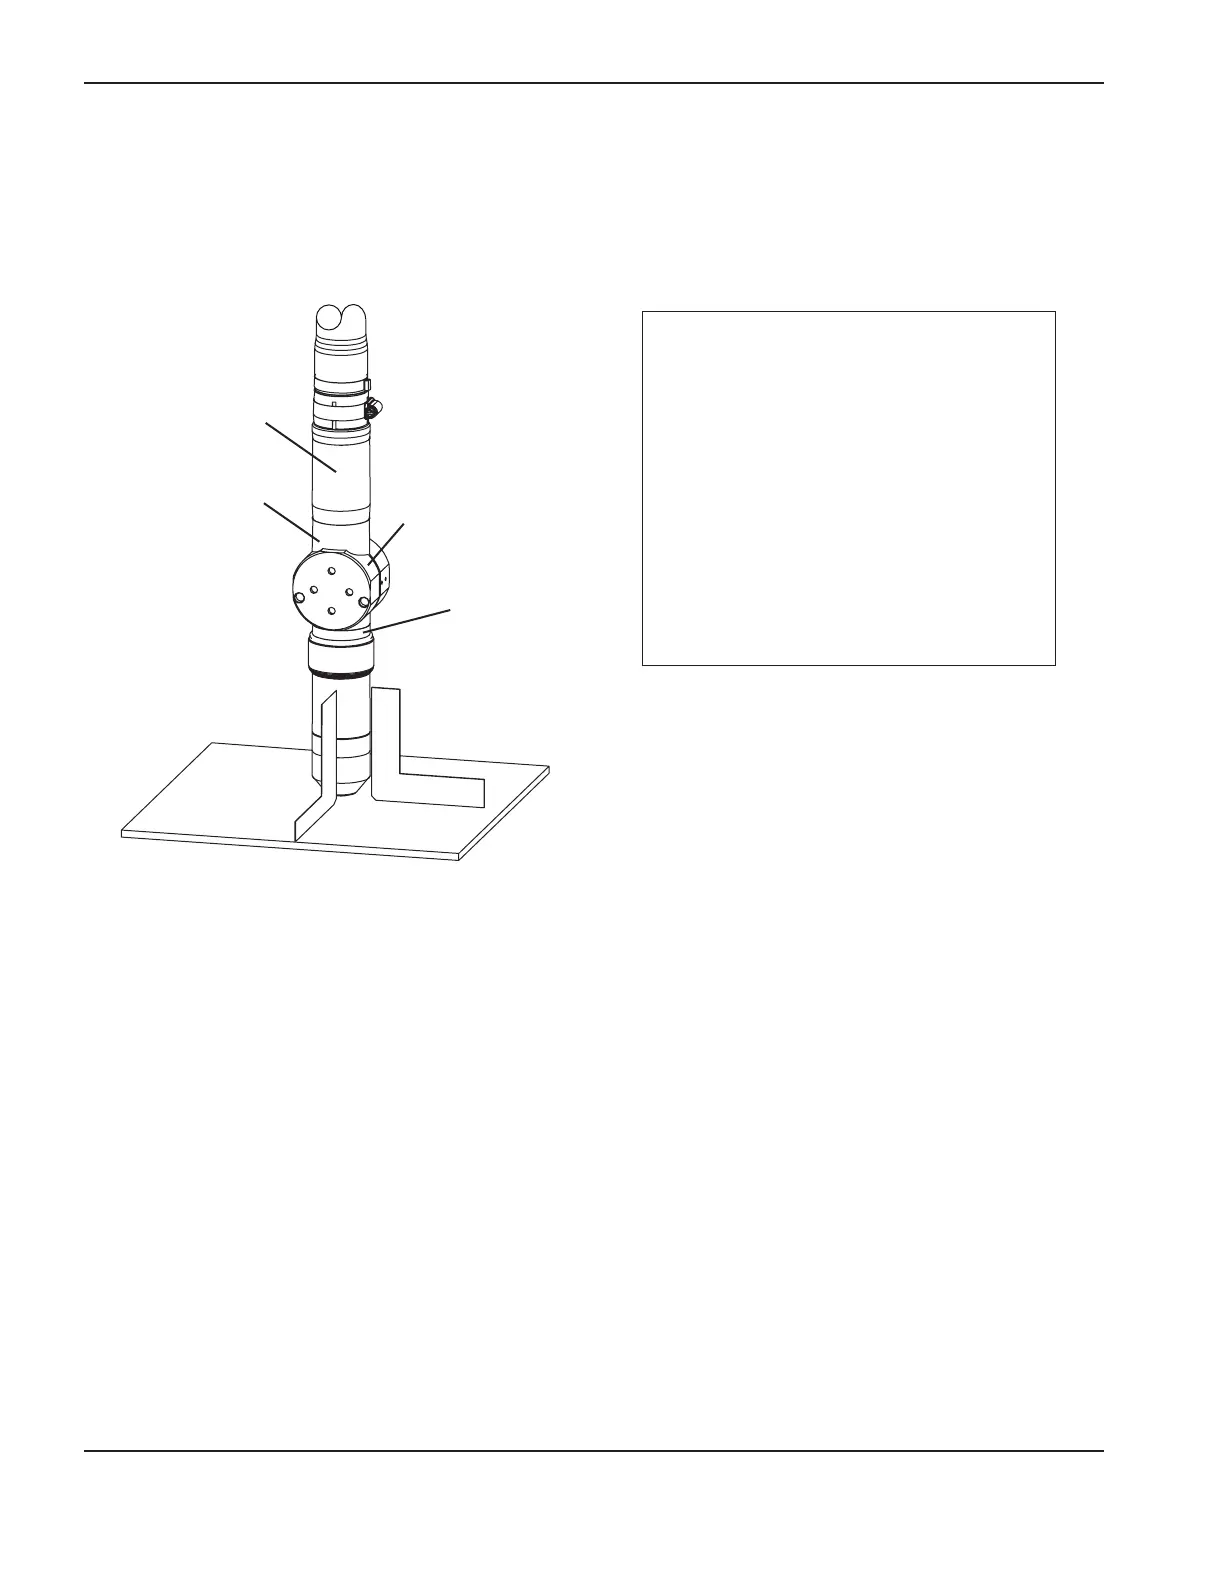
Torch mounting and alignment
Mounting the torch
Torch alignment
To align the torch at right angles to the workpiece, use a square. See figure above.
Installation
1. Install the torch (with torch leads
attached) in the torch mounting bracket.
2. Position the torch below the mounting
bracket, so that the bracket is around the
lower portion of the torch sleeve but not
touching the torch quick-disconnect.
3. Tighten the securing screws.
Note: The bracket should be as low on the
torch sleeve as possible to minimize
vibration at the tip of the torch.
Lower torch sleeve
Torch mounting
bracket
(customer supplied)
Upper torch sleeve
Quick-disconnect
receptacle

Table of Contents

Questions and Answers:

Question and Answer IconNeed help?

Do you have a question about the Hypertherm HyPerformance Plasma HPR400 and is the answer not in the manual?

Hypertherm HyPerformance Plasma HPR400 Specifications

General IconGeneral
Duty Cycle100% at 400 A
Cutting Capacityup to 50 mm (2 in)
Output Current30-400 A
Input Voltage200 – 480 V, 3-PH, 50/60 Hz
Gas SupplyOxygen, Air, Nitrogen

Related product manuals