70
Chapter 3 Configuration Editor
Menu Editor
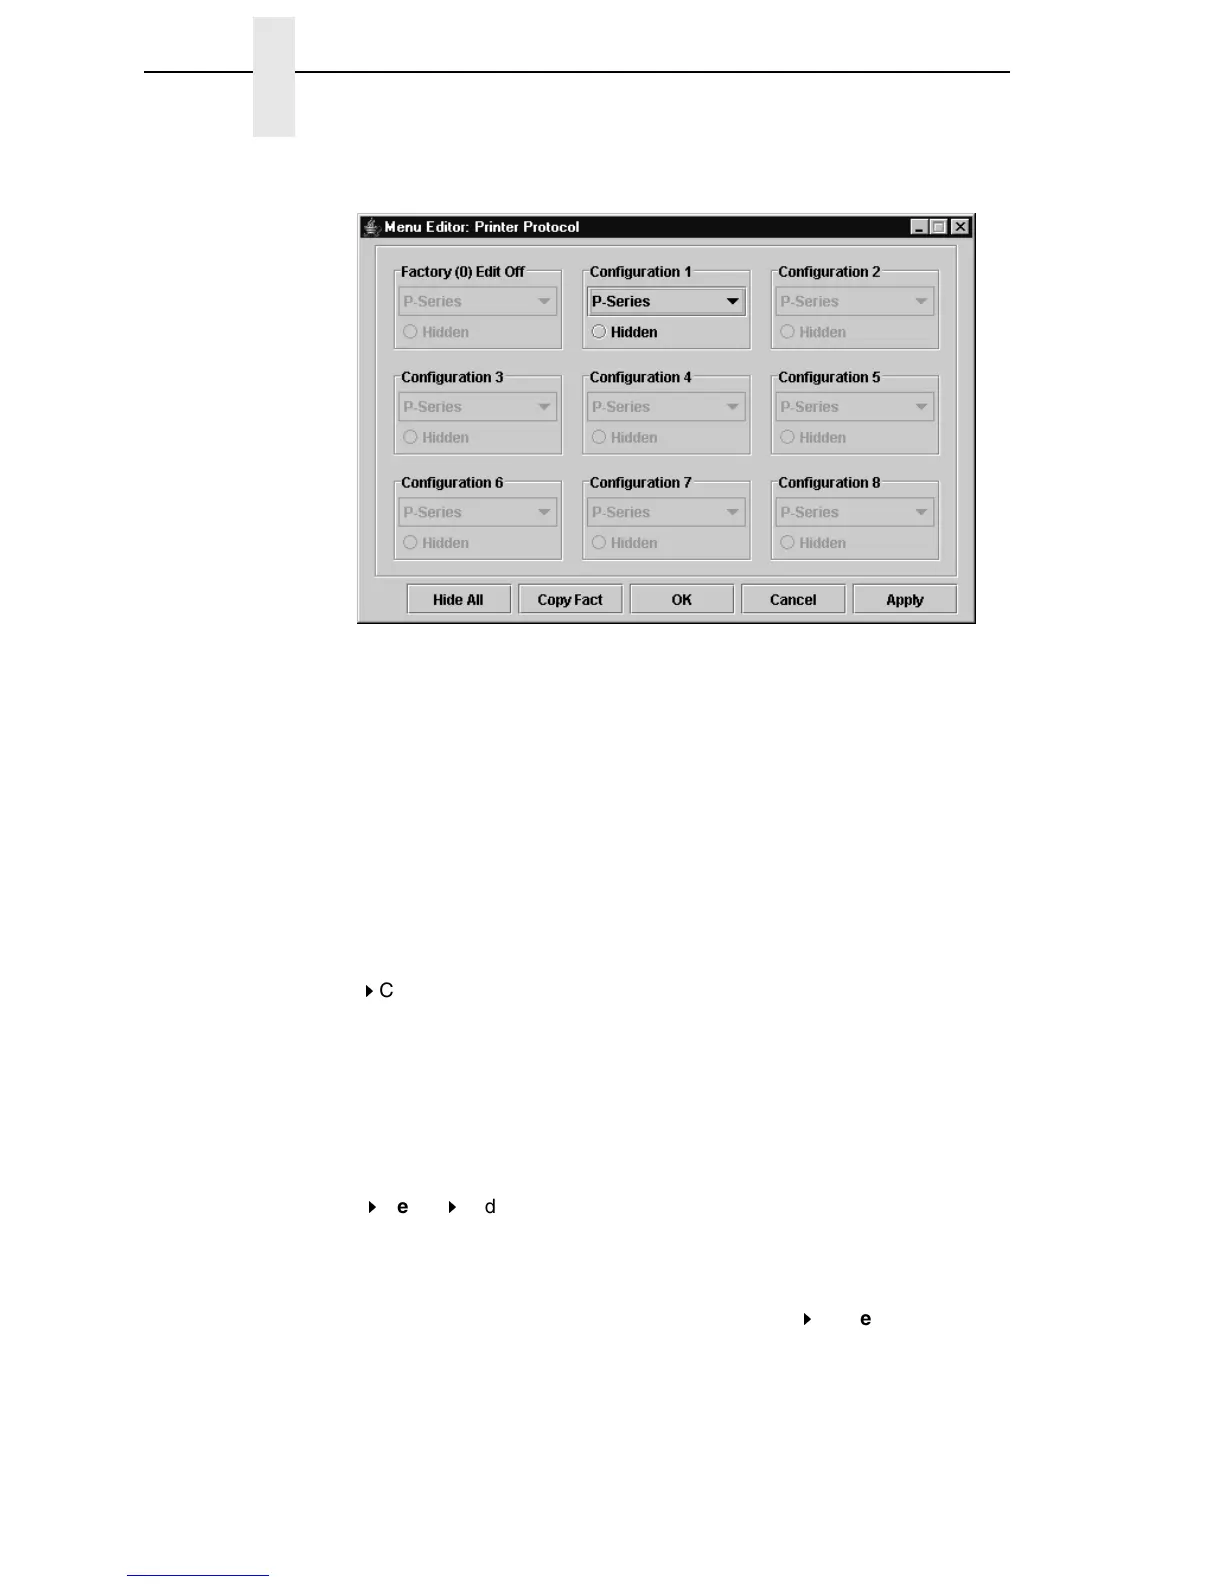
Figure 54. Menu Editor
Double-click any menu item to open the Menu Editor window. Figure 54
shows the screen you see when you double-click the Printer Protocol option.
By using the Menu Editor, you may view and adjust the settings of all nine of
the printer configurations at once. To change a setting, click the drop-down
arrow underneath the corresponding configuration and choose an option.
Grayed out configuration names and settings do not exist; you must create
the configuration before you can edit it (see page 68).
To hide a menu item in the operator panel, select Hidden under a
configuration. Click Hide All to hide this menu item in all configurations. (For
more information on hiding, see page 71.)
Select Copy Fact (1-8) to set all configurations to the same value as the
factory or user-defined configuration currently selected under the
Edit
Copy From: menu in the Configuration Editor (see page 68).
Click Cancel to exit the Menu Editor without saving your changes.
Click Apply to save your changes without exiting the Menu Editor.
Click OK to save your changes and exit the Menu Editor.
Deleting Configurations
To delete any of the configurations (except the factory configuration), select
Edit
Delete
and choose the number of the configuration to be deleted.
Naming Configurations
You may name any of the eight user-defined configurations using an
alphanumeric string of 1 to 15 characters. Select Edit
Names to open the
Edit Configuration Names window.
Choose the configuration you want to name, then click OK to assign the name
change, Cancel to exit this window without saving your changes, or Reset to
restore the original configuration numbers.

 Loading...


