3. If the microprocessor is preinstalled in the installation tool, release the sides of
the cover and remove the cover from the installation tool; then, continue to
step 5.
4. Install the microprocessor in the microprocessor installation tool:
a. Remove the static-protective bag, and the foam surrounding the bag, from
the box.
b. Touch the static-protective package that contains the new microprocessor
to any unpainted metal surface on the server; then, remove the
microprocessor from the package.
Attention:
v Do not touch the microprocessor contacts; handle the microprocessor by
the edges only. Contaminants on the microprocessor contacts, such as oil
from your skin, can cause connection failures between the contacts and
the socket.
v Handle the microprocessor carefully. Dropping the microprocessor
during installation or removal can damage the contacts.
v Do not use excessive force when you press the microprocessor into the
socket.
v Make sure that the microprocessor is oriented and aligned and
positioned in the socket before you try to close the lever.
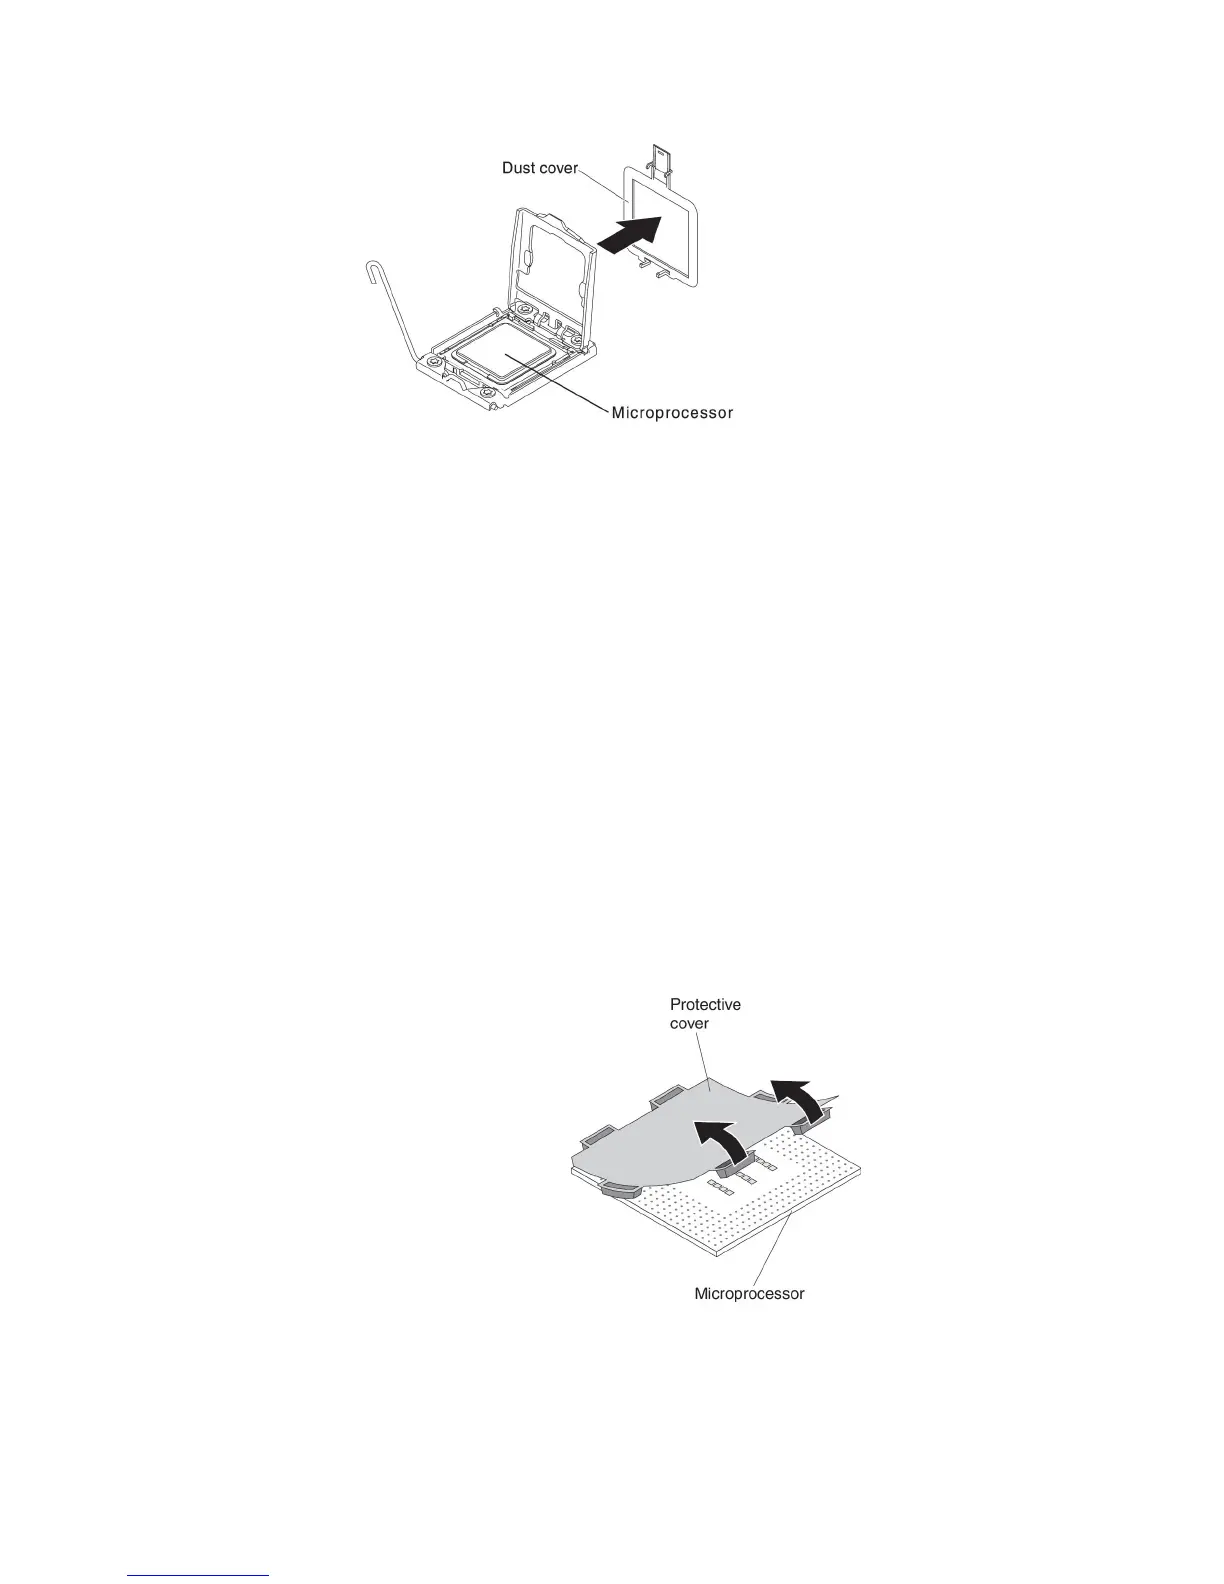
c. If there is a plastic protective cover on the bottom of the microprocessor,
carefully remove it.
d. Twist the handle of the microprocessor installation tool counterclockwise
so that it is in the open position.
e. Align the triangle alignment mark on the microprocessor with the triangle
alignment mark on the microprocessor installation tool, then place the
microprocessor on the bottom of the tool so that the tool can grasp the
microprocessor correctly onto the bottom of the installation tool.
350 System x3530 M4 Type 7160: Installation and Service Guide