Chapter 10: Camera setup
TruVision DVR 12HD User Manual 61
IP camera status
The IP camera status menu allows you to add, edit and remove cameras to the
recorder, as well as update the cameras’ firmware.
The maximum number of IP cameras that can be connected depends on the number of
analog cameras enabled. Only up to half of the recorder channels can be IP cameras.
You may need to disable an analog camera to add an IP camera.
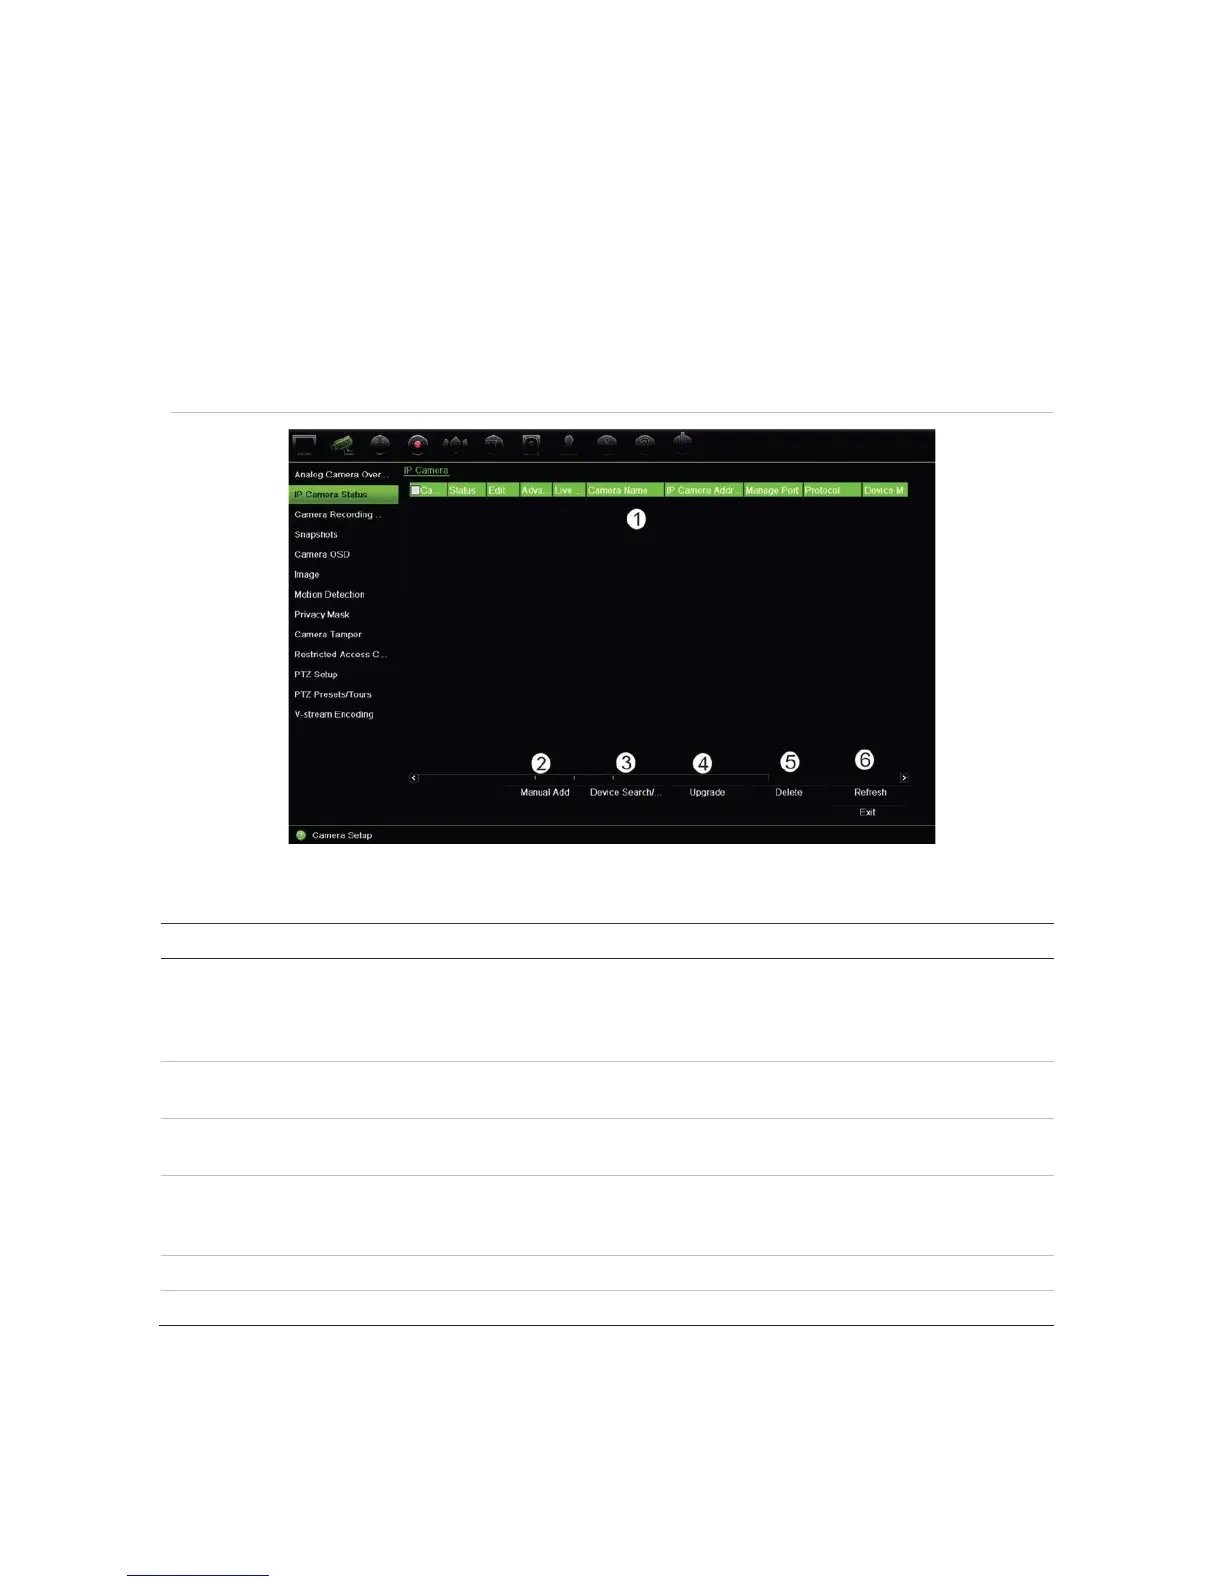
Figure 20: IP camera window
Table 12: Description of the IP camera window
Option Description
1.
This shows the list of IP cameras added to the recorder. The camera
information shown is: Camera No., Status, Edit, Advanced Set, Live View,
Camera Name, IP Camera Address, Manage Port, Protocol, Device Model,
Serial Number, and Firmware.
2.
Add the selected cameras from the search results list to the recorder
system without modifying the camera configuration.
3.
Search the network for available IP cameras. Add an IP camera to the
recorder system.
4.
Upgrade IP camera software. Insert USB flash drive in the recorder and
select the upgrade file. The camera will automatically reboot once the
software is upgraded.
5.
Delete the selected IP camera from the list.
6.
Update the information displayed on a camera in the recorder device list.