Chapter 11: Network settings
TruVision DVR 12HD User Manual 79
4. Click Apply and manually reboot the recorder to save the settings.
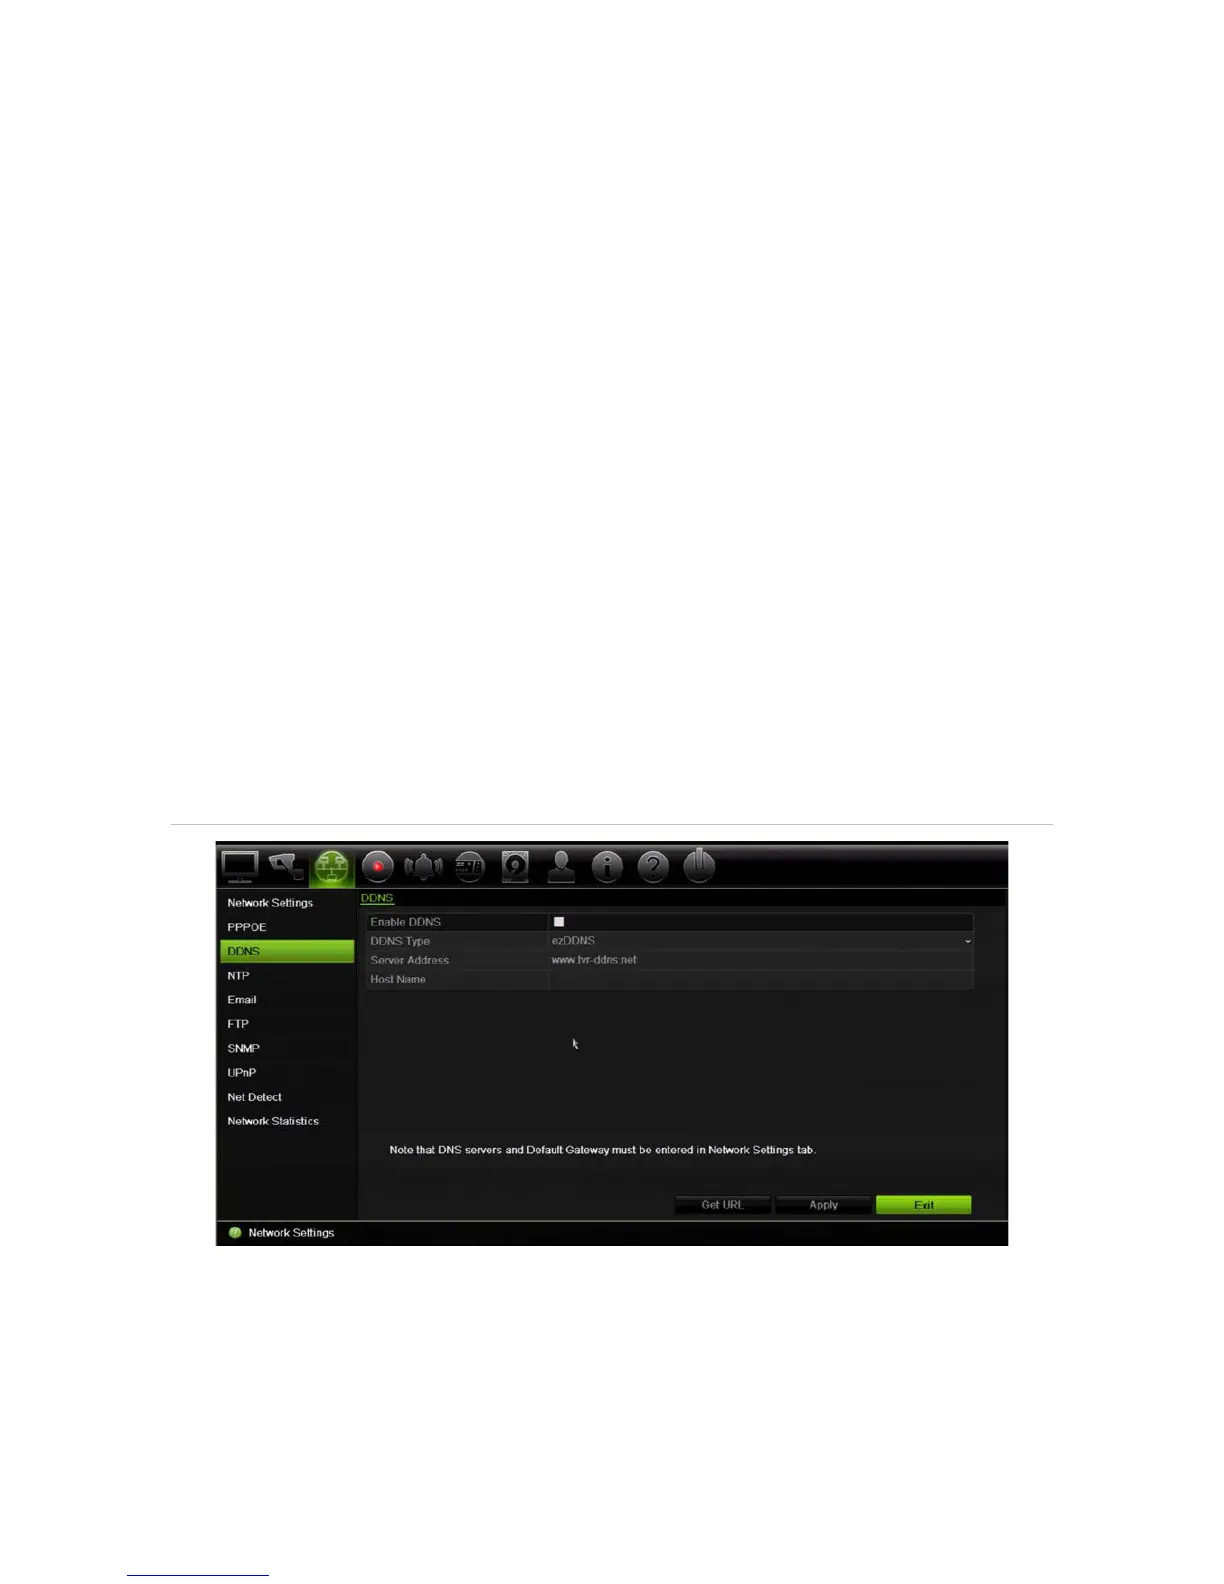
DDNS settings
DDNS servers allow you to connect to your recorder using a fixed address. This fixed
address needs to be registered with a DNS service. The DDNS setup menu allows you
to enable or disable DDNS and to configure it using ezDDNS, No-IP or DynDNS.
Note: Some service providers block the default RTSP streaming port 554 used for
video streaming, so if you are not receiving video images over the internet, you may
need to change it to another value. See Appendix C “Port forwarding information” on
page 137 for more information. See “Port forwarding information” in the appendix for
more information.
There are three ways to set up a DDNS account:
• ezDDNS: A free-of-charge service included with your recorder and fully managed
within the recorder interface
• DynDNS: A third-party service where users need to apply for a DynDNS account on
the Dyn.com website.
• No-IP: A third-party service where users need to apply for a no-IP account on the
no-ip.com website
Figure 23: ezDDNS setup window
Note: You cannot have two recorders with the same host name.
To set up DDNS:
1. From the menu toolbar, click Network Settings > DDNS.
2. Check the Enable DDNS box to enable this feature.