Chapter 10: Camera setup
70 TruVision DVR 12HD User Manual
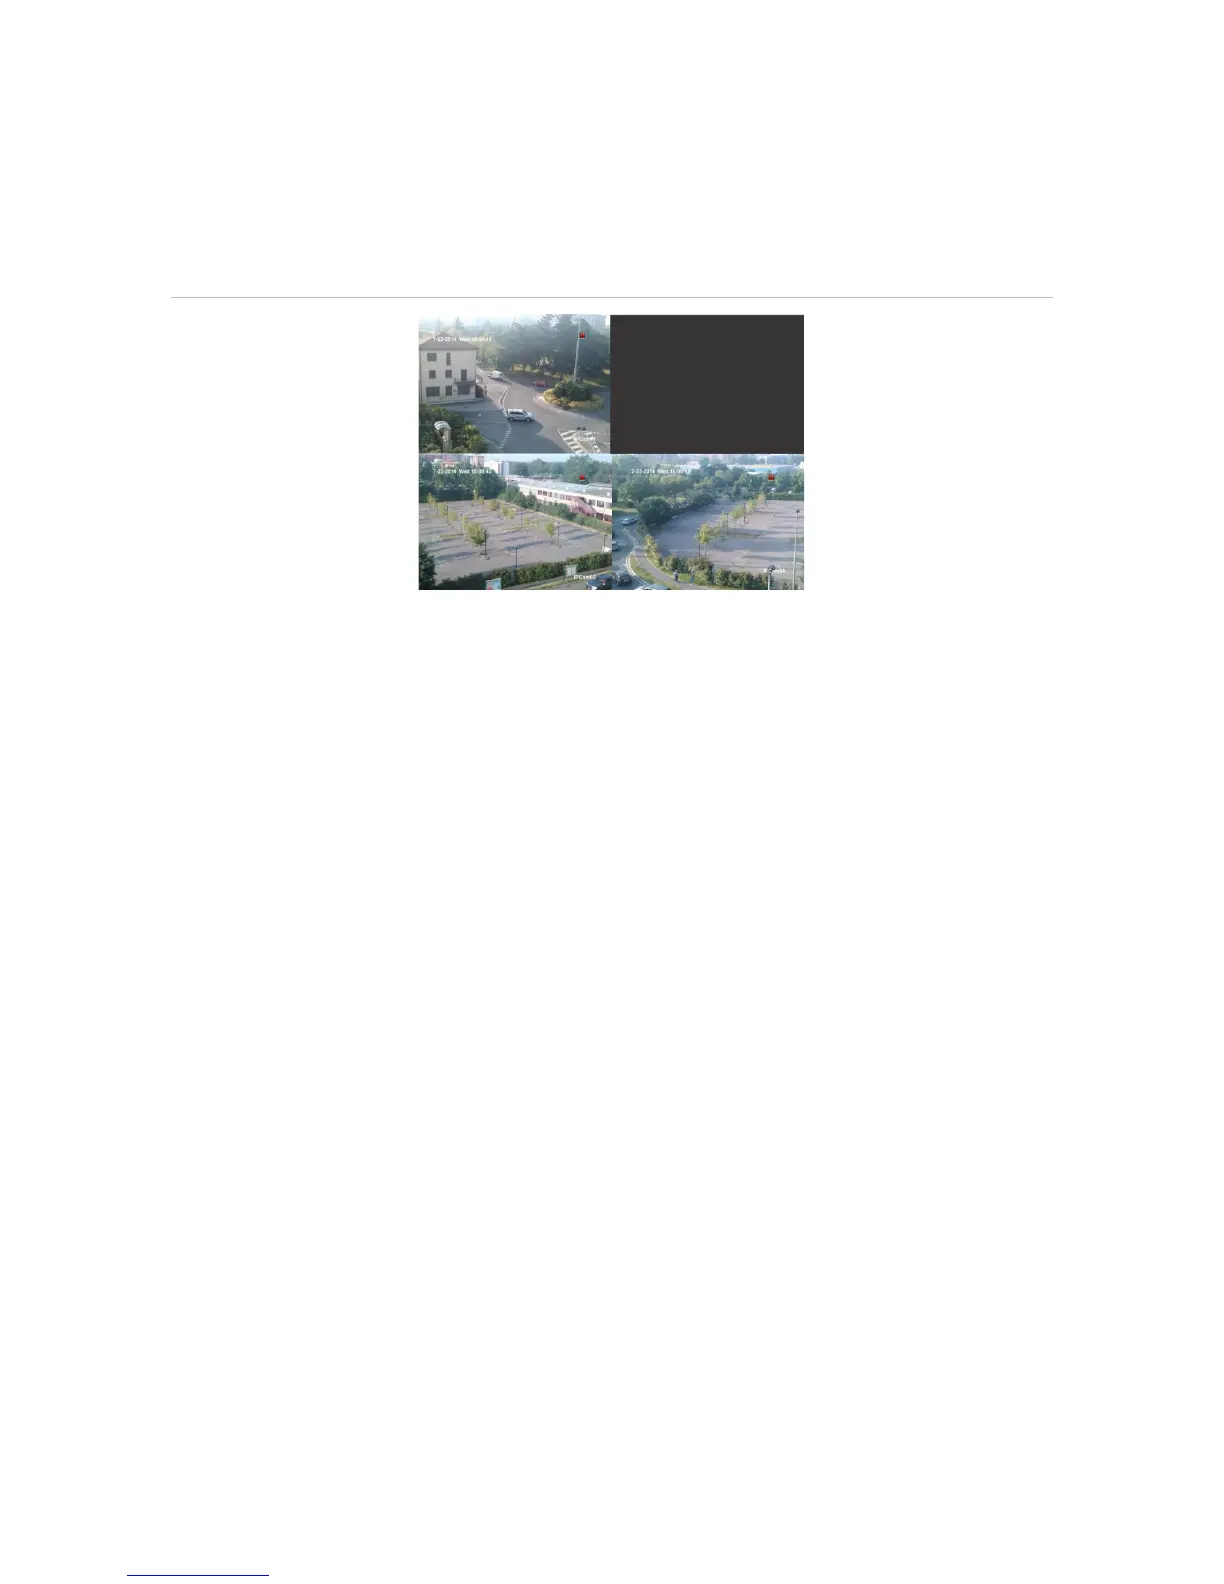
lets you select which camera (or cameras) is not displayed on the local monitor unless
the user is logged in and has permission to view the camera images. A restricted
access camera is not displayed on screen when no user is logged in. Instead a person
walking by sees a black screen. See Figure 21 below.
Figure 21: Example of a restricted access camera image
To set up a camera for a restricted access view:
1. From the menu toolbar, click Camera Setup > Restricted Access Camera.
2. Check which analog camera or cameras you want to have restricted access and
click Apply.
3. Click Exit to return to live view.
Configure PTZ settings
Use the PTZ Setup menu to configure only analog PTZ dome cameras. Each analog
camera must be set up individually. The cameras must be configured before they can
be used.
Ensure that the PTZ dome cameras are correctly connected to the RS-485 port on the
back panel.
Note: If a camera does not work correctly after configuring the recorder, check the
parameters entered.
To configure PTZ dome camera settings:
1. Click the PTZ Control icon on the live view toolbar.
– Or –
From the menu toolbar, click Camera Setup > PTZ Setup.
2. Select the camera, baud rate, data bit, stop bit, parity, flow control, PTZ protocol and
address for the camera. See Appendix H “Default menu settings” on page 154 for
the default values.