Chapter 11: Network settings
TruVision DVR 12HD User Manual 83
UPnP settings
The recorder supports UPnP (Universal Plug and Play). This feature lets the recorder
automatically configure its own port forwarding, if this feature is also enabled in the
router.
You can select one of two methods to set up UPnP:
Automatic mapped type: The recorder automatically uses the free ports available that
were set up in the Network Settings menu.
Manual mapped type: You enter the particular external port settings and IP addresses
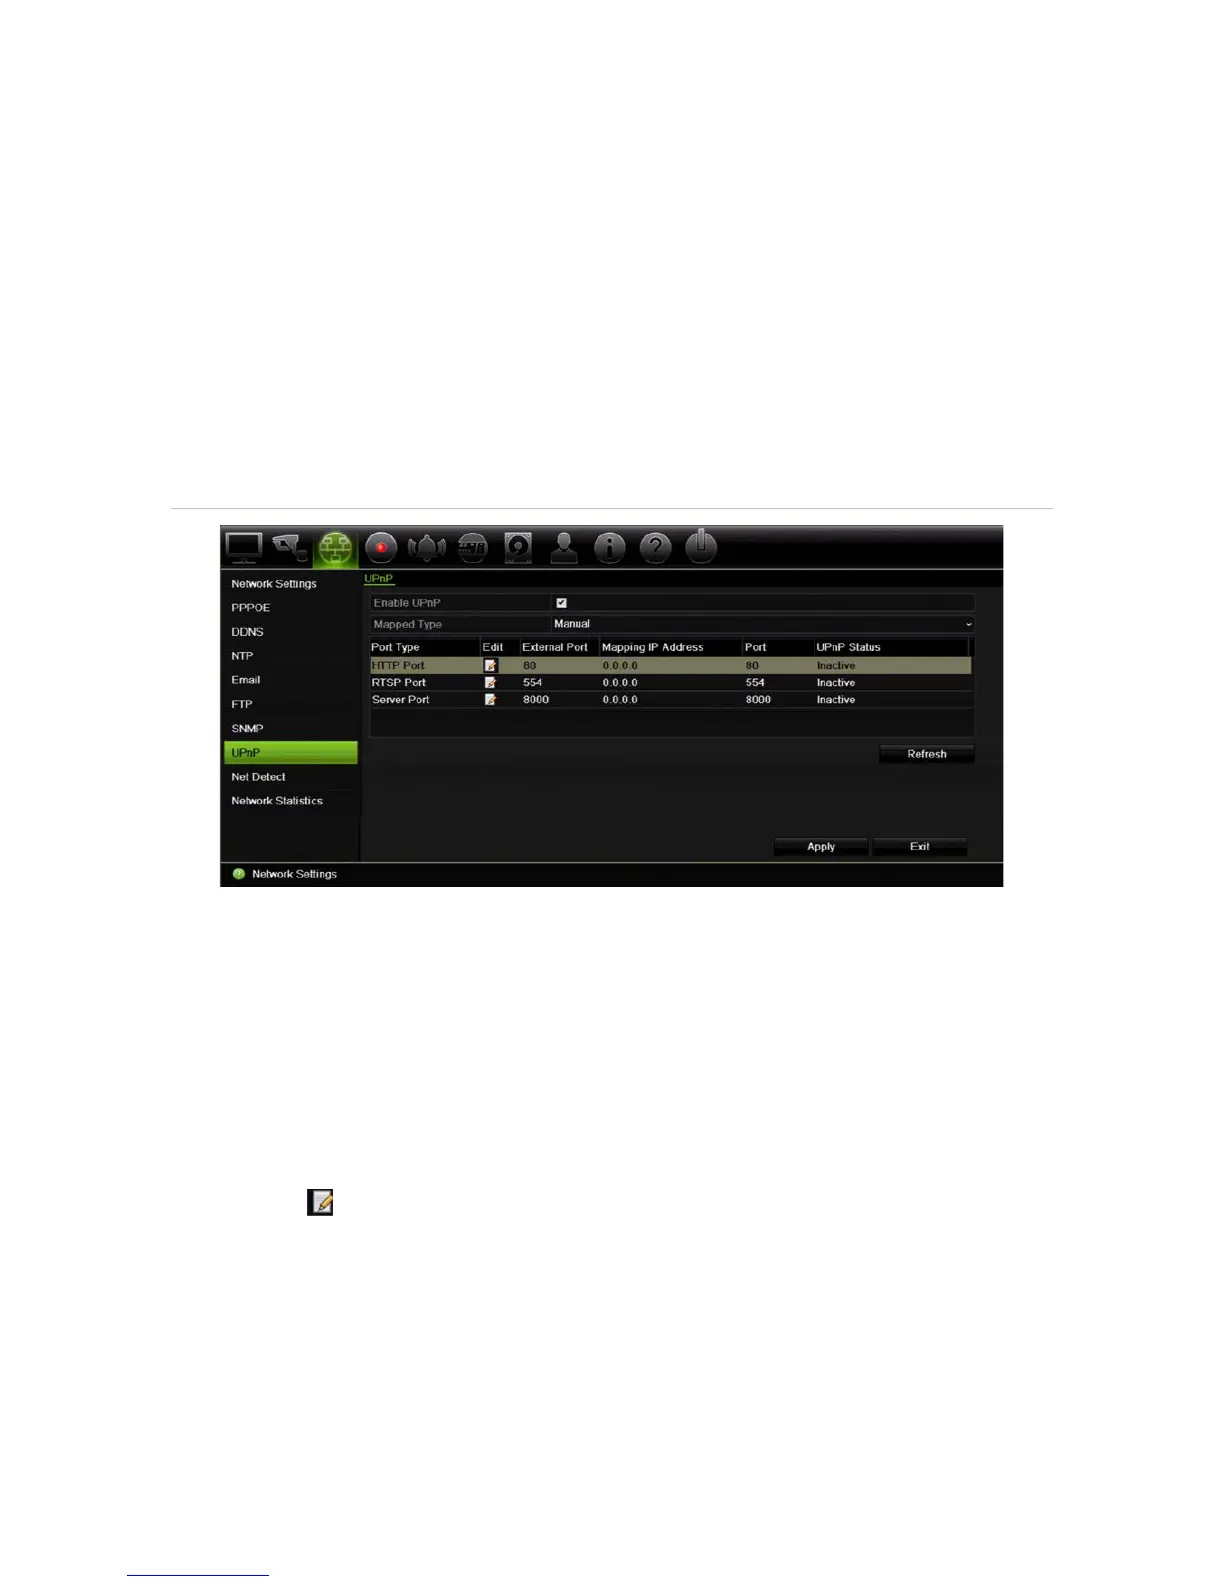
required to connect to the desired router (see Figure 24 below).
Figure 24: UPnP auto configuration screen
To enable UPnP:
1. Connect the recorder to the router.
Note: The router must support UPnP and this option must be enabled.
2. From the menu toolbar, click Network Settings > UPnP.
3. Check the Enable UPnP box.
4. From Mapped Type, select Auto or Manual.
If Manual is selected, enter the external ports and IP addresses required. Click the
Edit icon to change the values.
5. Click Apply to save the settings and click Exit to return to live view.
Network status
You can easily check network traffic in order to obtain information about the recorder
such as its linking status, MAC address, MTU, sending/receiving rate, and NIC type.