Chapter 11: Network settings
84 TruVision DVR 12HD User Manual
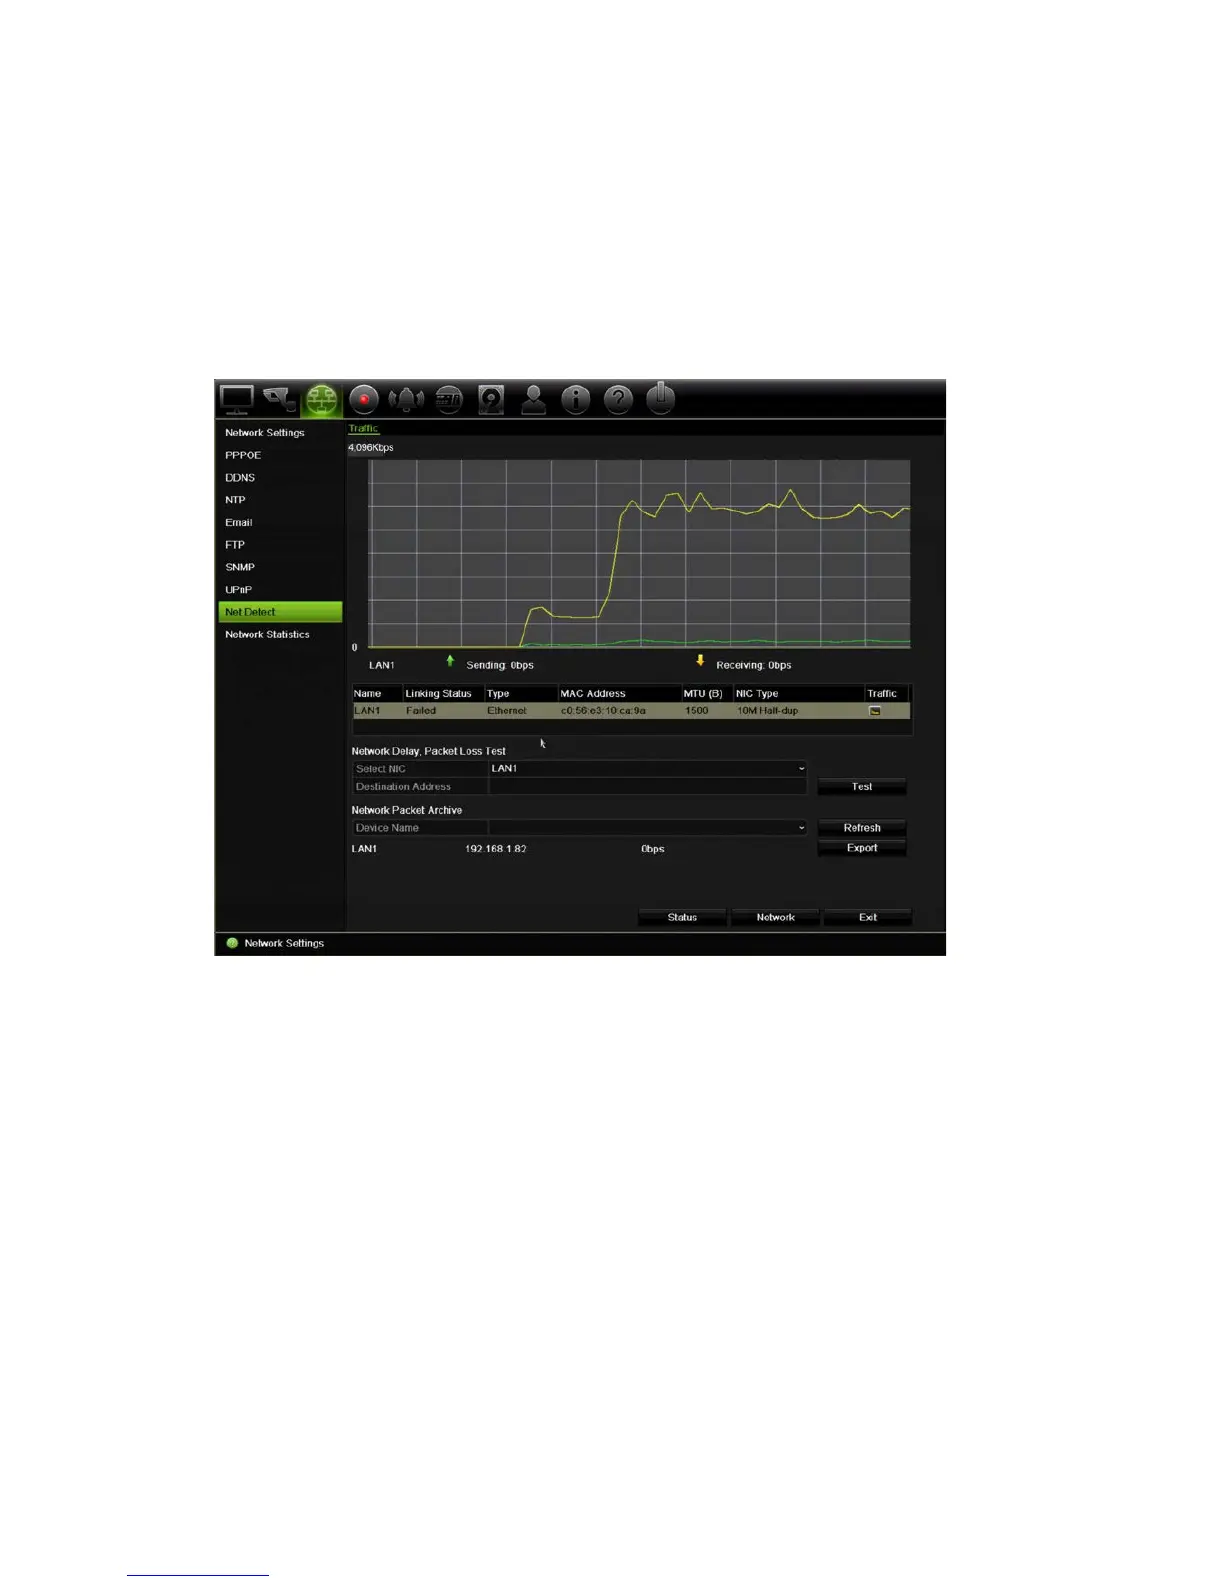
The Network Detection window shows the network traffic between the recorder and
your local network. However, the traffic between the plug and play cameras and the
TVR 12 is not shown.
You can also check the network connection status by testing its delay and packet loss.
To check network traffic:
1. From the menu toolbar, click Network Settings > Net Detect. The Traffic window
appears. The information displayed is refreshed once a second.
To check network delay and packet loss:
1. From the menu toolbar, click Network Settings > Net Detect.
2. Under the section “Network Delay, Packet Loss Test”, select the NIC to use and
enter the destination address. Click Test.
The test result appears in a pop-up window.
3. If you need to check the current network parameters, click the Network button to
get an overview. The current values for NIC type, DHCP, IPv4 address, IPv4 subnet
mask, IPv4 default gateway are shown as well as the preferred DNS server and
alternate DNS server if used.
The NIC Type and Enable DHCP options can be changed. Click Apply to save any
changes made and then click OK to return to the main window.
4. Click Exit to return to live view.