38
Intermec EasyCoder 201 II – Technical Manual
Continued!
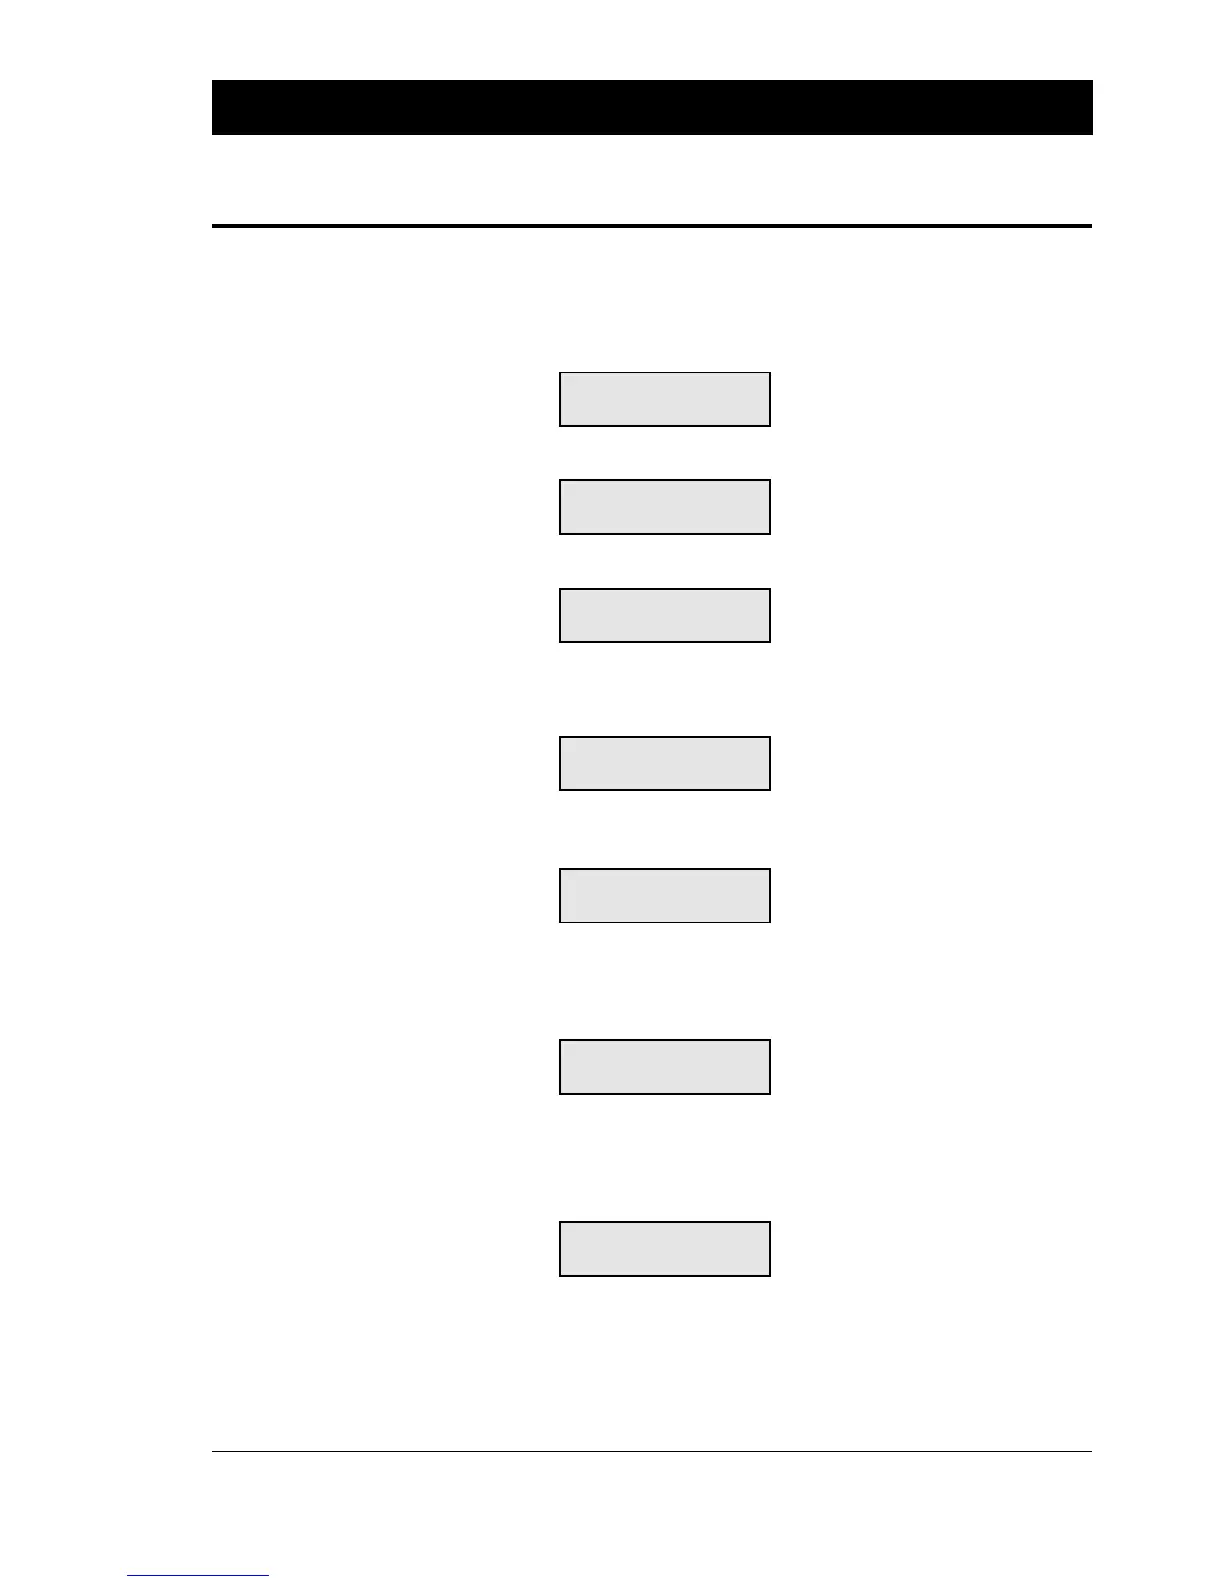
❑ Label (w gaps):
Put a piece of paper with backing paper between the two parts
of the sensor. The cursor should appear at the left side of the
menu:
LABEL <> GAP
■
Put a piece of backing paper without any label into the sensor.
The cursor should move to the centre of the menu:
LABEL <> GAP
■
Finally remove all paper web from the sensor. The cursor
should move to the right side of the menu:
LABEL <> GAP
■
❑ Ticket (w mark), requires an optional black Mark Sensor:
Load the paper, making sure there is no black mark close to the
sensor. The cursor should appear at the right side of the menu:
MARK <> TICKET
■
Move the paper so the black mark becomes aligned with the
sensor. The cursor should move to the left side of the menu (the
same applies when no paper is fitted):
MARK <> TICKET
■
❑ Ticket (w gaps), Fix Length Strip and Var. Length Strip:
Put the paper between the two parts of the sensor, making sure
there is no gap close to the LSS. The cursor should appear at the
left side of the menu:
LABEL <> GAP
■
In case of tickets, move the paper so the gap becomes situated
above the sensor.
In case of strip, remove the paper completely.
In both cases, the cursor should move to the left side of the menu:
LABEL <> GAP
■
❑ If the cursor is not situated correctly, the LSS/BMS must be
adjusted. Start by turning the LSS/BMS potentiometer back and
forth and try to get the cursor to the correct position (see the
chapter “Electronics; Potentiometers” later in this manual).
Detection, cont'd.
SETTING UP EASYCODER 201 IIE & 201 IISA, cont'd.