6-22
6.4.4 Printer Connection
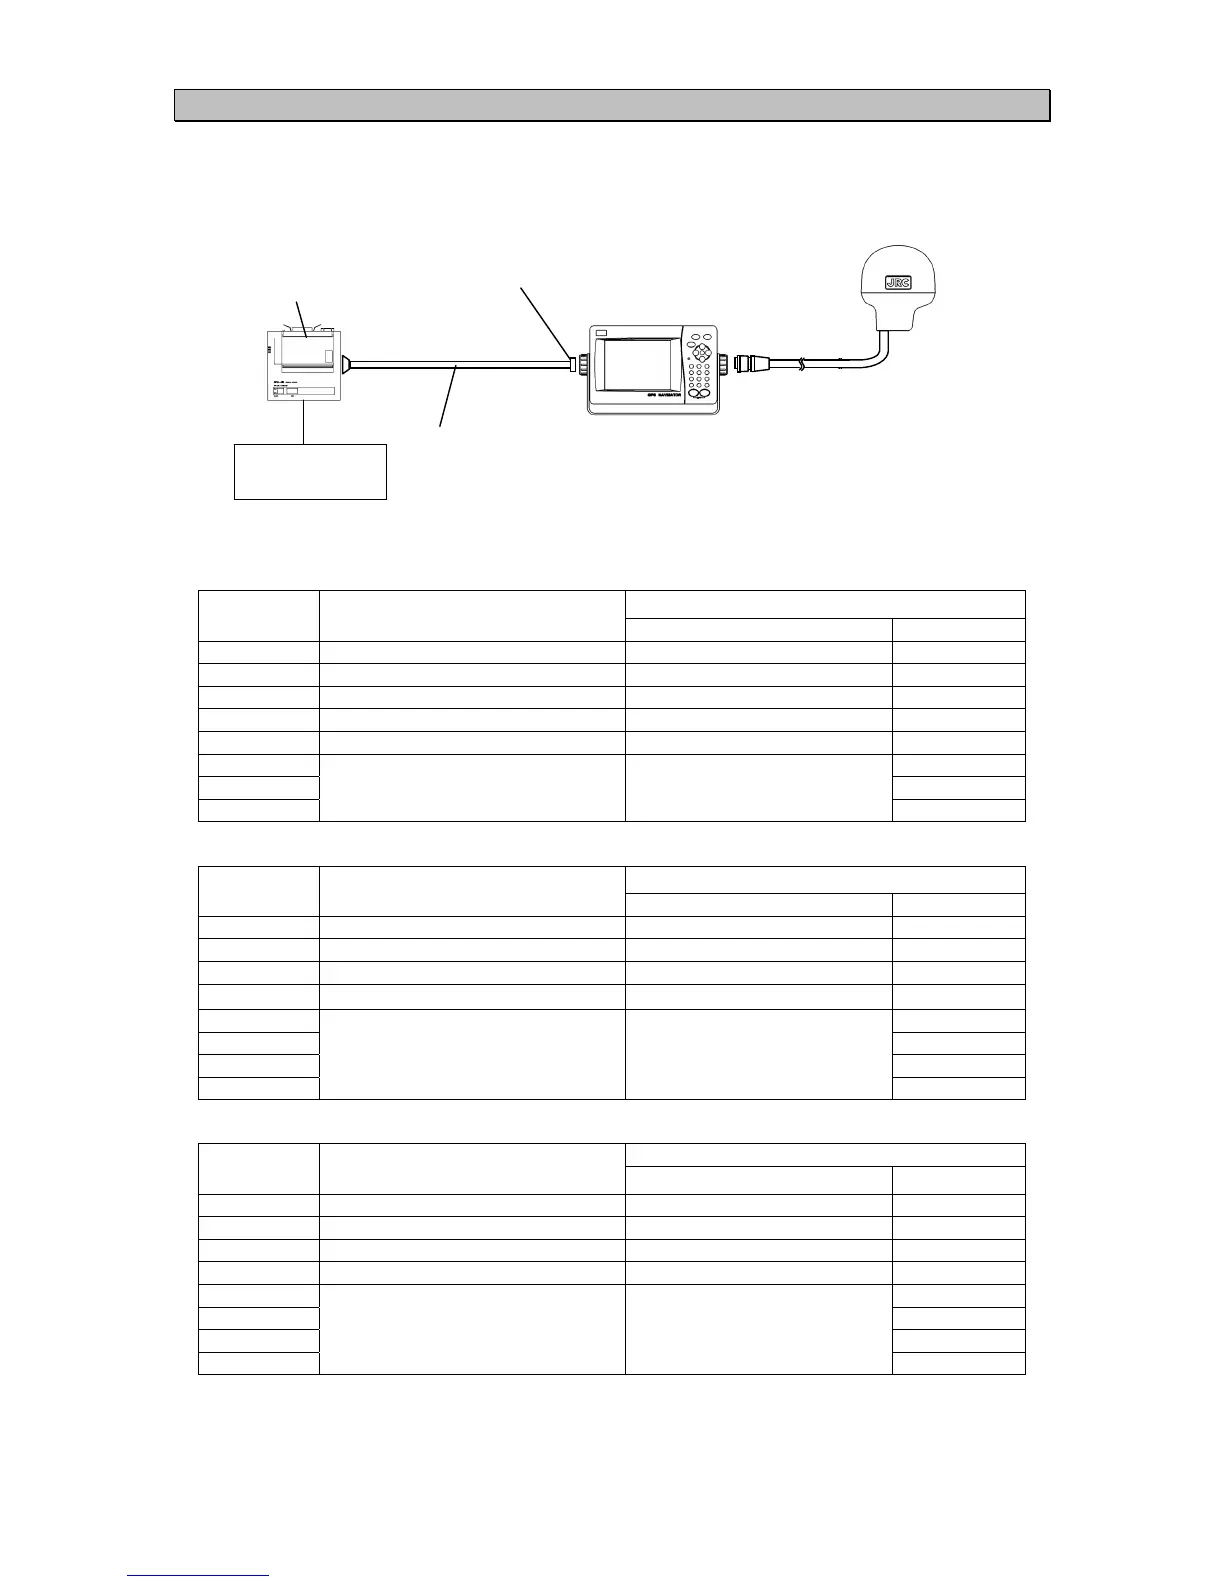
The RS-232C connector can be connected to the printer (DPU-414).
The RS-232C connector can be configured via Data IN/OUT1.Set the Data IN/OUT1 data format
to "Printer". The printer format data is output from RS-232C connector and also DATA IN/OUT
connector No.3,4-pin. Another equipment cannot be connected this pin.
Please refer to "DPU-414 Operation Manual" and set the DIP switches on DPU-414.
DIP SW1
Settings
Switch No. Function
ON/OFF
1 Input Method Serial OFF
2 Printing speed High ON
3 Auto loading ON ON
4 CR Function Carriage return OFF
5 DIP SW setting Command Enable ON
6 OFF
7 ON
8
Print density 100%
ON
DIP SW2
Settings
Switch No. Function
ON/OFF
1 Print mode Normal printing(40 columns) ON
2 User-defined characters buck-up ON ON
3 Character type Ordinary characters ON
4 Zero font
0
ON
5 ON
6 ON
7 ON
8
International character set Japanese
ON
DIP SW3
Setting
Switch No. Function
ON/OFF
1 Data bit length 8 bits ON
2 Parity permission Without ON
3 Parity condition Odd ON
4 Flow control H/W BUSY ON
5 ON
6 OFF
7 OFF
8
Baud rate 4800bps
OFF
Printer/DPU-414
Connect to RS-232C Connector
Printer Cable
7ZCJD0254A (1.5 m) or
7ZCDJD0270B (9 m)
Power Supply
NBG-320
DC6.5V

 Loading...