c. Mark a point P at a distance of 4.3 in. (10.9 cm) on a level line to the right from hole B.
d. Drill a hole C at a distance of 3.78 in. (9.6 cm) on a level line from point P and install a mounng
screw.
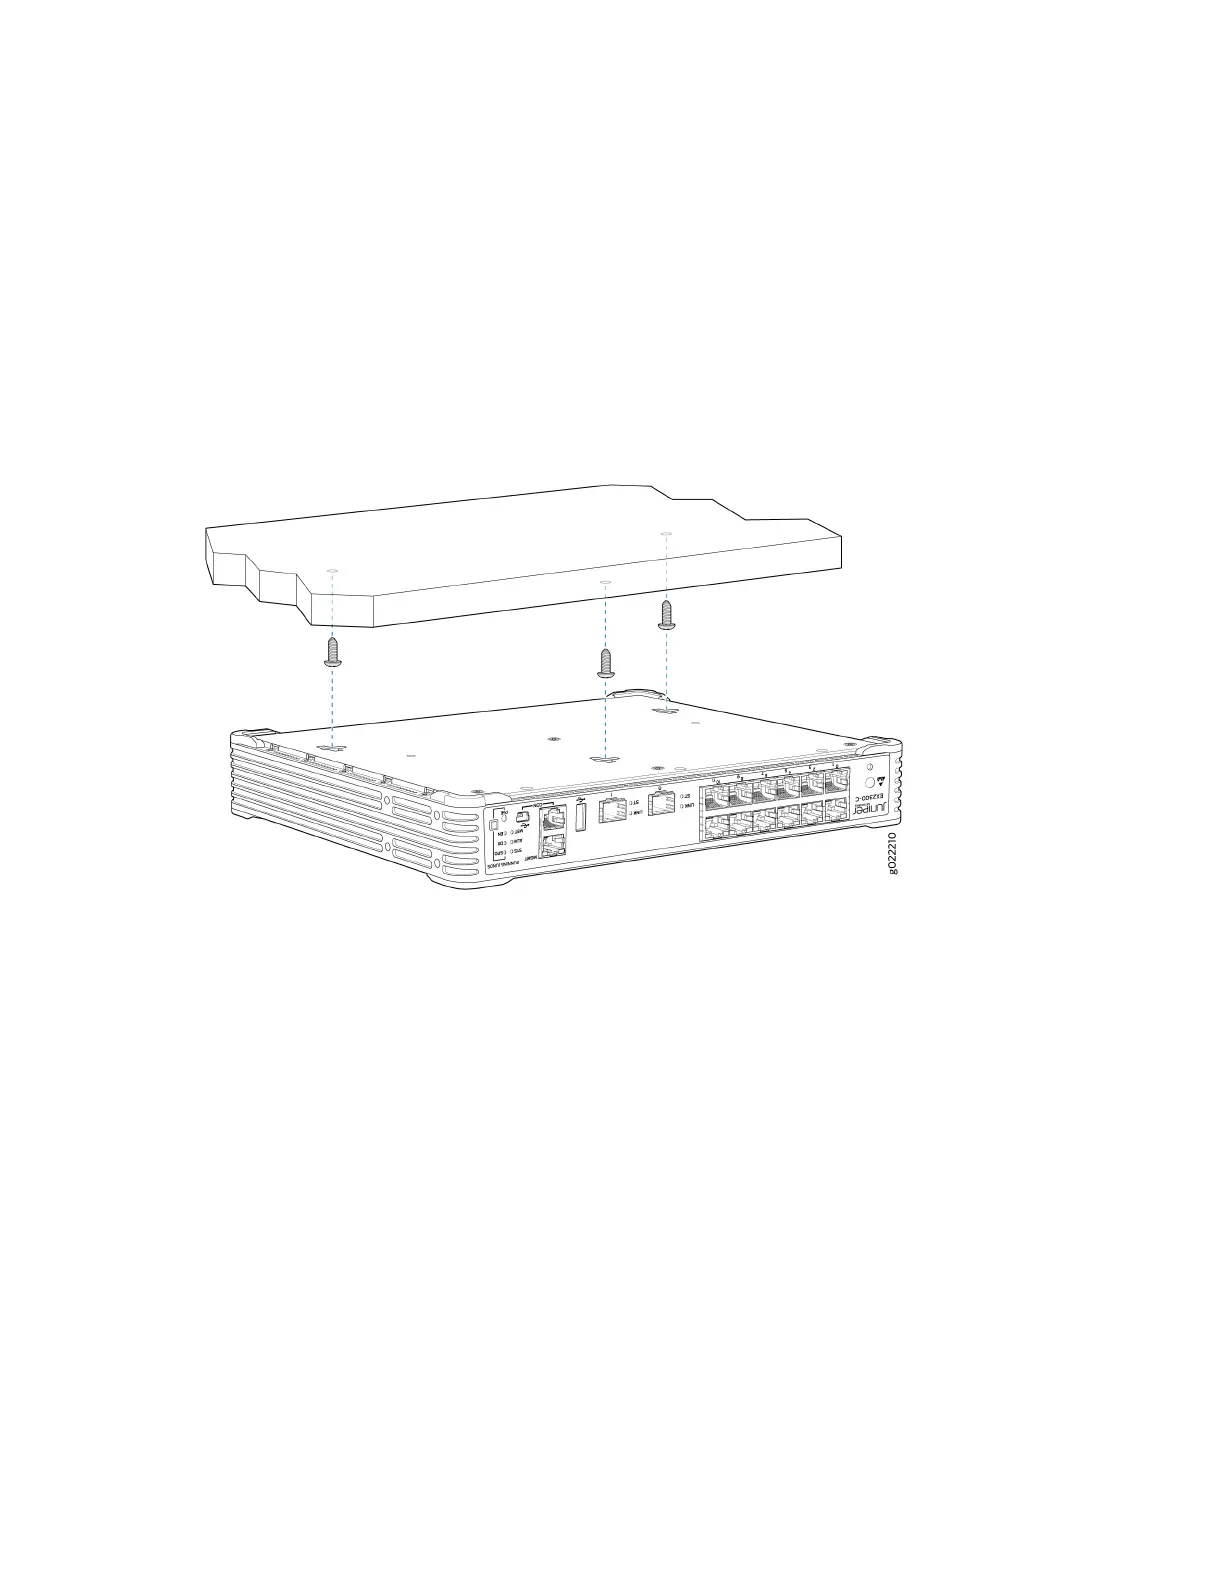
4. For mounng the switch under a desk or other level surface, hold the switch such that the holes on
the boom panel of the switch align with the screw heads, li the switch, and then slide the switch
forward or backward unl it locks in place. See Figure 54 on page 112.
Figure 54: Mounng the EX2300-C Switch Under a Desk or Other Level Surface by Using Screws
5. (Oponal) Aach the standard cable lock to the security slot on the switch:
a. Fasten the cable to a desk or a rack and set the lock to unlocked posion using the key.
112

 Loading...


