EasyManuals Logo

Juniper EX2300 Series Hardware Guide

Juniper EX2300 Series
314 pages
To Next Page IconTo Next Page
To Previous Page IconTo Previous Page
Page #140 background imageLoading...
Page #140 background image
6. Mount the switch along with the magnet mount sheet on the ferrous surface on which you want to
mount the switch (see Figure 72 on page 131).
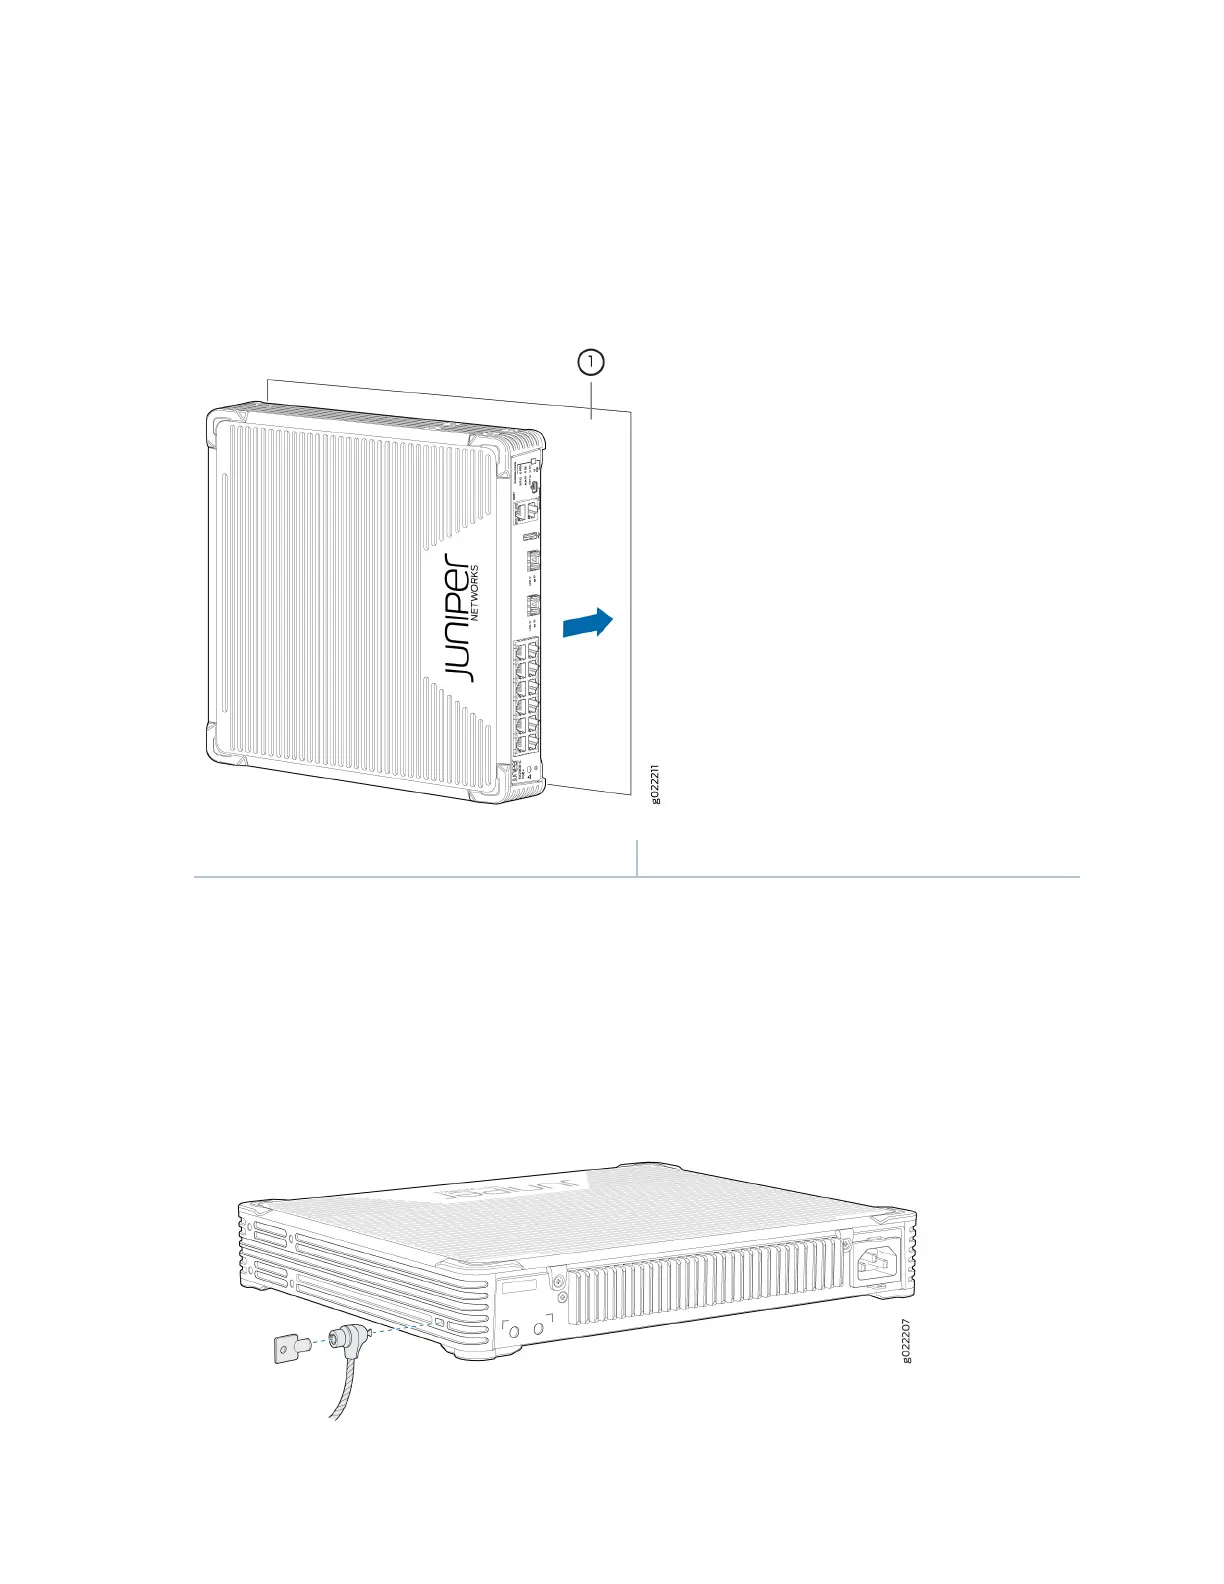
Figure 72: Mounng an EX2300-C Switch on or Under a Surface Made of Ferrous Material
1 Ferrous surface
7. (Oponal) Aach the standard cable lock to the security slot on the switch:
a. Fasten the cable to a desk or a rack and set the lock to unlocked posion using the key.
b. Insert the lock into the security slot on your chassis and set the lock to the locked posion using
the key. See Figure 73 on page 131.
Figure 73: Securing the EX2300-C Switch by Using the Security Slot
131

Table of Contents

Other manuals for Juniper EX2300 Series

Questions and Answers:

Question and Answer IconNeed help?

Do you have a question about the Juniper EX2300 Series and is the answer not in the manual?

Juniper EX2300 Series Specifications

General IconGeneral
SoftwareJunos OS
ModelEX2300
Ports24 or 48 10/100/1000BASE-T ports
Uplinks4 x 1GbE/10GbE SFP+/SFP uplinks
Power SupplyInternal or external power supply options
Rack Units1U
PoE/PoE+ PortsAvailable on some models (EX2300-C and EX2300)
Operating Temperature0° to 45°C
Input Voltage100 to 240 VAC
Layer 3 FeaturesRIP, OSPF, VRRP
Layer 2 FeaturesVLAN, STP, RSTP, MSTP, LACP
Security Features802.1X, DHCP snooping
ManagementCLI, Web UI, SNMP

Related product manuals