supply in the switch into a grounded AC power outlet by using the AC power cord
appropriate for your geographical locaon.
• Install the power supplies in the chassis. For instrucons on installing a power supply in a QFX5240,
see "Install an AC Power Supply Unit in QFX5240 Switches" on page 95.
The QFX5240 ships from the factory with two power supplies. Each power supply is a hot-removable
and hot-insertable eld-replaceable unit (FRU). You can install a replacement power supply in the slots
next to the fan modules without powering o the switch or disrupng the switching funcon.
NOTE: Each power supply must be connected to a dedicated power source outlet.
To connect AC power to the QFX5240:
1. Aach the grounding strap to your bare wrist and to a site ESD point.
2. Ensure that the power supplies are fully inserted in the chassis and the latches are secure.
3. Locate the power cords shipped with the switch; the cords have plugs appropriate for your
geographical locaon. See "Please add the descripons of the callouts in a gure legend.AC Power
Cord Specicaons" on page 29 .
For each power supply:
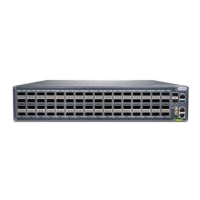
a. Connect the AC power cord. Insert the power cord coupler rmly into the AC inlet on the power
supply faceplate. See Figure 25 on page 82.
Figure 25: Connect the AC Power Cord
b. Connect a dedicated customer site 2-pole circuit breaker for each power supply. We recommend
that you use a dedicated customer-site circuit breaker rated for 20A (250V), or as required by
local code.
4. If the AC power source outlet has a power switch, set it to the o (O) posion.
82