■ The pellet storage room must be dry, as pellets will swell up markedly
if exposed to moisture. This leads to substantial difficulties in deliv-
ering the fuel to the boiler.
■ The pellet storage room must be of solid, leak-proof construction, as
loading pellets into the room creates dust and the pellets will exert
high pressure against the walls.
■ Doors or access hatches into the pellet storage room must open
outwards and must be sealed against dust egress (with an all-round
seal). With a pellet amount in excess of 6.5 tonnes, doors must be
self-closing and fire-retardant T30.
■ Fit protective boards on the inside of the door opening, so that pellets
do not push against the door (see page 76).
■ Avoid electrical installation in the pellet storage room. Essential
electrical installations must be of explosion-proof type – in accord-
ance with current regulations.
■
a In Austria, surrounding walls and ceilings in the storage room
must be designed in accordance with fire resistance class F90, and
doors or access hatches in accordance with T30. Observe the fire
regulations to TRVB H118 and the respective legal requirements.
■ Avoid the installation of water pipes inside the storage room because
of condensation and the risk of burst pipes.
■
Pellet storage rooms should be equipped with a fill H and a return
connector
G
with a coupling 4” DW100 (fire hose connector) with
extension pipes leading into the pellet storage room. Pipes should
be metal (not plastic), should be connected to the brickwork and
should be earthed.
■
Fit a deflector C opposite the fill connector to protect the pellets and
the brickwork.
■ The pellet storage room must be free from foreign bodies (small
stones, wood particles, etc.).
■ Close the wall outlet for the room discharge from the storage room
side in a fire-proof manner (e.g. rendering).
The screw conveyor system may be up to max. 10 m long.
Additional safety instructions for pellet stores
To operate the pellet store, we also recommend observing the follow-
ing safety instructions:
1
Access by unauthorised persons is not permitted, and doors must
be kept sealed
2
Smoking, fires and other sources of ignition are prohibited
3
Risk to life due to odourless carbon monoxide (CO) and a lack of
oxygen
4
Before entering, ensure sufficient ventilation is in place - keep
door open.
5
Entry into the storage room is only permitted with the supervision
of a person standing outside the storage room
6
Risk of injury caused by moving parts
7
Ensure filling is carried out under the conditions stipulated by the
heating installer and pellet supplier
8
Protect the pellets from moisture
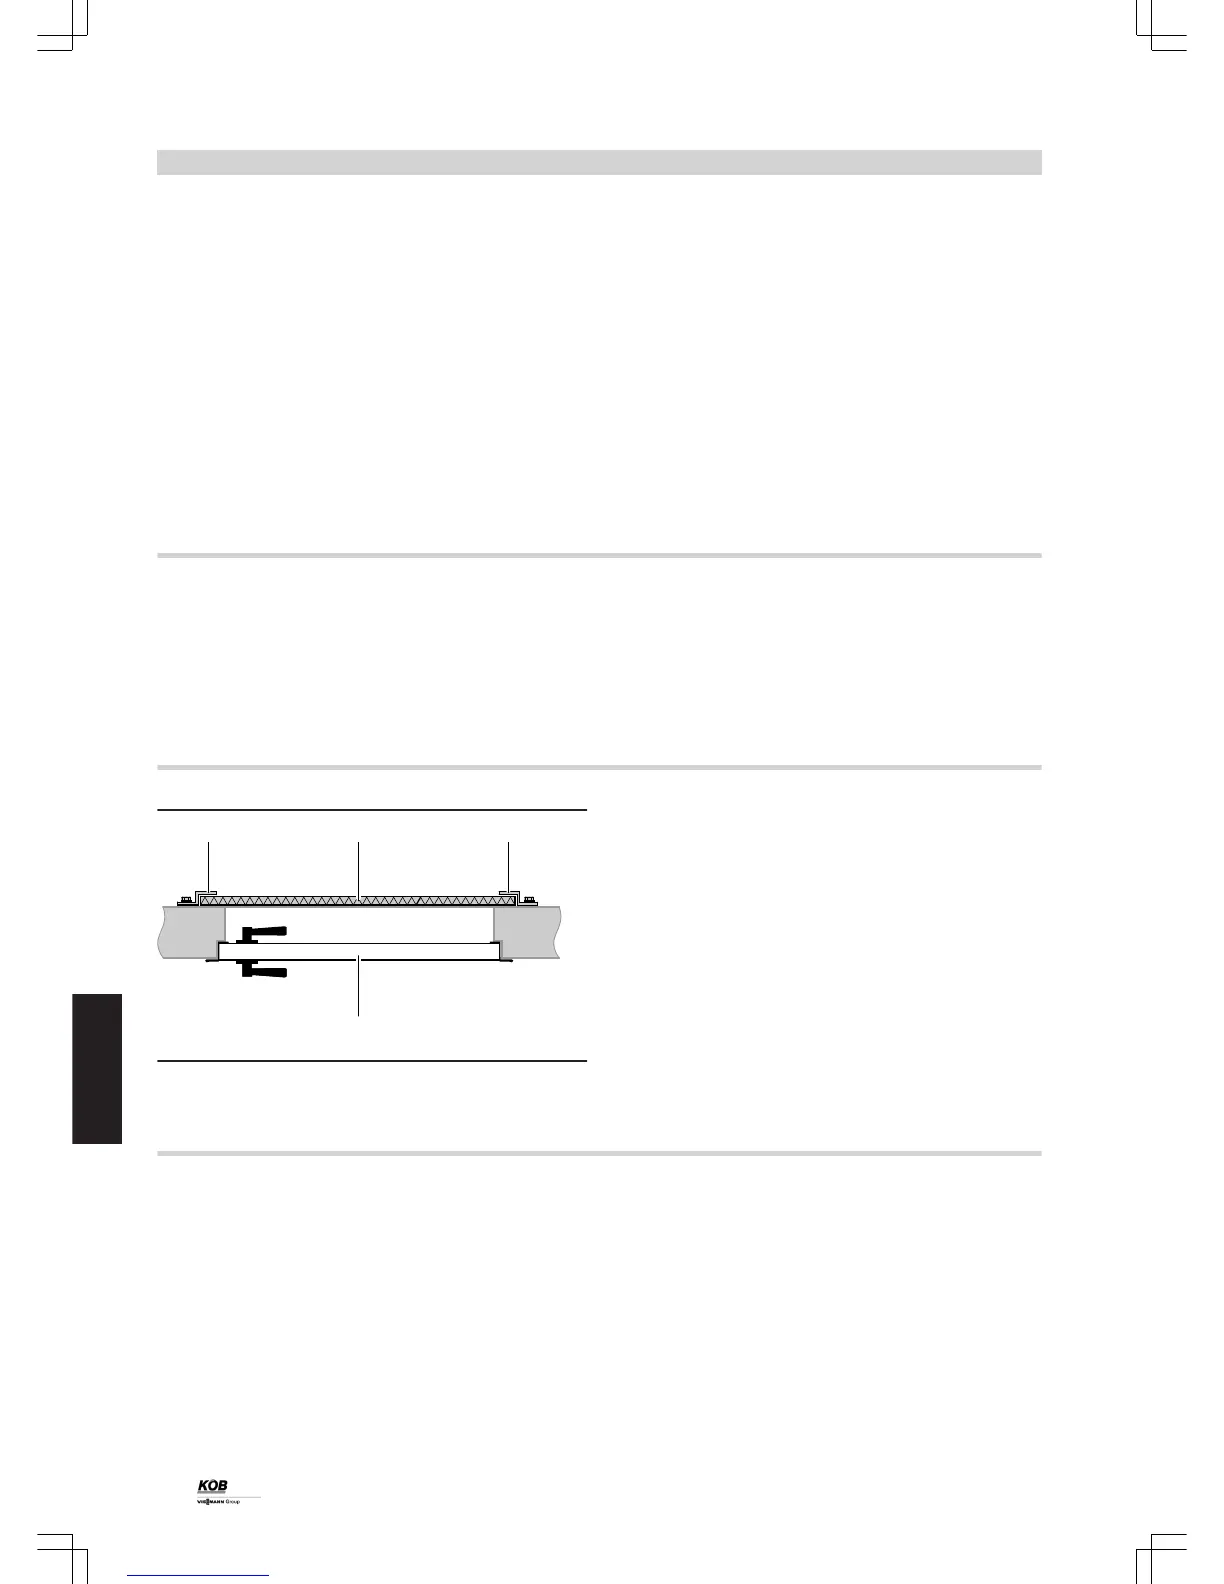
Protective boards with Z brackets
A
Z bracket (length 2000 mm)
B
Protective board (30 mm thick; on-site)
C
Door to the storage room
Z brackets are available as accessories for the installation of the pro-
tective boards.
Never install Z brackets up to the ceiling, to facilitate the removal or
addition of protective boards.
Fill connector and return connector
Arrange the connectors so that no overpressure is created in the pellet
storage room during the filling process. Keep the return connector
unrestricted, even when the maximum filling level in the storage room
has been reached (see page 75). The connectors should be located
as high as possible inside the storage room to enable it to be filled to
its maximum. To prevent pellets hitting the ceiling, the fill connector
should be at least 20 cm below the ceiling (fit protective boards if the
ceiling is plastered). The connectors should be located along the nar-
row side of the storage room. Pellets are blown approx. 4 - 5 m with
straight fill connectors. Where a 2x 45° bend fitting is located before
the entry into the storage room, fit a straight pipe of at least 0.5 m length
on the other side to protrude into the storage room. This enables the
pellets to reach the required filling velocity and therefore the required
"blow-in" depth.
Earthing
The connectors must be earthed in order to prevent static loads during
the filling process. Generally the connection of each pipe element to
the equipotential bonding of the building is recommended. At the very
least, connect each pipe element securely to the brickwork, either by
setting the pipe into the brickwork (without thermal insulation) or via
pipe clips set into the brickwork.
Design information
(cont.)
76
PYROT
6
5822 516 GB